
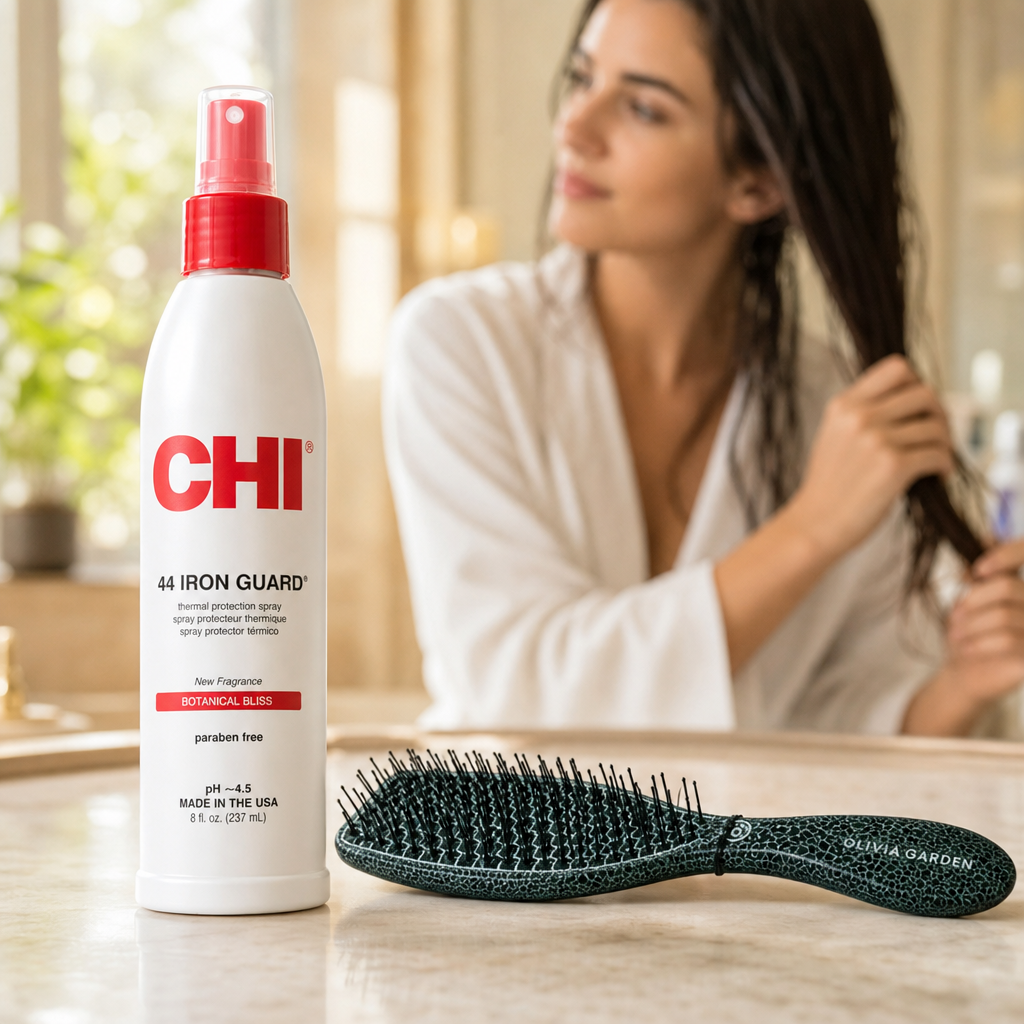

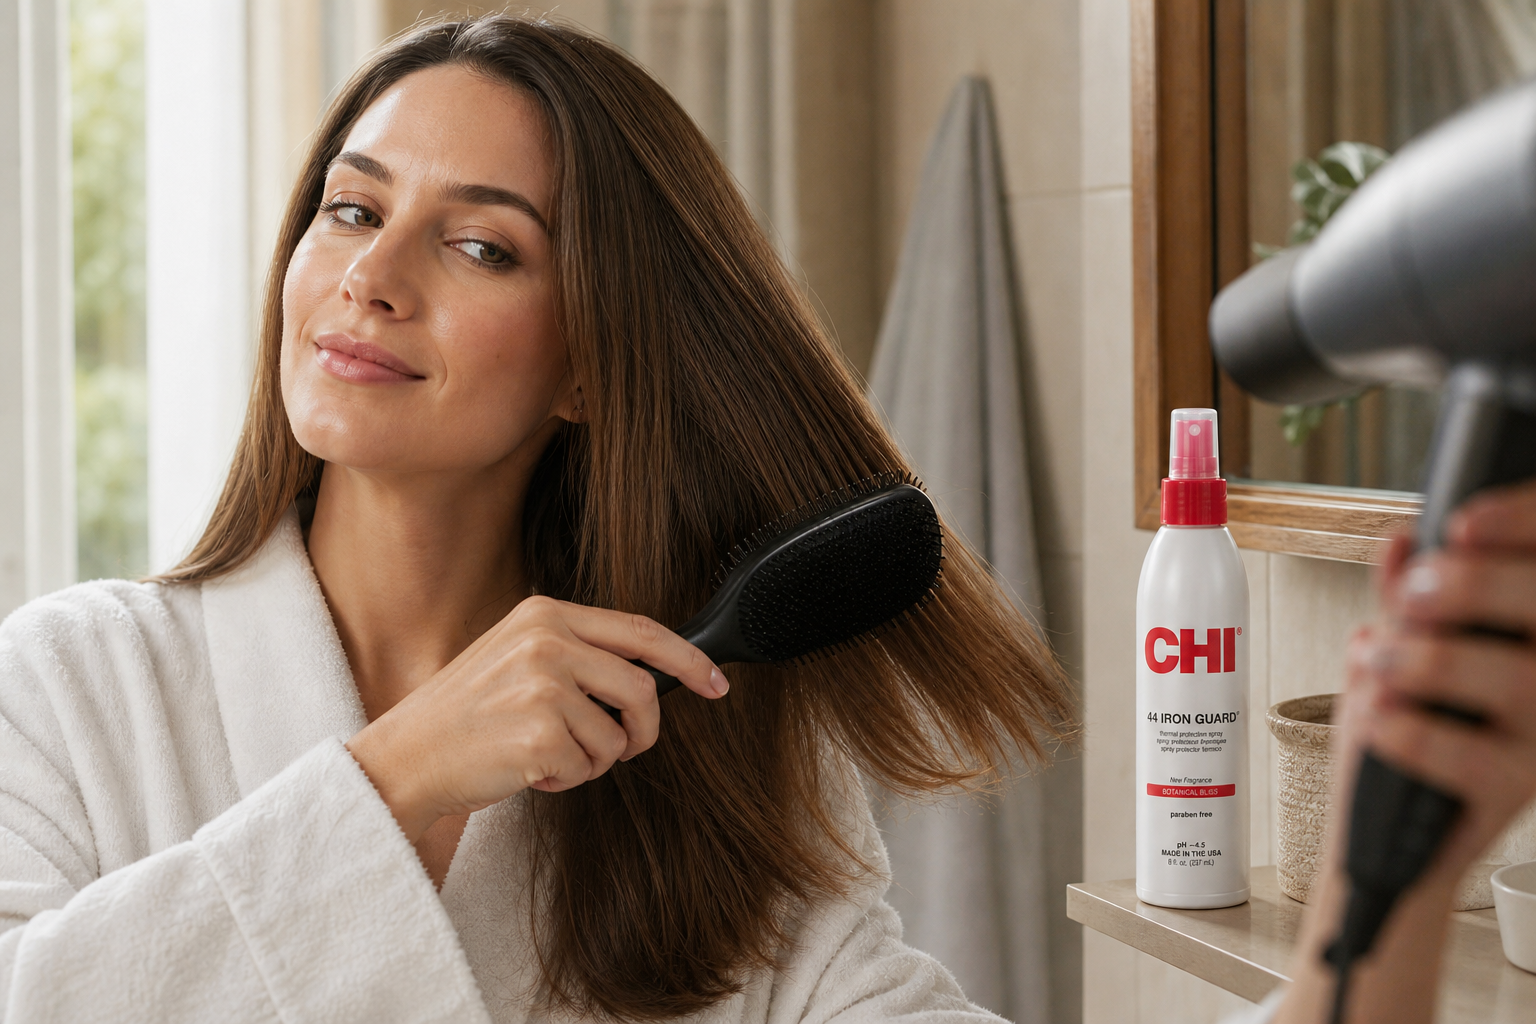
Do you blow-dry your hair at home every day, but your hairstyle falls flat by evening and your hair gradually dries out? We'll guide you through blow-drying step by step – from an absorbent towel and heat protection to a round brush and directing the hairdryer, finishing with a cool shot and care to balance the heat stress.
What Happens to Hair When Blow-Drying – and Why the Result Doesn't Last
Whether you blow-dry every morning before work or only occasionally before an evening event, you're likely familiar with two typical frustrations. The first is a hairstyle that looks different at two in the afternoon than it did at eight in the morning. The second is the feeling that after months of daily drying, your hair feels drier, is harder to comb, and has lost its shine. Before we dive into the actual process, it's worth understanding what happens within the hair fiber during drying. Most mistakes that ruin the result stem from one misunderstood principle.
Water, Heat, and the Shape That Holds
Hair is largely made up of the protein keratin and in its normal state contains a certain amount of water. It's this water that allows you to give your hair a new shape. As long as the strand is wet, its internal structure is temporarily loosened, and the hair readily adapts to whatever it's wrapped around. As the water evaporates, the structure stabilizes again – and it stabilizes exactly in the shape the hair is held in at that moment. Blow-drying doesn't work by heat straightening or curling the hair on its own. It works by giving the hair the desired shape at the moment when the remaining moisture disappears.
This leads to a crucial point: the final phase of drying is what matters, not the initial one. If you wrap the strand around a brush while it's still quite wet, you're shaping it unnecessarily long, and you have to hold the dryer over it longer than needed. Conversely, if you let it go when it's still warm and damp, it will reshape freely in the air – meaning not at all.
Two Home Situations with the Same Cause
A limp hairstyle is classic: volume in the morning, flat by afternoon. The most common cause is under-drying. Hair looks dry on the surface, but moisture remains at the roots and in thicker strands, which gradually releases during the day, taking the shape with it. Another common reason is that the strand leaves the brush hot. A warm hair is still malleable and stabilizes only when it cools down, so the shape is determined not by the brush, but by how the hair happens to lie.
The second situation is slower and less noticeable. Hair has a cuticle on the surface, a layer of fine scales that lie smoothly on a healthy fiber. Such a surface reflects light evenly, making the hair shine, and also retains moisture better inside. Repeated overheating disrupts and lifts the scales. The hair then appears duller, feels rougher to the touch, tangles more easily, and dries out faster, which first shows at the ends because they've been through the most washing and heat. It's not the heat itself, but the combination of high temperature, close proximity, and staying in one place – typically on hair that's already long dry.
Both situations are not caused by a weak device, but by technique and the order of steps. Hair that goes under the airflow too wet needs longer exposure, and a hairstyle that hasn't had time to cool down has no way to last. The good news is that both can be addressed right at the next blow-dry, without buying anything.
One more thing, so you know what you're getting into: this article is a guide on the process, not a test of hairdryers. We only talk about devices in general – we'll discuss temperature settings, airflow strength, nozzles, and cold shots, which are features you'll find on any standard model. We don't compare specific brands or types of dryers, straighteners, and curlers here; Brasty doesn't offer them, and a fair comparison of electronics would require a different type of text. We'll focus on what you have full control over – preparing your hair, choosing the brush, and especially how you guide the dryer over the strands.
Preparation: Towel, Detangling, and Properly Applied Heat Protection
The blow-dry process doesn't start when you turn on the hairdryer. It begins a few minutes before that—depending on how you towel-dry your hair, the condition you detangle it in, and whether the heat protection is evenly applied throughout the length. This preparation takes just a few minutes and will save you time later, as well-prepared hair dries faster and holds its shape longer.
Wet hair is in its most vulnerable state during the day. The strands absorb water, swell, and the cuticle scales slightly lift—this is why hair feels slippery after washing, gets tangled, and is more susceptible to mechanical friction. If you start rubbing it with a terry towel, the tugging motion will further ruffle the lifted cuticle, resulting in frizz that a hairdryer won't smooth out. Instead, take an absorbent towel, place sections of hair into it, and gently squeeze to soak up the water. A microfiber towel or a cotton T-shirt works just as well; just don't twist your hair into a tight turban, which can strain the roots.
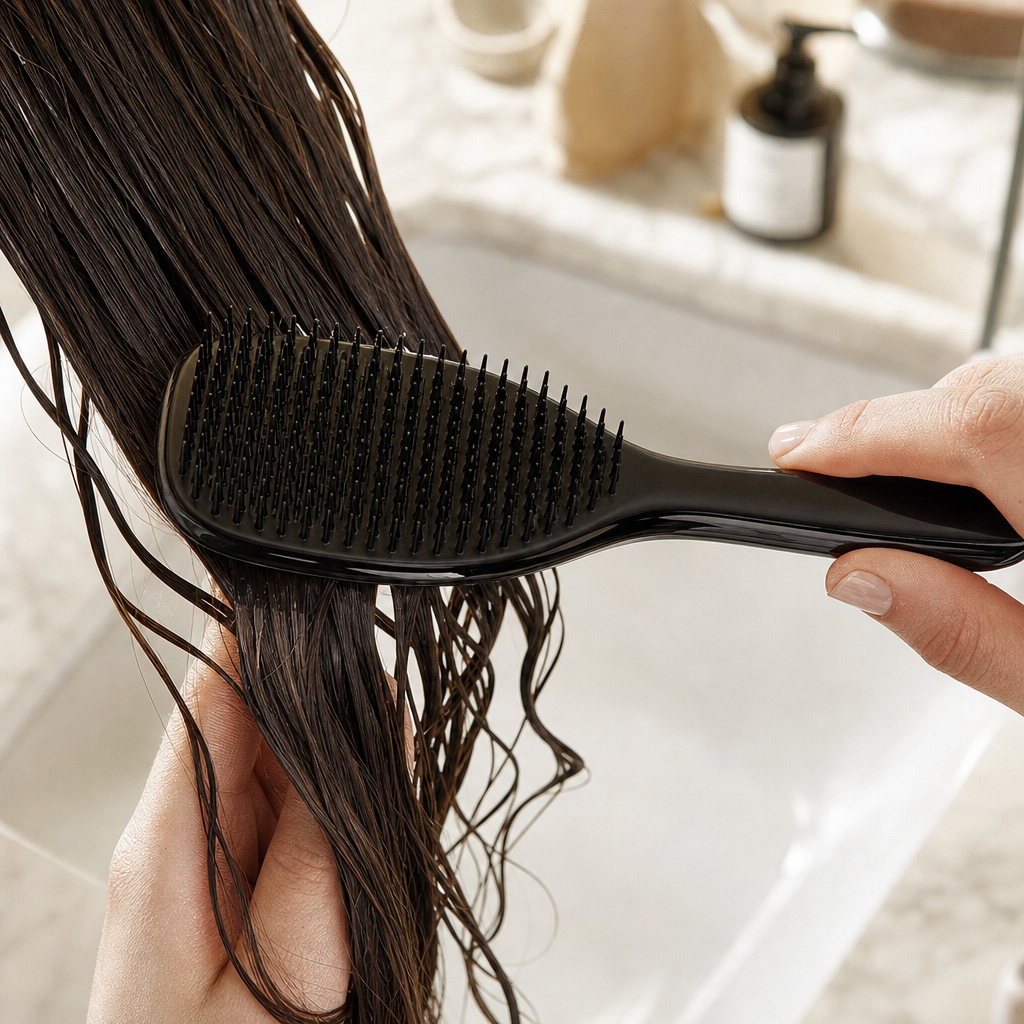
Detangling your hair makes sense right now, while it's still damp and slippery, not halfway through blow-drying. Dry tangled hair is harder to untangle, and every snag can lead to a broken strand. Work from the bottom up: hold a section above the ends, detangle the last few centimeters, and then move upward. Never forcefully pull the brush against a knot—loosen it, detangle it in parts, and if needed, use a leave-in conditioner or detangling spray.
A brush designed for wet hair will make your job much easier. Flexible bristles of varying lengths will glide over knots rather than pulling them out:
- Tangle Teezer Wet Detangler – features a shaped handle and dual-length bristles; suitable for use in the shower and for detangling immediately after washing.
- Olivia Garden iDetangle – available in versions tailored to hair density, so you can choose one for fine hair and another for thick hair.
Only apply heat protection to detangled and towel-dried hair. It should be applied to damp hair, not dry: the damp strand will distribute the product evenly over the surface, creating a protective layer before hot air reaches the hair. A spray applied to already dry hair will leave patches and some lengths unprotected.
Evenness is more important than quantity. Divide your hair into at least four sections, hold the spray about twenty centimeters from your head, and cover each section separately—especially the top layer and the bottom layer. You can skip the roots, as they are exposed to heat for the shortest time, and the product would unnecessarily weigh them down. Focus on the mid-lengths and ends, which are the oldest and driest parts of the hair. Finally, lightly comb through your hair again to ensure the protection is spread evenly among the strands.
There are several formats available, differing mainly in how much weight they add to your hair. Choose based on your hair type and how often you blow-dry:
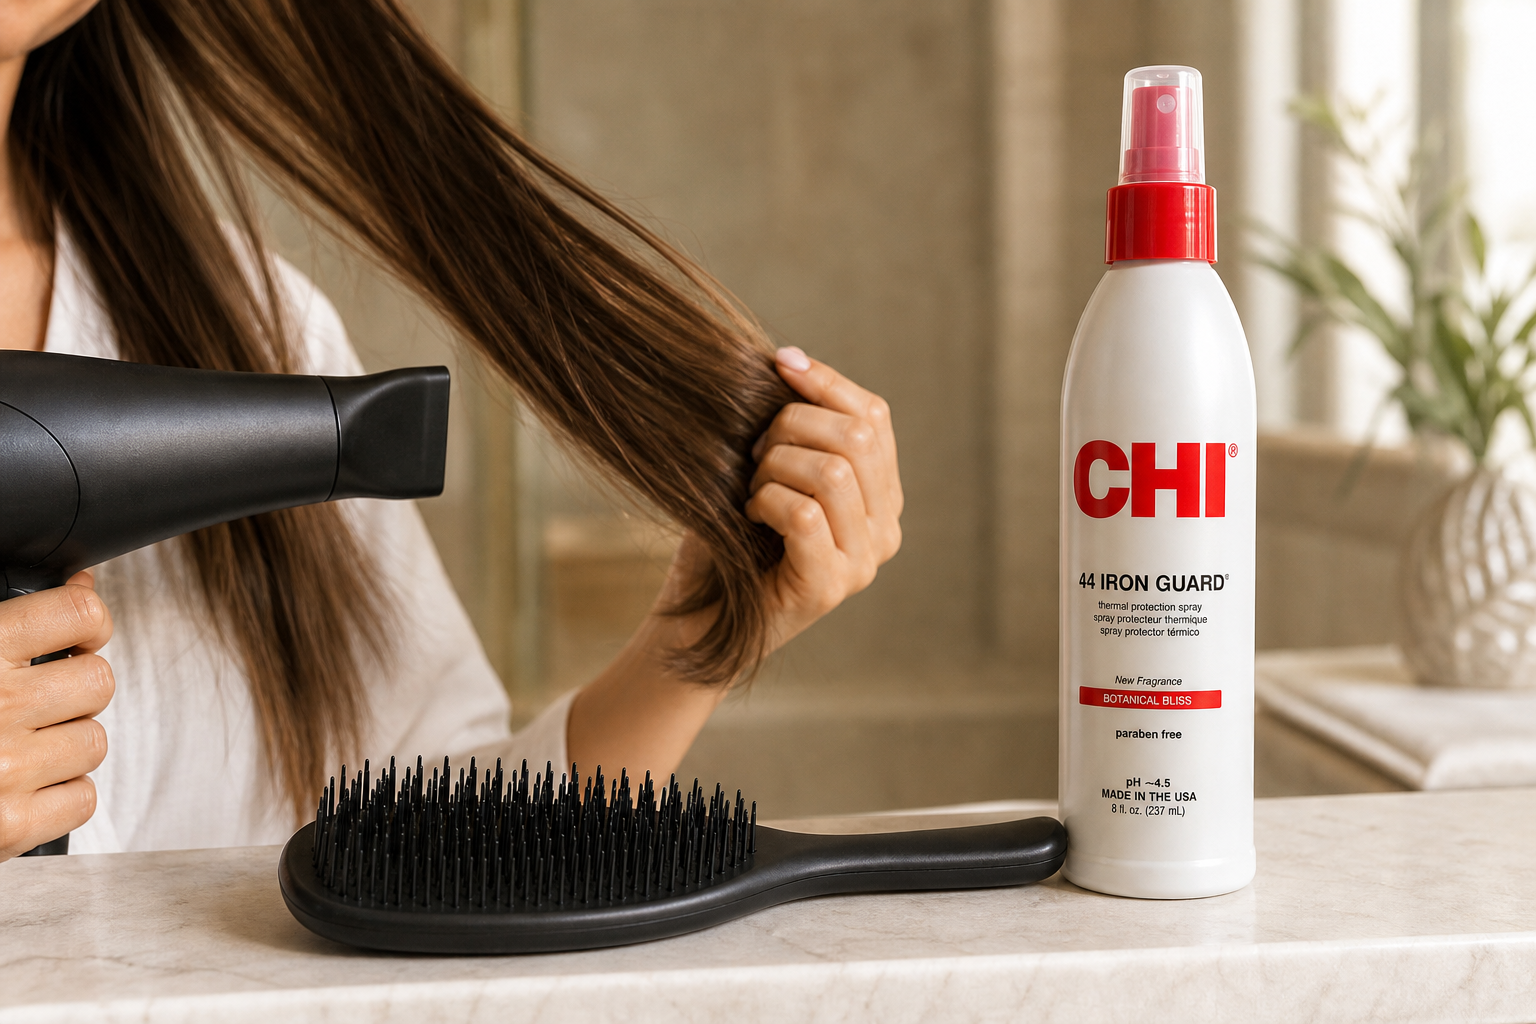
- Lightweight Sprays – such as CHI 44 Iron Guard or Sebastian Professional Trilliant Spray. Ideal for fine hair that quickly becomes heavy.
- Sprays for Regular Home Use – Inebrya Ice Cream Style-In Thermo Spray or Kallos Hair Straightener Spray are suitable if you blow-dry often and use more product.
- Nourishing, Creamier Forms – Milk_Shake Lifestyling Thermo-Protector is closer to a leave-in treatment, making it suitable for coarser and dry hair.
Whichever you choose, consider heat protection a staple in your routine, not just something extra for special occasions. Hair that is detangled, free of excess water, and evenly protected behaves predictably under the hairdryer—and it's in this state that it makes sense to pick up a brush and start styling.
Brush and Section Hair Before Blow-Drying
Between towel-drying and the finished hairstyle, there's one step often skipped at home: pre-drying. A round brush has no place in wet hair. At this stage, hair strands are most vulnerable, and a brush tends to pull rather than shape them. Let your hair dry to about eighty percent with thermal protection – freely, with a medium air stream, and occasional finger aeration. You'll know it's ready when the hair no longer feels cold to the touch, isn't heavy, and doesn't drip, but there's still some moisture at the roots.
The remaining twenty percent is the essence of blow-drying. Hair shapes precisely as it dries – and if it's stretched on a brush at that moment, it holds the shape afterward. Those who use a brush on dripping hair waste the shaping phase on mere drying. This is where the most common home disappointment comes from: an hour of work, and the volume falls by midday.
Choose the brush diameter based on the length you can wrap around it. The rule is simple: the strand should wrap around the brush at least once. For chin-length hair, a slimmer body works best, for shoulder-length a medium, and for long hair a wide one. The choice between volume and smoothness roughly follows this:
- Smaller diameter holds the strand in a tighter curve, lifting the roots and slightly curling the ends inward. It's suitable for short hair, bangs, and areas around the face.
- Larger diameter tends to stretch the strand rather than curl it. It leads to a smoother surface and straighter ends, but lifts less at the roots.
- Long hair on a slim brush wraps into several layers, the bottom layer doesn't heat through, and the strand is harder to release. Opt for a wider body and adjust volume by the angle at which you pull the strand away from the head.
A ceramic body with ionic treatment – like the Olivia Garden NanoThermic Ceramic+Ion range – heats evenly from the air stream and retains heat for a while. This way, the strand receives heat from both sides simultaneously, requiring fewer passes for the same result, which is the easiest way to reduce heat stress during home blow-drying. The combination of nylon and natural bristles also grips the strand better, keeping it taut without pulling forcefully.
Now for sectioning the hair, which determines whether you'll be done in twenty minutes or left with a dried mess. Pre-section your hair and clip it, not during blow-drying:
- With a horizontal parting from ear to ear, separate the bottom section at the nape and clip the rest up.
- Prepare the middle section with another horizontal parting above it; keep the sides clipped for now.
- Leave the top and crown for last, as they form the visible surface of the hairstyle.
- Work from the bottom up and in each section from left to right, so finished strands don't mix back with damp ones.
The width of the strand is determined by the brush, not impatience. Take as much hair as matches the working length of the brush – about five centimeters – and pay attention to thickness: you should be able to feel the outline of your palm through the strand. A thicker strand won't heat through, the bottom layer will stay damp, and the shape will revert. Especially for thick hair, it's better to make more, narrower strands than a few bulky ones.
One last detail: always start with the brush at the roots and first stretch the strand, then pull it through. If you place the brush halfway down, the roots will remain shapeless, and the top of the hairstyle will flatten first. With this sectioning, you're ready – the rest is about guiding the dryer and the pace at which you move along the strand.
Blow-Drying Step by Step: Temperature, Airflow, Cool Shot
Now comes the actual work with the strand, the moment when the outcome is decided. Blow-drying isn't a race to see who can dry their hair the fastest. It's a series of short, repeated strokes where the heat passes through the hair without lingering in one spot. Once you master the pace and direction, you'll achieve a smoother finish at a lower temperature than you would with hasty drying on the highest setting.
Start by attaching the concentrator nozzle to your hairdryer. This narrow attachment directs the air into a flat stream, precisely targeting where you aim it. Without the nozzle, the airflow spreads out, lifting adjacent strands and frizzing them before you even get to them. This is often why hair appears frizzy at home, even when it's in good condition.
The second thing to set right from the start is the temperature. A medium setting and a slightly longer time are usually better for home blow-drying than the highest temperature and trying to finish in a few minutes. Higher heat doesn't speed up styling; it just increases thermal stress and dries out the hair's surface. The highest setting is only sensible for very thick or coarse hair, and even then, only in the initial phase while the strands are still visibly damp.
Single Strand Technique
- Brush the strand with a round brush from roots to ends to keep it taut and free of tangles. Tension is what smooths the hair, not the heat alone.
- Place the nozzle just behind the brush, facing downwards and parallel to the strand. Keep a distance of about a palm's width, approximately ten to fifteen centimeters from the hair.
- Direct the airflow from roots to ends, following the direction of the hair cuticle. Blowing against the cuticle lifts it, making the hair appear dull and frizzy.
- Move the dryer smoothly along with the brush. The nozzle should never stop over one spot, or the strand will overheat there while the rest remains damp.
- Slowly rotate the brush around its axis during each stroke. This stretches the hair over the rounded body of the brush, giving it shape rather than just straightening it into oblivion.
- Repeat each stroke two to three times. If the strand is still damp, don't add more passes in the same spot. Move to the adjacent strand and return to this one later.
- At the end of the last stroke, switch to the cool shot and run through the entire strand once more, from roots to ends.
- Remove the brush only when the strand feels cool to the touch. Only then is the shape set.
This last step is often skipped at home and is arguably the most valuable of the entire process. Hair sets as it cools, not when it's hot. If you release a taut strand while it's warm, it will start to relax immediately, and much of the volume and smoothness will be gone by evening. The cool shot speeds up cooling, seals the hair's surface, and the result lasts significantly longer. For longer hair, it's worth letting the finished strand rest for a moment before moving on to the next.
The last little detail that makes a big difference: monitor the strand's moisture with your hand. Once the strand is dry, additional heat adds nothing, only takes away. Leave the finished sections alone and focus only on what you're currently working on.
Post-Blow-Dry: Care That Compensates for Heat Stress
A cool shot will set your style, but the work doesn't stop there. What you do in the following minutes and in the days between blow-drys determines whether your hair remains flexible or gradually dries out. The hairdryer itself won't ruin your hair – the damage accumulates only when there's no follow-up care.
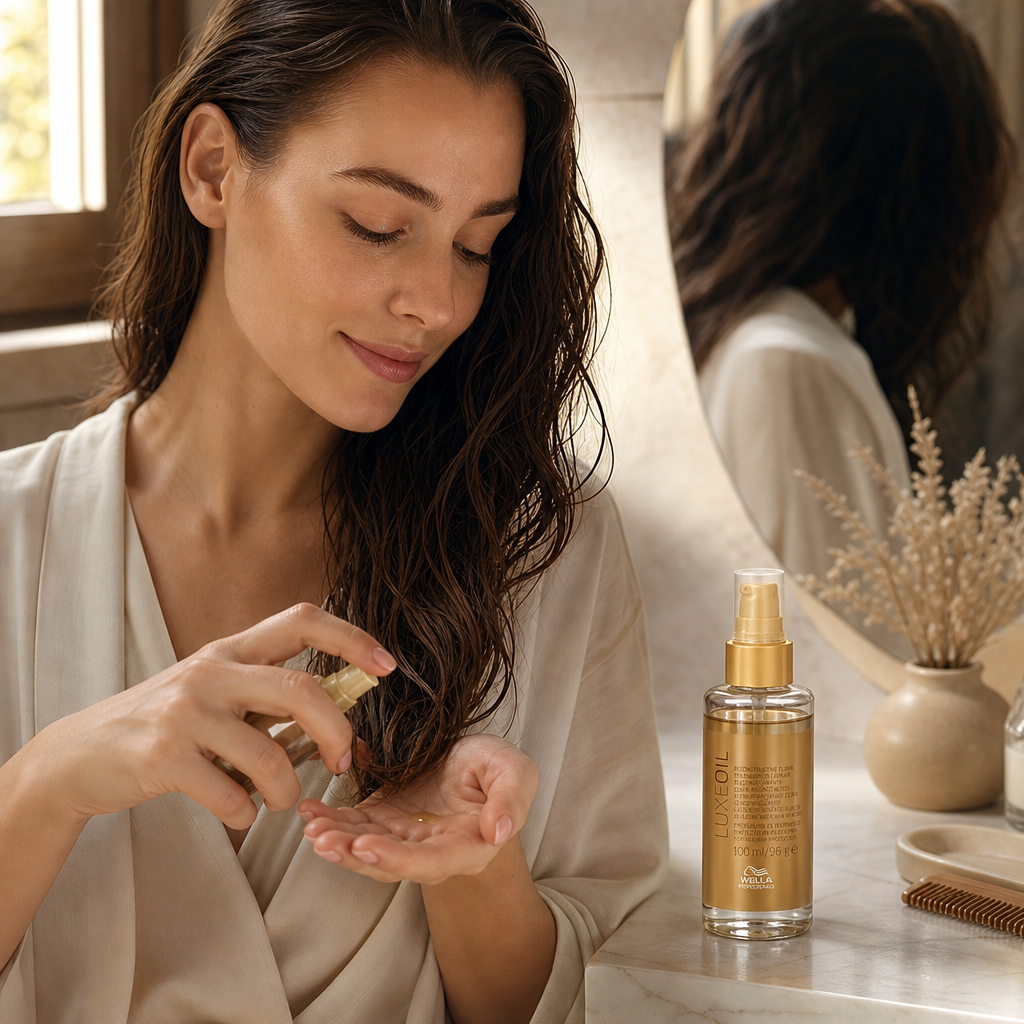
Oil or serum for the ends is the quickest way to restore shine to your lengths and tame flyaways. The key is in the dosage: for medium-length hair, usually one to two drops are enough, for thick and long hair, three. Rub them first in your palms, then run your hands through your hair from about chin level down, and wipe the excess onto the ends. Oil doesn't belong at the roots – that's where the impression that hair feels heavy and greasy the next day comes from. From our hair care range, examples include Wella Professionals SP Luxe Oil Reconstructive Elixir or a lighter serum like Wella Professionals SP Liquid Hair Molecular Hair Refiller. Both are from professional lines, but thanks to the minimal dosage, a bottle lasts a long time; a more affordable option is leave-in spray treatments, which distribute more evenly and are harder to overdose.
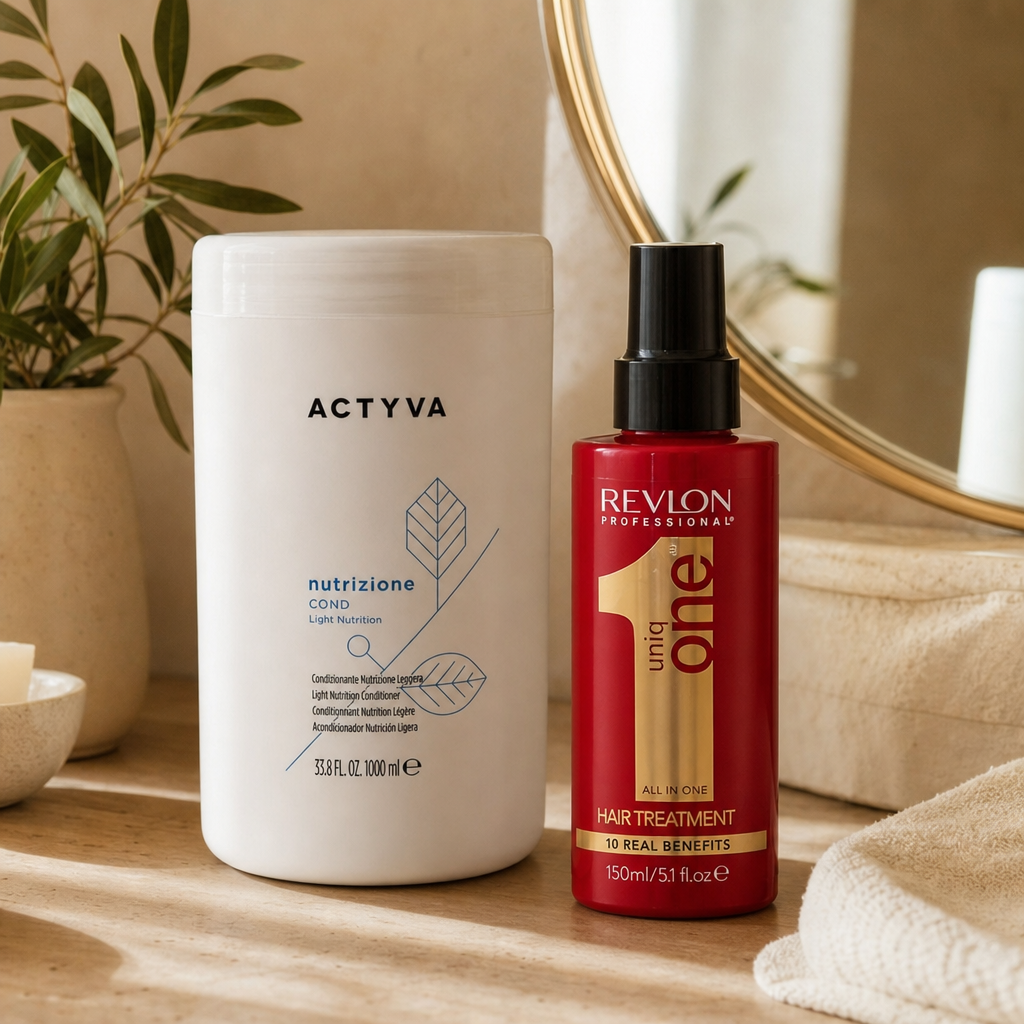
Nourishing masks address what oil can't: they replenish moisture and building blocks to the hair fiber instead of just smoothing the surface. If you blow-dry daily or every other day, plan on using a mask about once a week, and for colored or bleached hair, even twice. Apply to washed, towel-dried hair from mid-lengths to ends, and leave on for a few minutes as directed – longer won't improve the results. Proven choices from our catalog are Kemon Actyva Nutrizione Rich Mask or Wella Professionals SP Luxe Oil Keratin Restore Mask; for fine hair that quickly feels heavy, it's worth alternating the mask with a lighter conditioner.
Overheating announces itself before it's visible along the entire length. Watch for these signs:
- Ends split and fray faster than before, even though you trim them regularly;
- Hair smells slightly burnt or dusty after blow-drying;
- A wet strand doesn't spring back after stretching but stays stretched and feels rubbery;
- The style doesn't hold well, hair becomes static and flyaway shortly after drying;
- Color fades visibly faster between salon visits.
If two or more of these signs appear, it's worth lowering the temperature for a week or two, shortening blow-dry time, and incorporating a more intensive treatment. It's a practical response to the state of your hair, not a miraculous fix – damaged fibers won't repair themselves, but further deterioration can be halted.
Days without the hairdryer are the cheapest care you have available. Ideally, plan to wash your hair the evening before a day when you're not in a rush: hair will dry naturally, settle overnight, and usually only needs a finger-comb the next day. Leave-in treatments like Revlon Professional Uniq One All In One Treatment can help smooth air-dried hair and make detangling easier. If you need a compromise, pre-dry your hair with a cool breeze and blow-dry only the fringe and top layer – the rest of the style will usually hold.
The entire post-blow-dry routine can be summed up in three points: a minimum of oil on the ends after each blow-dry, a mask once a week, and at least one or two days a week when hair dries on its own. It's not necessary to have professional lines for every type of product – even more affordable oil or masks will do their job if used regularly and in the right amount.


Category
Recommended articles

"Give a girl the right shoes and she can conquer the world!" Marilyn Monroe