
Why You Shouldn't Be Afraid of Blush
Blush is often the last product beginners reach for – and usually only after they've tried it once and the result surprised them. The thought of two noticeable circles on your cheeks, which you only notice in daylight on your way to work, keeps many of us from adding color to our cheeks. This fear is understandable, but it's based on a misunderstanding: the problem almost never lies with the blush itself, but rather where it's applied and how much stays there.
It's helpful to first clarify what blush actually does. Foundation, concealer, and powder all share one common trait – they unify the skin tone. They even out redness, tone down dark circles under the eyes, and make the face appear cleaner. However, they also take away the natural color you have on your cheeks after a walk in the cold or a good night's sleep. Blush brings this color back. It's not an extra decoration, but a step that restores dimension and vitality to the face after makeup – that's why it's often used even in so-called "no-makeup" makeup, where the result should be as subtle as possible.
A natural result depends on three variables, none of which require talent or years of practice:
- Placement – where the color starts and in which direction you lead it. This is where the difference between a fresh look and two targets is made.
- Amount – how much product gets on the brush or fingers before touching the face.
- Blending – whether the color has a distinct edge or seamlessly fades into the surrounding skin.
The good news is that you have full control over all three variables, and they can be adjusted even after application. Blush is not a permanent step: a powder layer can be toned down with translucent powder, and overly intense cream color can be blended out with a clean brush or sponge. The most common mistake beginners make is not the wrong shade, but too much product right from the start. A simple rule that will save you most of your nerves: you can always add more layers, but removing them is always more work.
It's also worth applying makeup by a window or at least under neutral lighting. Warm yellow bathroom lighting tones down the color on your cheeks, making you inclined to add more – and outside, the result appears stronger than you intended.
In the following sections, we'll go through the entire process step by step: how different blush formats differ and what tools suit them, where to apply color on the face, how much product is enough for one application, and how to blend it seamlessly. Finally, we'll discuss how to choose your very first blush and brush so that you enjoy working with them. By the end of the article, you should not only know what to do but also why – and that's the part that will help you apply it even in a hurry and without a guide at hand.
Blush Formats and Application Tools
Blush isn't just one product; it comes in three different consistencies, each behaving differently on the skin. While the end result can be similar for all three, the path to achieving it varies. For your first application, the difference between formats is more crucial than the shade itself – texture dictates how quickly you need to work and how much room you have for adjustments.
Powder Blush
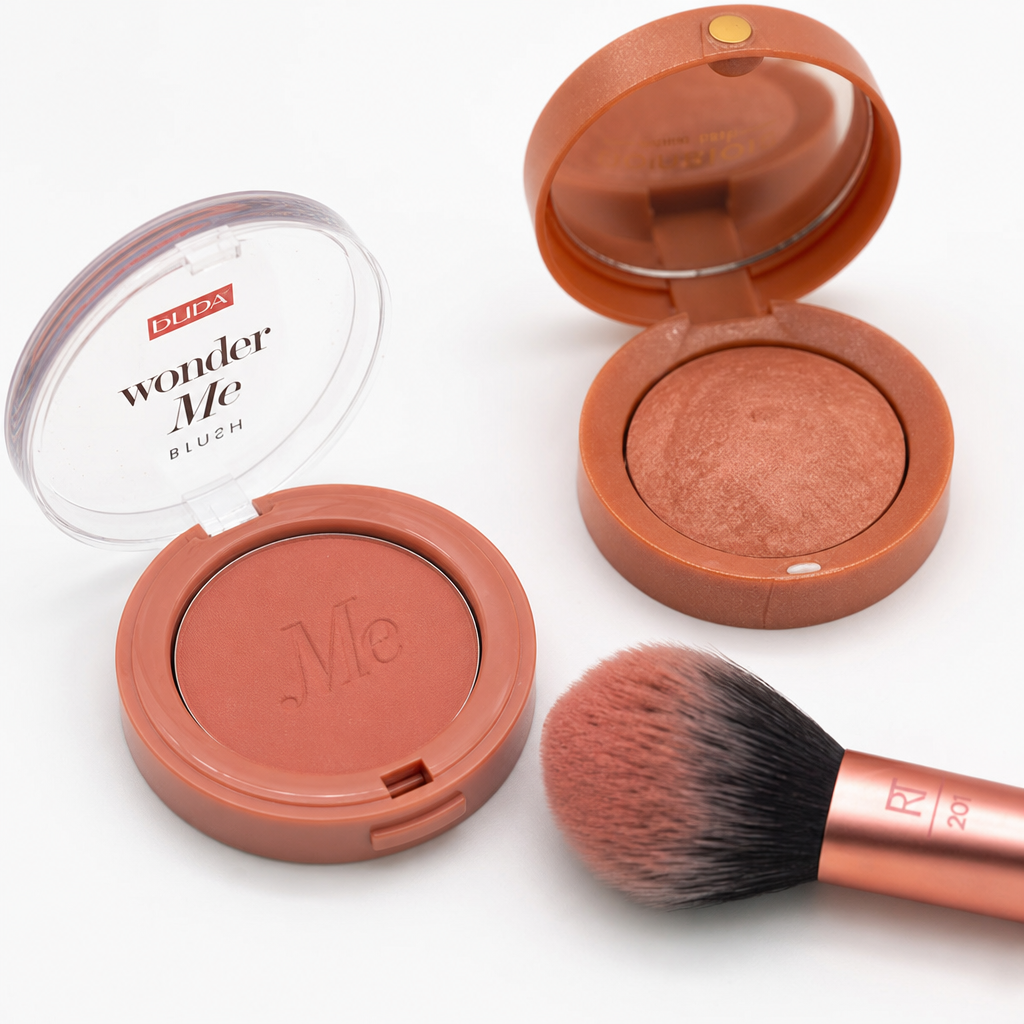
Powder blush is a pressed or loose pigment applied with a brush. The color builds up in thin layers, allowing you to gradually control the intensity. If you apply too little, you can easily add more; nothing will streak or set before you have a chance to respond. This forgiving nature makes it the safest starting point.
Powder texture is also beneficial for oily and combination skin as it helps control shine throughout the day. However, on very dry or flaky skin, it may highlight peeling areas – in such cases, opt for a cream instead.
Cream Blush
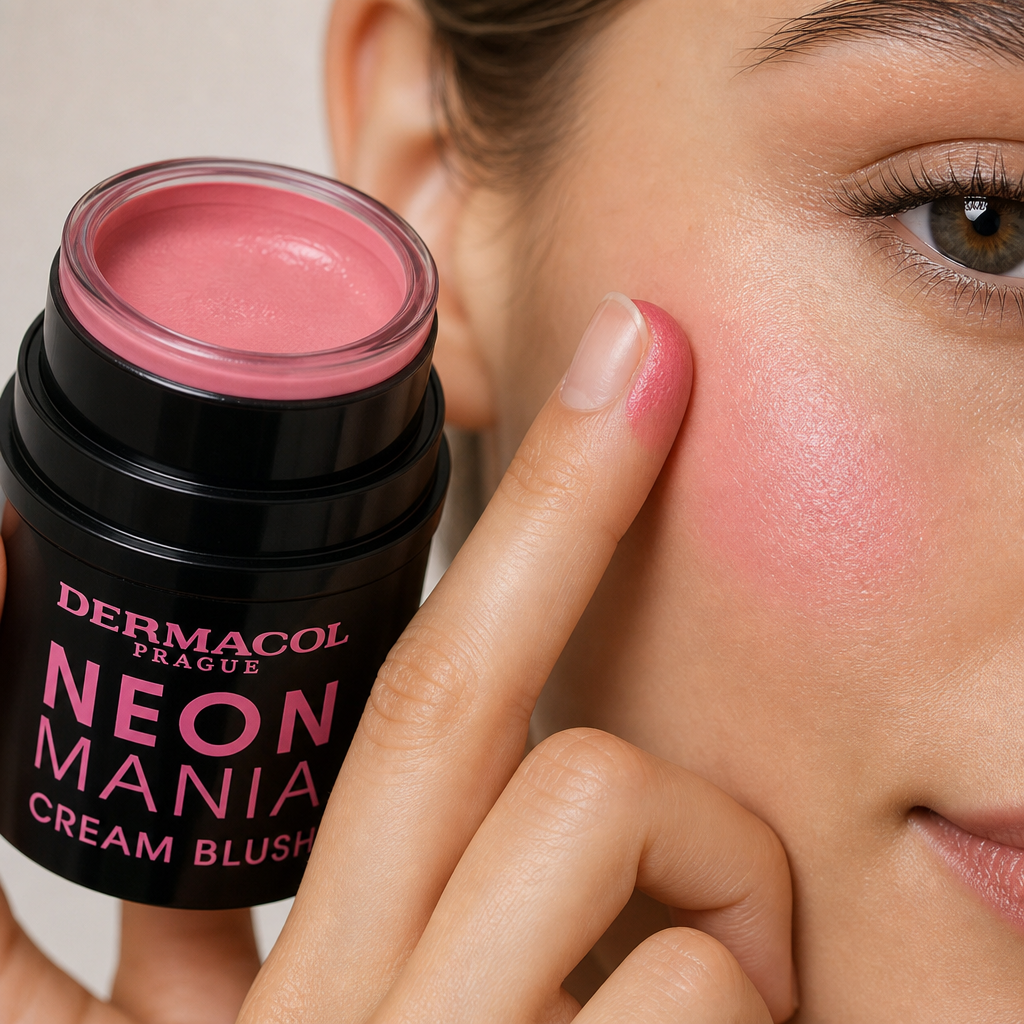
Cream blush can be found in pots, palettes, and sticks. It blends with the foundation on the skin, giving the appearance of color coming from within rather than sitting on top. It doesn't dry out the skin and provides a fresh, slightly dewy look that powder struggles to mimic.
However, there's a catch: most cream blushes set after a while, and once they do, you can't adjust the color. Work on one cheek at a time, finish it, and then move to the other.
Liquid Blush
Liquid and gel blushes often have the highest pigment concentration of the three formats. A very small amount is enough, and the color lasts long. However, they are the least forgiving – they dry the fastest, and any mistakes are hard to fix. If you want to try them, apply a drop to the back of your hand first, then transfer it to your face. It's not the best choice for your very first blush.
The Tool Matters as Much as the Product
The same blush can look natural or like a noticeable blotch – depending on what you use to apply it. Generally, these pairings work:
- Fluffy Face Brush – soft, sparsely packed bristles pick up just a little powder and spread it over a larger area. Ideal for powder blushes.
- Angled Brush – the slanted shape follows the cheekbone line, guiding you on where to apply the color. Also suitable for powder.
- Sponge – a damp sponge works well with cream and liquid textures. It dabs the color on rather than spreading it, creating a thin and even layer.
- Fingers – the warmth of your fingers softens cream blush and helps it blend into the skin. Free and always available, but it's harder to control the pigment.
Reverse combinations don't work well: powder clings to a damp sponge and creates a blotch, while cream sinks deep into a brush, making it hard to clean. Therefore, wash brushes and sponges regularly – dried product in the bristles worsens blendability more than you'd expect.
For absolute beginners, the simplest duo is recommended: powder blush and a soft angled brush. Powder gives you time to consider each stroke, the angled brush keeps the color where you want it, and both can be managed even in a rush before leaving the house.
Where to Apply Blush According to Face Shape
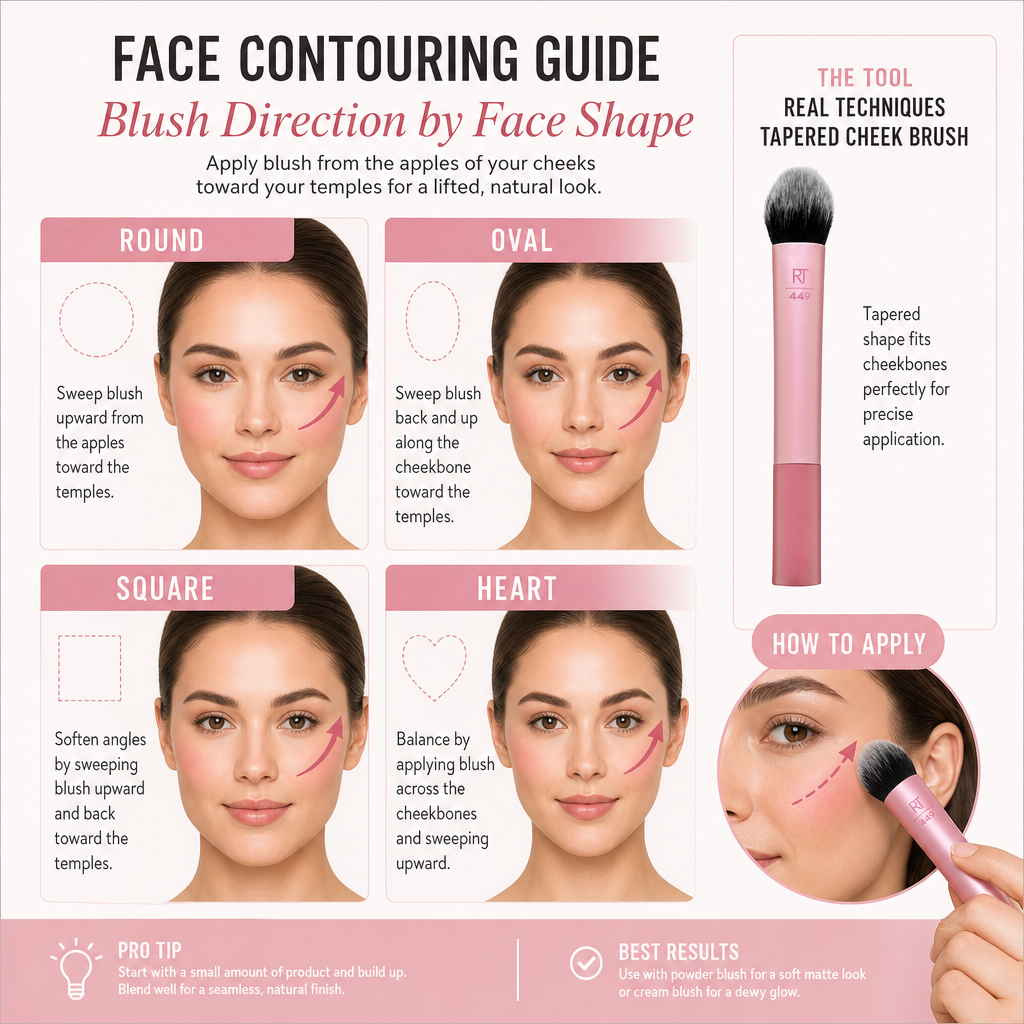
Placement matters more than the shade itself. The basic rule is simple: color belongs on the highest points of the cheekbones and should be swept upwards towards the temples, never down towards the mouth. An upward stroke visually lifts the face and looks natural, as it mimics the areas where the face would naturally flush after a walk in the chilly air.
The advice "suck in your cheeks and apply color to the hollow" is widespread but can be misleading for beginners: the hollow is lower than where blush should be, and the color can end up dragging the features down. A more reliable guide is very simple. Place your fingertips in front of your earlobe and slowly move forward towards the nose. Under your fingers, you'll feel the firm ridge of the cheekbone, which rises to its highest point about halfway along – this is where the blush should start. Another check is to smile: the rounded part of the face that lifts when you smile forms the center of the area to apply blush.
The Four Most Common Face Shapes
The shape of your face doesn't determine whether to wear blush, but rather where to apply it and where to end the stroke. Consider the following recommendations as a starting point, which you can adjust to your own features after a few tries.
- Round Face – Apply the color a bit higher, on the upper edge of the cheekbone, and sweep it distinctly diagonally towards the temples. Avoid circular application in the middle of the face, which emphasizes roundness; a longer diagonal stroke, on the other hand, visually elongates the face.
- Oval Face – Proportions are balanced, so a classic application on the highest point of the cheekbone with a short stroke towards the temple is sufficient. Stay in the area between the outer corner of the eye and the ear line, no more is needed.
- Square Face – Here, a softer, more rounded application closer to the center of the face helps soften the strong jawline. Sweep the stroke briefly and smoothly upwards, without sharp edges at the sides.
- Heart-Shaped Face – A wider forehead and narrower chin can handle color placed a bit lower and more to the sides, towards the outer edges of the cheeks. Don't lift the stroke too high towards the temples, to avoid making the upper part of the face appear even wider.
Two Placements to Avoid
The first common mistake is applying too low, in the area between the cheeks and the mouth. Color in this position drags the features down, accentuates the nasolabial fold, and makes the whole expression look more tired than it actually is. A simple boundary helps: an imaginary line from the wing of the nose to the earlobe is the lower limit, below which blush does not belong.
The second mistake is placing the color too far forward, close to the nose and under the inner corner of the eye. Blush in this spot narrows the face visually, draws the gaze inward, and creates an impression of irritated skin rather than a fresh look. A safe starting point for the stroke is under the outer corner of the eye, and towards the nose, the color should only be gently faded.
Before reaching for the brush, stand in front of a mirror in natural light and outline both areas with two fingers first. A few extra seconds at the start saves corrections later, and your hand will remember the placement that suits you after a few tries.
How Much Product is Enough and How to Blend it Seamlessly
Noticeable circles on the cheeks usually result not from poor placement, but from the amount used. Blush should be applied in layers that can be added to at any time – removing excess is significantly harder. It's wise to start with a smaller amount than you might instinctively pick up with your brush and gradually build up the intensity.
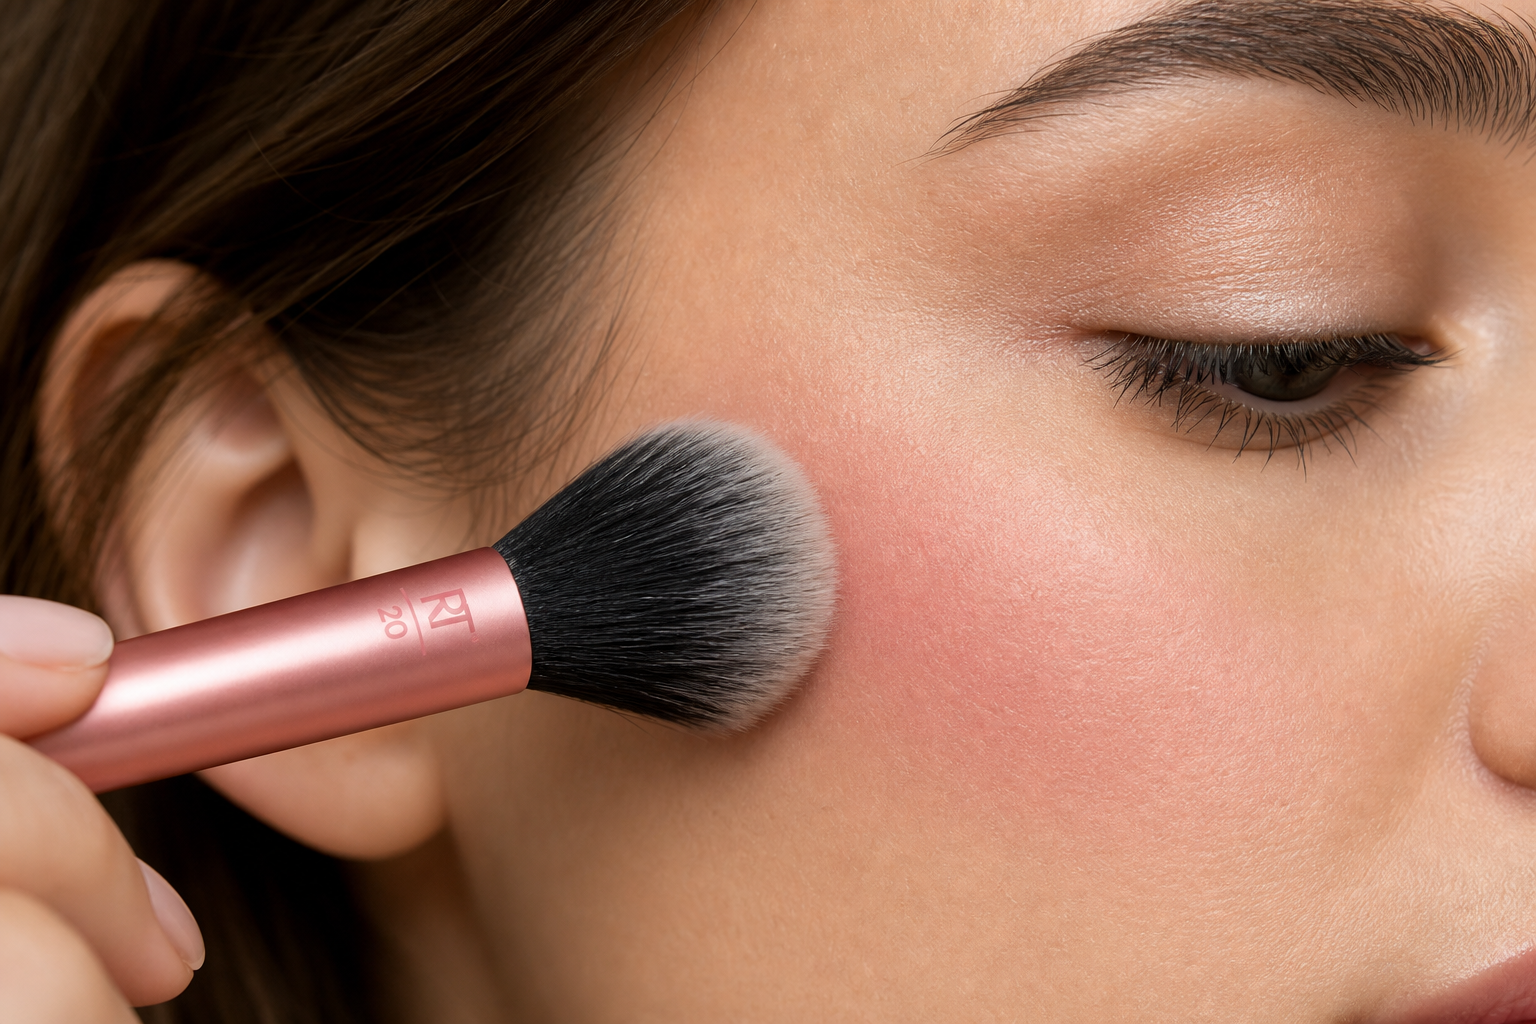
For powder blush, a light tap of the brush tip into the product is enough. Avoid swirling the brush in the pan and don't press down – this would pick up much more color than you need. Tap off the excess on the edge of your palm or the blush lid until only a gentle veil of pigment remains on the brush. Usually, one dip is enough for both cheeks: apply to the second cheek with what's left on the brush.
For cream and liquid blush, a good guideline is a lentil-sized amount for both cheeks combined. Apply it first as two to three small dots, then blend – a continuous stripe of product is much harder to diffuse. Liquid formulas tend to be more concentrated, so feel free to start with just a single drop.
Blending Seamlessly
The goal is a smooth transition without harsh edges, where the color gradually fades into the surrounding skin. Work in short circular strokes and blend the color towards the hairline and temples, not down towards the mouth. Hold the brush lightly at the end of the handle – this naturally limits pressure and spreads the product into a thin layer.
- Start where the color should be most intense and work outward from there.
- Make short, light circular strokes; long straight strokes create visible streaks.
- Finish by going over the edges with a few empty strokes, without picking up more product.
- Check yourself in the mirror both head-on and in profile – harsh edges are often more visible from the side.
Layering Order: Cream Under Powder, Powder Over Powder
Cream and liquid blush should be applied to makeup before powdering. Layers with similar textures blend easily, whereas a cream product applied over a finished powder layer will start to break and clump. Powder blush, on the other hand, comes at the very end, on top of set powder – this gives it a slightly gliding surface and allows the color to spread evenly. If you like to combine both, the order of makeup, cream blush, powder, and finally a light powder blush on top works well.
And if you do end up with more color than you wanted, all is not lost. There are two simple fixes:
- Softening with powder. Use a fluffy brush to sweep a thin layer of translucent or skin-toned powder over the blush. The pigment will visually soften, and the transition to the rest of the skin will even out. Add powder gradually, otherwise, the result might start to look ashy.
- Blending with a clean brush. Take a second, perfectly clean and fluffy brush without any product and spread the color over a larger area. The intensity will decrease and the edges will disappear. A slightly damp sponge or the brush you used for foundation – with its leftover base – will also work well to dilute the color.
Both fixes can be repeated several times in succession, so there's no need to wash off your entire makeup due to excess color. With a bit of practice, you'll also find that you can gauge the right amount by how the brush looks after the first tap.
How to Choose Your First Blush and Brush
Before you head out to buy your first blush, it's helpful to have a simple plan in mind. We've summarized the entire process into a short checklist that you can follow step by step—whether you're applying makeup for the first time or just want to make sure you're not forgetting anything.
- Complete your base—foundation, concealer, and possibly powder.
- Pick up a small amount of product and tap off the excess from the brush.
- Apply the color to the highest points of your cheekbones and blend it towards your temples.
- Blend the edges to avoid any harsh lines.
- Check the result by a window, in natural daylight.
- If there's more color than you wanted, tone it down with powder or a clean brush.
Feel free to write this list on a note and keep it by your mirror for the first few weeks. Most beginner uncertainties will disappear once the process becomes a routine that you don't have to rethink each time.
Shade According to Skin Undertone
The shade is the one thing you can't change after purchase, so it's worth spending a little extra time on it. What's crucial is not how the color looks in the palette, but how it matches your skin's undertone. A simple tip: look at the veins on the inside of your wrist in natural daylight. If they appear more greenish, you likely have a warmer undertone; if they look blue, it's probably cooler. If you're unsure and see both, you likely have a neutral undertone and can use both types.
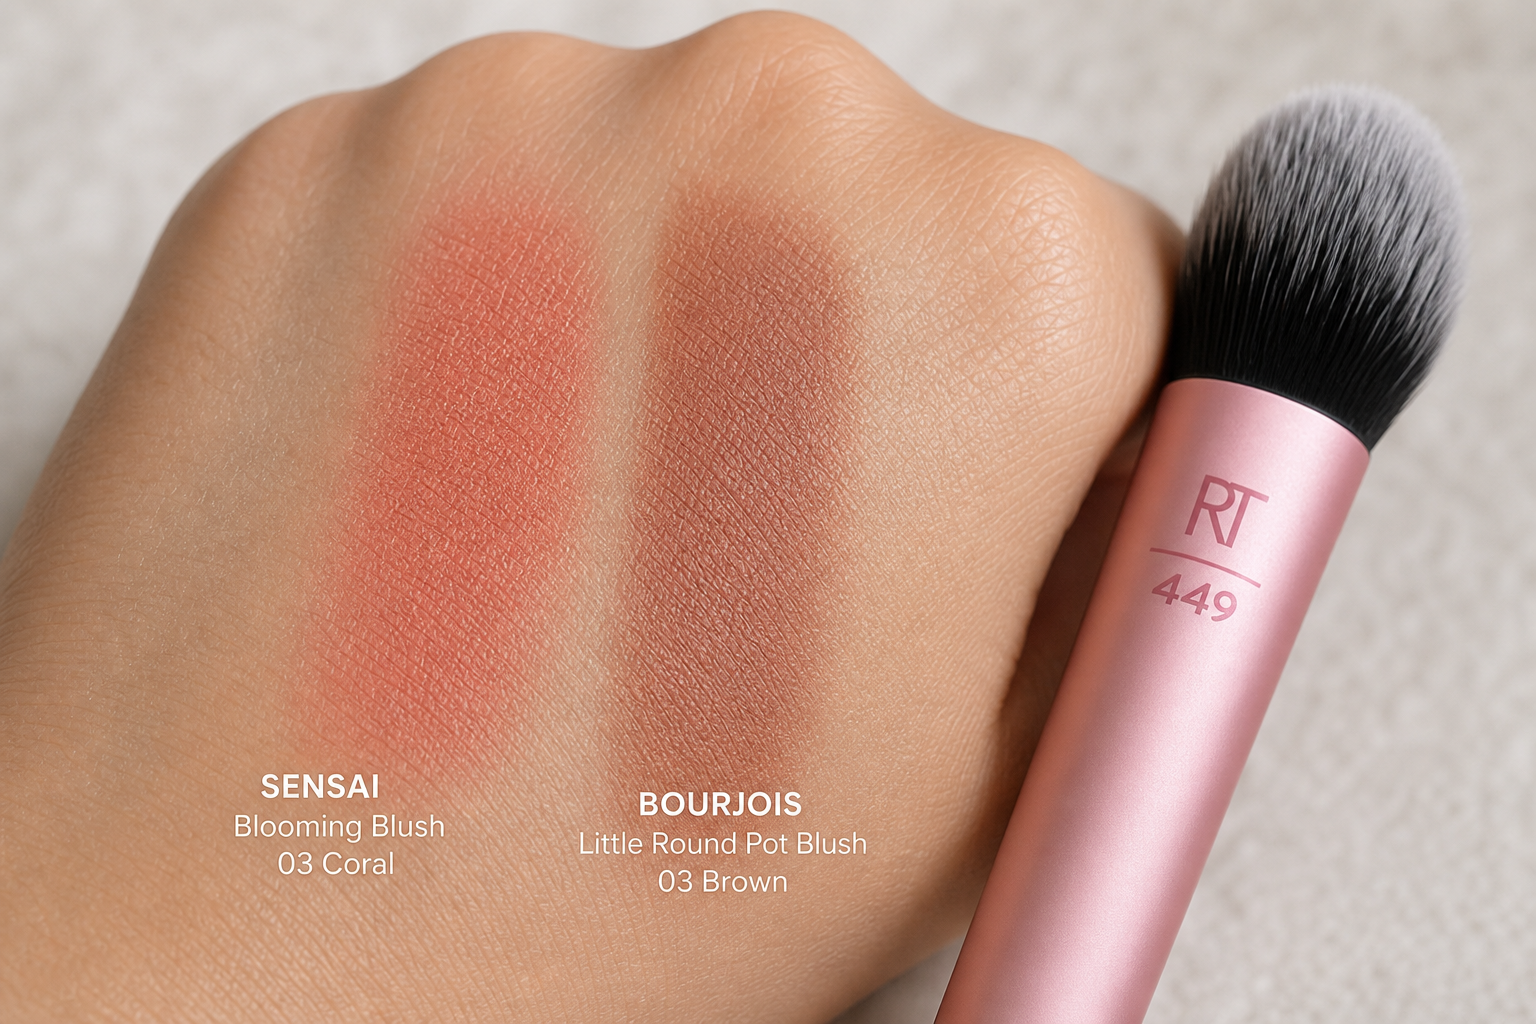
- Warmer undertone – peach, apricot, and coral shades. They give the impression of a natural flush after a walk in the fresh air.
- Cooler and fairer skin – cooler pink, soft raspberry, or muted dusty pink.
- Darker skin – richer brick, terracotta, and deeper raspberry tones that won't disappear on your skin.
Just as important as the shade is the intensity of the pigment. A highly pigmented blush looks tempting in the packaging, but it's harder to control in the beginning—one careless brush tap and you have twice the color. For starters, opt for a medium-pigmented powder blush that forgives mistakes and can be layered gradually.
How to Choose a Brush
When choosing a brush, consider three things. The size of the head should match the area of your face—a brush that's too large will spread color where it doesn't belong, while one that's too small will concentrate it in one spot. The bristles should be soft and flexible to allow for blending without applying pressure to the skin. Density determines how much product the brush picks up: a looser, fluffier head applies less color, which is an advantage for beginners. Synthetic bristles are also easier to clean and can handle both powder and cream textures.
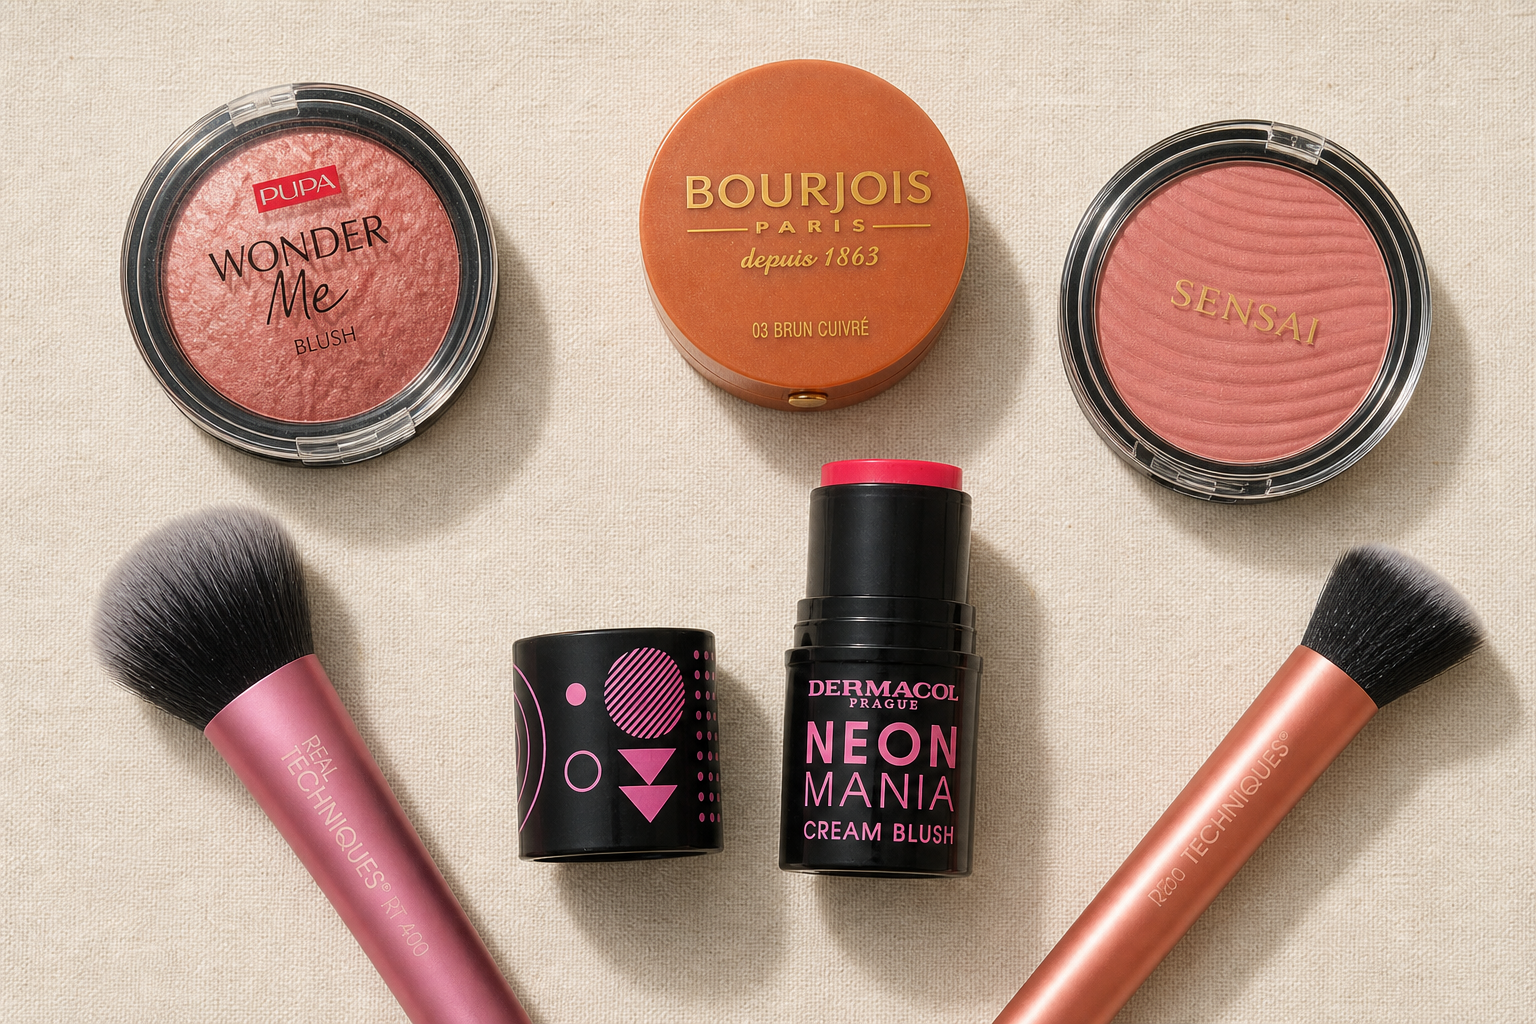
At Brasty, you'll find blushes and face brushes as separate categories of decorative cosmetics, so you can choose them independently. Among the available powder blushes, brands like Dermacol, Maybelline, or Pupa are easy to navigate, while for face brushes, soft models from Real Techniques are reliable. If you're unsure about the shade, start conservatively—a more muted color can always be layered, while a bold one is harder to tone down.
The last thing to remember: your first blush doesn't have to be expensive. More important than the price is that it's easy to work with—that it can be applied in small layers, blended seamlessly, and matches your skin tone. When these three criteria are met, you can achieve a natural result even with a product from an affordable price range.
Category
Recommended articles
"Give a girl the right shoes and she can conquer the world!" Marilyn Monroe