




False eyelashes may seem complicated until you try applying them yourself. We'll show you how to choose a strip based on your eye shape, apply the adhesive, and gently remove the lashes in the evening without losing your own lashes.
False Eyelashes for Beginners: What You Don't Need to Worry About
False eyelashes are one of those products bought with enthusiasm, tucked away in a makeup bag, and only opened a week before a friend's wedding. Usually, this is due to three specific fears: that the result will look obviously fake, that glue will overflow and stick the eyelid together, and that you'll pull off your own lashes along with the strip. All three are understandable, and all three can be addressed before you even reach for the tweezers.
The first mindset shift helps immediately: strip false eyelashes are not a procedure but regular decorative cosmetics. They behave similarly to mascara or eyeliner – you put them on before going out, wear them in the evening, and take them off at home. They are not permanent, and nothing happens with them while you sleep because you don't wear them to bed. If the application doesn't go well the first time, you simply remove the strip and try again. This reversibility is crucial for beginners: a potential mistake doesn't cost you a month of regrowth, just an extra two minutes in front of the mirror.
It's equally useful to separate home makeup from professional eyelash extensions. Extensions are done by a trained specialist in a salon, who applies individual false lashes directly onto your own, the result lasts several weeks, and you go for refills. False eyelashes from decorative cosmetics work differently: the glue holds on the edge of the eyelid along the lash line, not on individual hairs, and the entire strip is removed the same day. Neither is better or worse, just expect strip lashes to do what they can – enhance your look for one specific evening, not replace several weeks of styling.
That's why in this article, we stick to the home method and go through it step by step, from purchase to removal:
- navigating the selection – how full strips, clusters, and individual lashes differ and which format suits whom;
- choosing based on eye shape, so the strip follows the eyelid line and doesn't pinch anywhere;
- working with glue – how much to apply, how long to let it set, and how to apply the strip without shaky hands;
- gentle removal and subsequent care, so your own lashes stay healthy even between applications.
There's one last fear worth dispelling right from the start: application is not a matter of talent but of calm and a few repetitions. The first strip will probably sit a millimeter off, the second will be noticeably better, and by the third, you'll find the whole process takes about as much time as carefully applying eyeshadow. It's not the strip itself that harms your lashes, but impatient removal – and that's something that can be easily avoided.
Strips, Clusters, or Individual Lashes – How to Navigate the Selection
When you first open the category of false lashes, it might seem like the products differ mainly by name. In reality, there are three distinct systems, each applied differently, lasting for different durations, and suitable for different occasions. Once you understand the differences, you can narrow down your choice from dozens of options to just two or three.
Full Strips as a First Attempt
A strip is a continuous band with pre-arranged fibers that you apply along your lash line in one motion. This is why it's often the first choice – you don't have to worry about spacing or symmetry, as the composition is already handled by the manufacturer. You can apply them in a few minutes and remove the strip in one piece at night, allowing for multiple uses with gentle handling.
- Ideal for one-time events, typically weddings, photoshoots, or celebrations.
- The effect is bold and immediately noticeable, which can be both an advantage and a drawback.
- Most strips can be trimmed to size; excess length is always cut from the outer corner, never the inner.
Clusters for Volume Where You Need It
Clusters are small bundles of several fibers joined at the base. They are applied individually between your natural lashes, giving you control over where density increases and where the line remains natural. They are most commonly used on the outer third of the eye, creating a gently elongated shape without the look of a continuous screen. If a full strip seems too theatrical, clusters are a logical intermediate step.
- Allow for gradual filling – if a gap appears, you can add a single cluster.
- Application takes longer than strips, roughly ten to twenty minutes depending on experience.
- Depending on the adhesive used, they can last several days, as they are applied closer to the roots.
Individual Lashes: The Finest, Yet Slowest
Individual fibers are applied one by one directly to your natural lashes. Of all three options, they look the most natural because they complement existing lashes rather than covering them. The trade-off is time and a steady hand: treating one eye can take up to an hour and requires tweezers and good lighting. Do not confuse them with salon lash extensions, which use different techniques and adhesives. For a first home experiment, individual lashes are not the best starting point – it's better to try them once you're comfortable applying strips.
The Band is a Detail Even a Novice Can Notice
For strips, and partially for clusters, the band in which the fibers are attached determines the result. A thin transparent band is flexible, virtually disappears on the lid, and can handle makeup without eyeliner. However, it's softer, harder to hold between fingers, and tends to twist during application. A thicker black band, on the other hand, holds its shape, is easier to handle, and acts as a subtle liner on its own. It's more comfortable to work with initially, but be prepared for a more pronounced eye makeup look, otherwise, it can appear as a foreign element on the lid.
The material of the fibers also plays a secondary, but not insignificant role. Shinier synthetic fibers hold curls longer and appear more dramatic. Softer variants with a matte finish blend better with natural lashes and are suitable for daytime makeup. Neither choice is objectively better – it depends on whether you want people to notice your lashes or your eyes.
If you're just starting out, it makes sense to opt for a full strip with a thin band in a natural length, move on to clusters once you've mastered timing with the adhesive, and leave individual lashes for later. This order is based on difficulty, not the quality of the result – even a standard strip can look completely believable with careful application.
The Shape of Your Eye Matters: How to Choose the Perfect Lash Strip
At first glance, false lash strips might all look the same. The difference becomes apparent when you apply them to your eye – the same strip can open up one eye while making another appear smaller. It's not about the product's quality, but how the length and arrangement of the fibers complement the shape and position of your eye. Knowing what to look for can help you make the right choice even before purchasing.
What Suits Different Eye Shapes
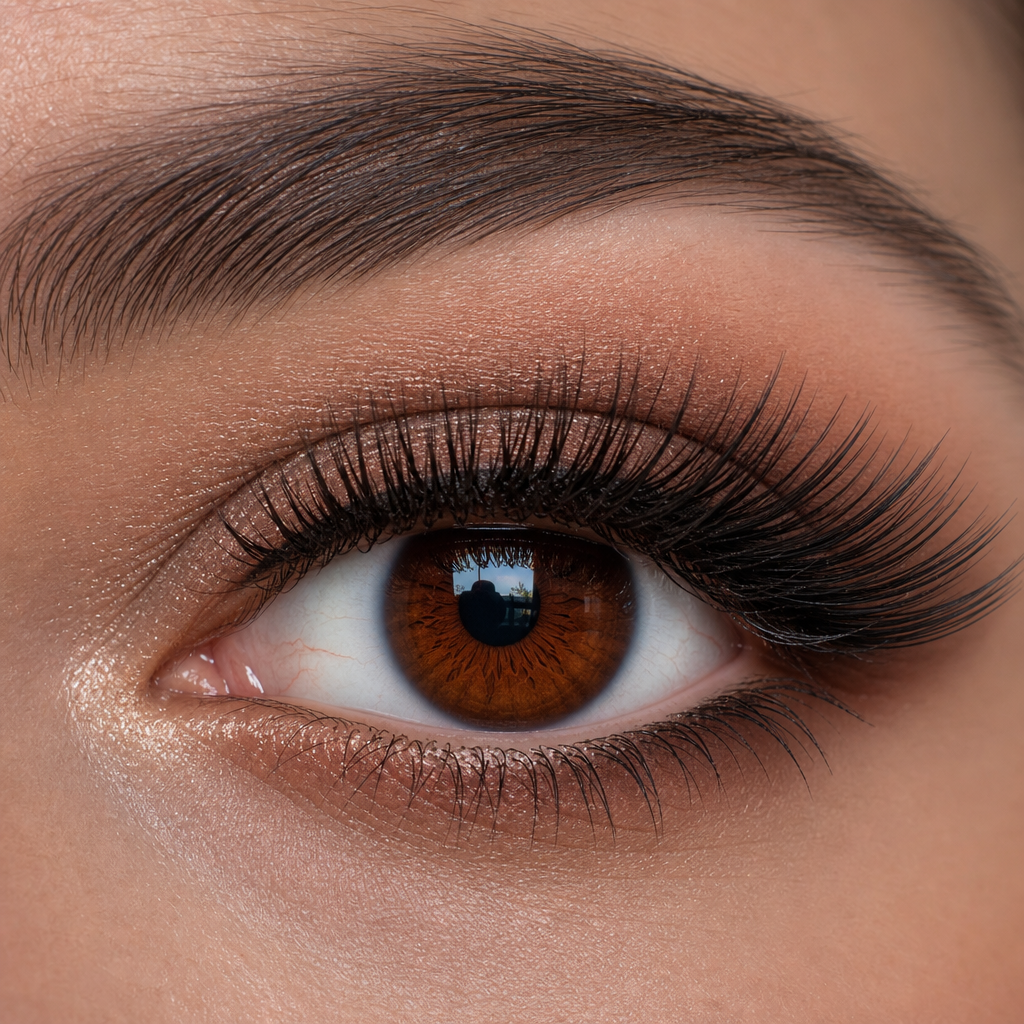
Round eyes are noticeably open, with the whites visible above and below the iris. A strip with evenly long fibers will make such eyes appear even rounder. A more natural look is achieved with fibers that gradually lengthen towards the outer corner – this elongates the gaze and gives it a calmer line.
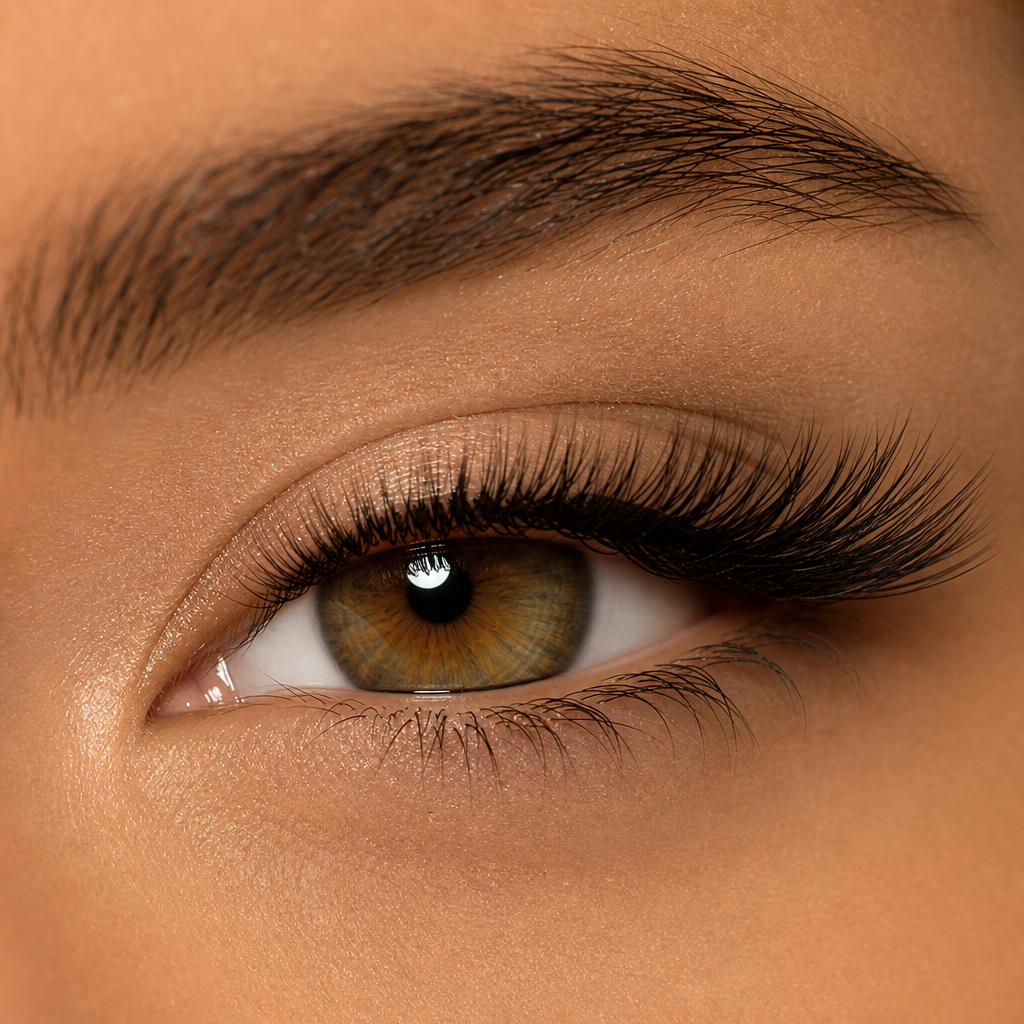
Almond-shaped eyes are versatile, as they can handle both even and graduated lengths. An even strip emphasizes symmetry, while a graduated one adds a gentle sweep towards the corner.
Smaller or narrow eyes are best opened up with fibers that are slightly longer in the middle of the strip. A dense and heavy strip, on the other hand, acts like a curtain and makes the eye appear smaller. For this shape, it's worth choosing thinner strips with a delicate, flexible band.
Hooded lids need fibers that don't rest on the crease. Very long straight fibers get lost under the lid and can snag when blinking. A more pronounced curl and length that increases in the second half of the strip are more effective – the fibers peek above the crease and aren't covered by the lid.
Close-set eyes are identified by the gap between them being less than the width of one eye. Here, it's helpful to keep the inner part of the strip subtle and place the longest fibers in the outer third – this visually spreads the gaze. Wide-set eyes work the opposite way: fibers can start closer to the inner corner and maintain a more even length.
Fitting and Trimming the Strip
Most strips are intentionally made longer to fit as many people as possible. Wearing them without adjustment is one of the most common beginner mistakes – the excess end presses into the outer corner, lifts, and detaches. Always dry-fit the strip along your natural lash line first to see how much it overlaps.
Trim exclusively from the outer end, where the fibers are longest. The inner end has shorter, finer fibers that create a natural transition, and cutting it off would lose the entire effect. Trim in small sections with small scissors and re-fit the strip after each cut. Leave a few millimeters free at the inner corner – the eye is usually most sensitive there, and the strip would otherwise rub.
Before applying the strip, bend it several times around your finger into a semicircle. This softens the band, helping it follow the curve of the lid instead of trying to straighten. For stiffer strips, this is the difference between lashes that stay put all evening and those that lift at the corners.
Density and Length of Fibers for Different Occasions
The final variable is density. Sparser strips with irregularly placed fibers complement what's missing in your natural lashes and look subtle. Dense strips with a full line are more dramatic and can handle dim lighting. As a general guide, consider the following:
- Daytime makeup and work – sparser strip, fibers up to about 10 mm, thin transparent band.
- Celebrations, photoshoots, or attending a wedding – medium density with graduated length that lasts all day.
- Evening makeup and parties – denser strip, longer fibers, and even a dark band that partially replaces eyeliner.
Whatever you choose, start with a more subtle strip for your first try. You'll learn how to handle and position them, and you'll apply a more dramatic model with confidence later.
Glue Under Control: Dosing, Drying, and Application Without Tremors
Most failed attempts with false eyelashes aren't due to clumsiness, but rather the glue. Either there's too much of it, or the strip is applied before the glue is ready. Two habits can solve these issues: a thin, continuous line and a moment of patience until the glue becomes tacky.
Clear or Black Glue
Clear glue dries transparent, forgiving minor application mistakes, making it suitable for subtle daytime lashes. Black glue blends with the lash line and visually enhances it—ideal for more dramatic evening makeup, but any excess is noticeable on the lid. If you're just starting, choose clear glue; switch to black once you're confident with the application. If you have sensitive eyes, opt for a latex-free version and test the new product a day in advance with a drop on the inside of your forearm.
How Much Glue to Apply Before Attaching the Strip
A drop the size of a pinhead is enough for one strip. Use a thin applicator to draw a line along the entire length of the band in one stroke; from a larger tube, it's easier to drop glue onto the back of your hand and pick it up with the tip of a toothpick. The line should be thin but continuous—any gaps mean the strip will lift. Both ends of the band deserve a bit more glue, as the corners bear the most tension. Avoid going over the band twice, as this can create clumps.
The next step, often skipped by beginners, is to let the glue become tacky. Wait about twenty to forty seconds until it loses its shine, becomes matte, and feels just sticky to the touch. Wet glue slides on the lid and the strip moves; tacky glue grips almost immediately, so you don't have to hold your hand to your eye for more than a few seconds.
Step-by-Step Application
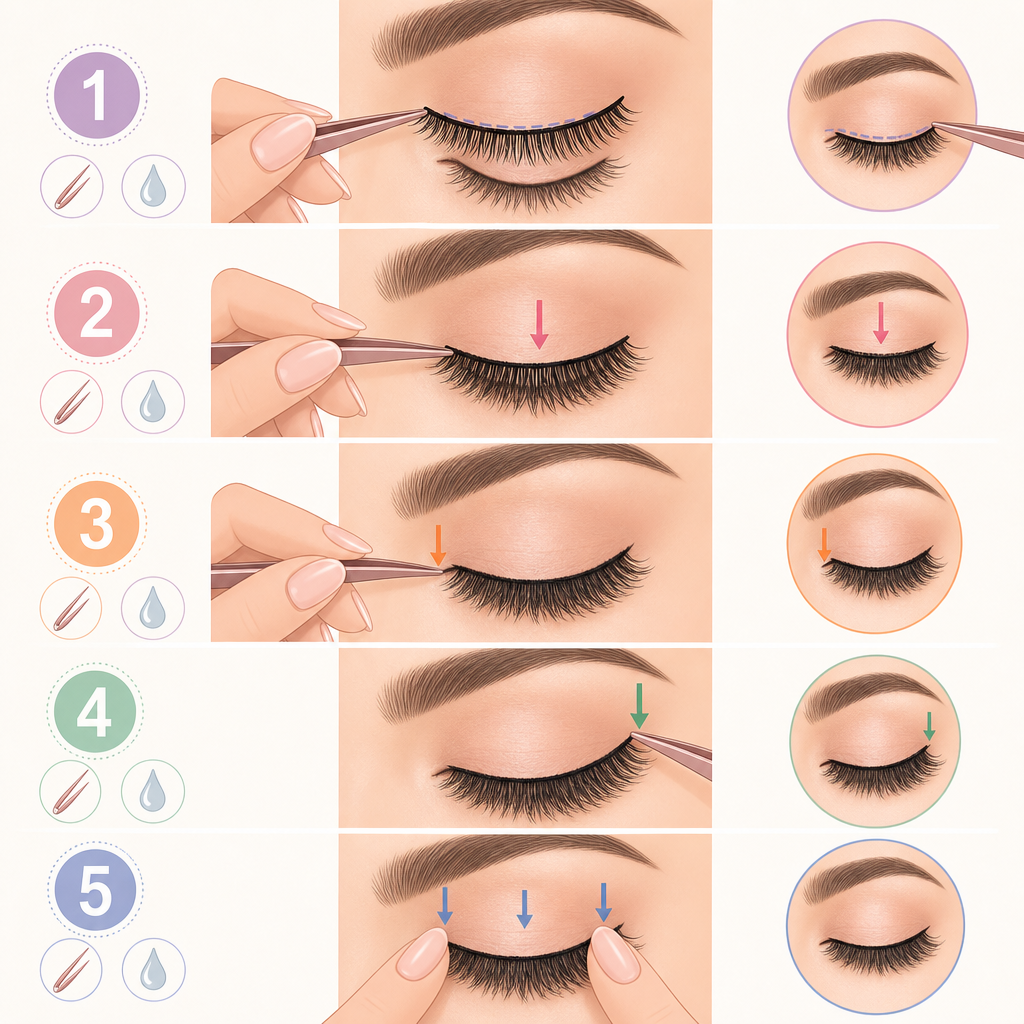
- Rest your elbow on a table and place a mirror below you so you can look down into it. Keep your eye slightly closed to avoid stretching the lid.
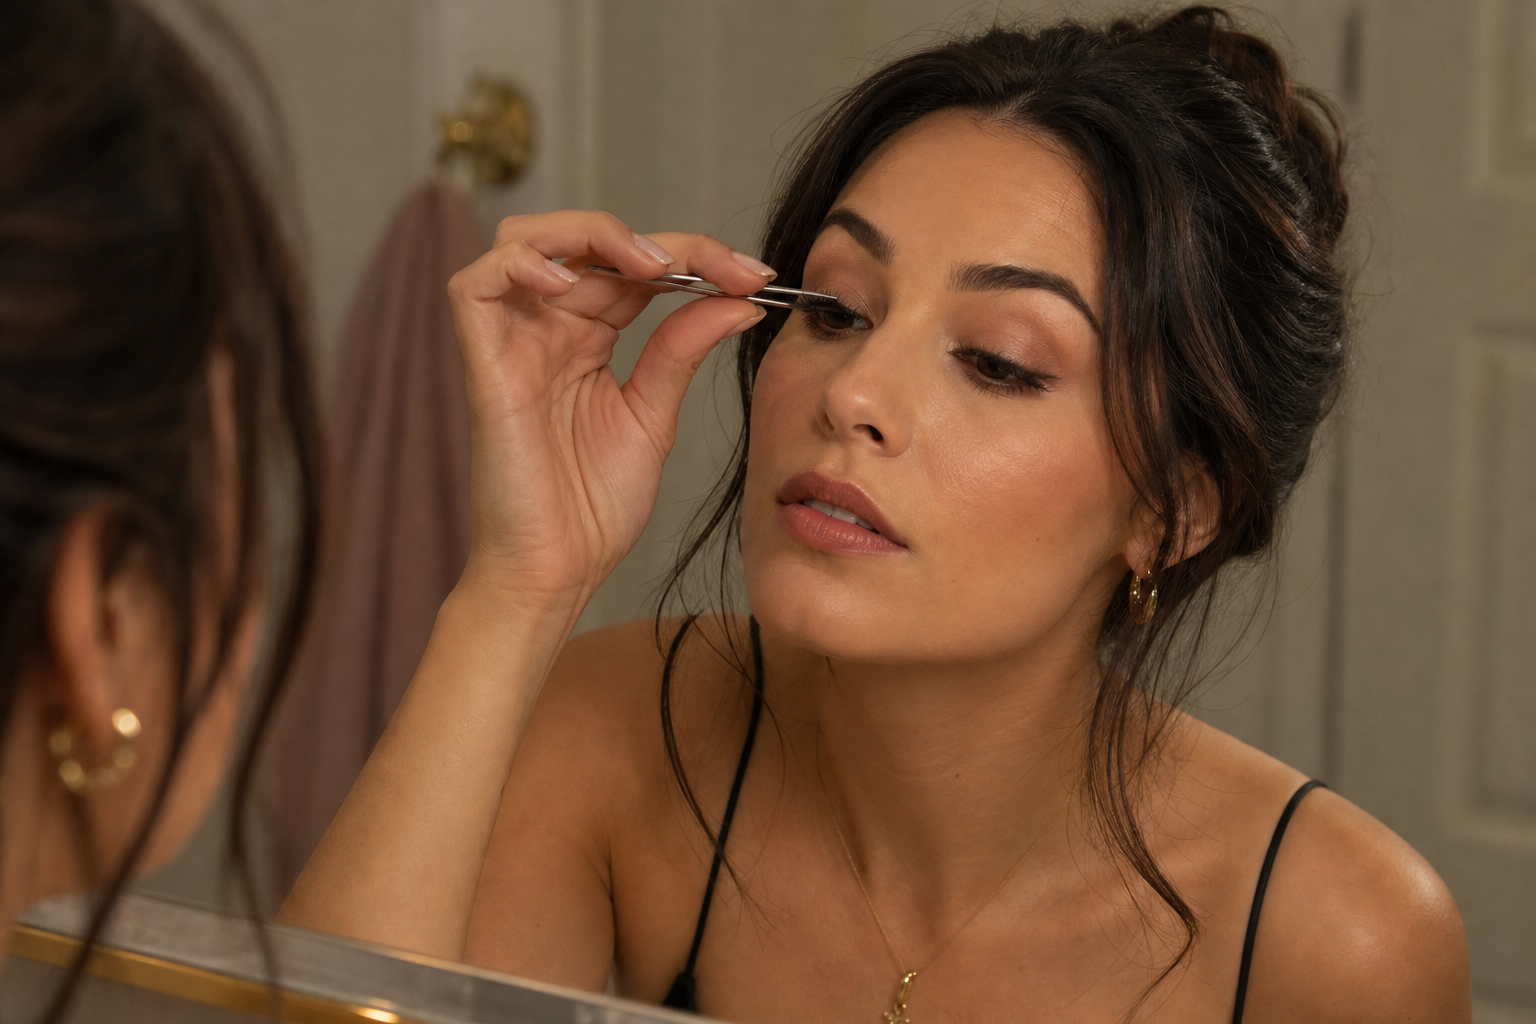
- Hold the strip with tweezers by the band, not the fibers—fingers bend it and transfer glue to the lid.
- First, place the center of the strip as close as possible to your natural lash line, just above it, not on the lid.
- Press the inner corner first, then the outer; this order allows the band to naturally conform to the shape of your eye.
- Finally, press down the entire band and push your natural lashes into the false ones to blend them into a single line.
Your hand shakes mostly when you're in a hurry. For the first time, set aside an extra ten minutes and apply the lashes after eyeshadow but before the final eyeliner—this will cover any visible strip.
If It Doesn't Fit Right the First Time
- Lifting Outer Corner – there's either not enough glue there, or the strip is too long for your eye. Add glue to the end with a toothpick and hold for a few seconds; next time, trim the strip.
- Visible Band – the strip sits too high. Draw a thin line along the roots, or better yet, remove it and reapply lower.
- Shifted Strip – as long as the glue hasn't dried, about half a minute, it can be carefully adjusted with tweezers. After that, don't press on it forcefully.
- White Clumps at the Roots – there was too much glue. Let them dry completely, then gently peel them off with tweezers.
Applying strips is a skill like any other: by the third time, it will take you a fraction of the time you spent on it the first time.
Gentle Removal and Subsequent Care for Your Own Lashes
Most damage to your natural lashes doesn't occur during the application, but in the evening. The strip holds, you're tired, and the only quick solution seems to be to grab the end and pull it off. However, with the adhesive, part of your own lashes also come off, and they take several weeks to grow back. Gentle removal takes just two minutes and requires nothing more than an adhesive remover or an oil-based makeup remover.
Soften First, Then Remove
The golden rule is: never pull the strip off dry. Dip a cotton swab in adhesive remover or oil-based makeup remover and gently run it along the line where the strip sits on the lid. Both the oil and the designated adhesive remover soften the glue, allowing the bond to release on its own. Let the product work for twenty to thirty seconds, keeping your eyes closed during this time. Micellar water usually isn't enough – without an oil component, the adhesive just gets damp but doesn't loosen.
Direction Matters
Once the adhesive softens, grasp the strip at the outer end – where it's the strongest – and slowly pull towards the inner corner. Move flatly, right along the lash line, not perpendicularly upwards from the lid – it's the perpendicular pull that tears out your own lashes.
- With your other hand, gently hold the skin of the lid at the outer corner, so it doesn't pull with the strip.
- Proceed centimeter by centimeter, not with one swift pull.
- If you feel resistance, stop pulling and return with the cotton swab and remover to the spot that's holding.
- For clusters and individual lashes, the same applies, just apply the remover specifically to the individual roots.
Always remove the strip before cleansing the rest of the eye. A makeup remover pad will spread the adhesive into the lashes, making them much harder to clean.
Cleaning and Storing the Strip
The removed strip has a continuous strip of dried adhesive on the bottom edge. Let it dry completely for a moment, then peel it off in one piece with tweezers – it usually comes off in one go. Never soak the entire strip in water or alcohol: the fibers will lose their curve, and lashes with hair fibers will become permanently limp. Simply wipe the edges with a cotton swab moistened in remover and let them dry freely.
Return the clean strip to its original box on the plastic arc. This isn't just extra packaging material, but a shape support that helps the strip maintain its curvature – left loose in a bag, it quickly deforms. How many times can it be reused? For quality synthetic strips, it's about ten to fifteen applications, for cheaper ones, two to three. But decide based on condition, not count: once the fibers stop holding their shape, it's time for a new one.
What to Give Your Own Lashes Between Wears
After removal, clean the eye as you usually do – a gentle eye makeup remover, no harsh rubbing. Let your own lashes rest a few days a week without adhesive or waterproof mascara – the latter is the hardest to remove and mechanical rubbing damages lashes more than the adhesive itself. Lash and brow serums are applied with a brush along the root line, similar to eyeliner, usually once a day on a cleansed lid. They're not medicinal products, and results vary for everyone, so assess them over several weeks, not just a few days.
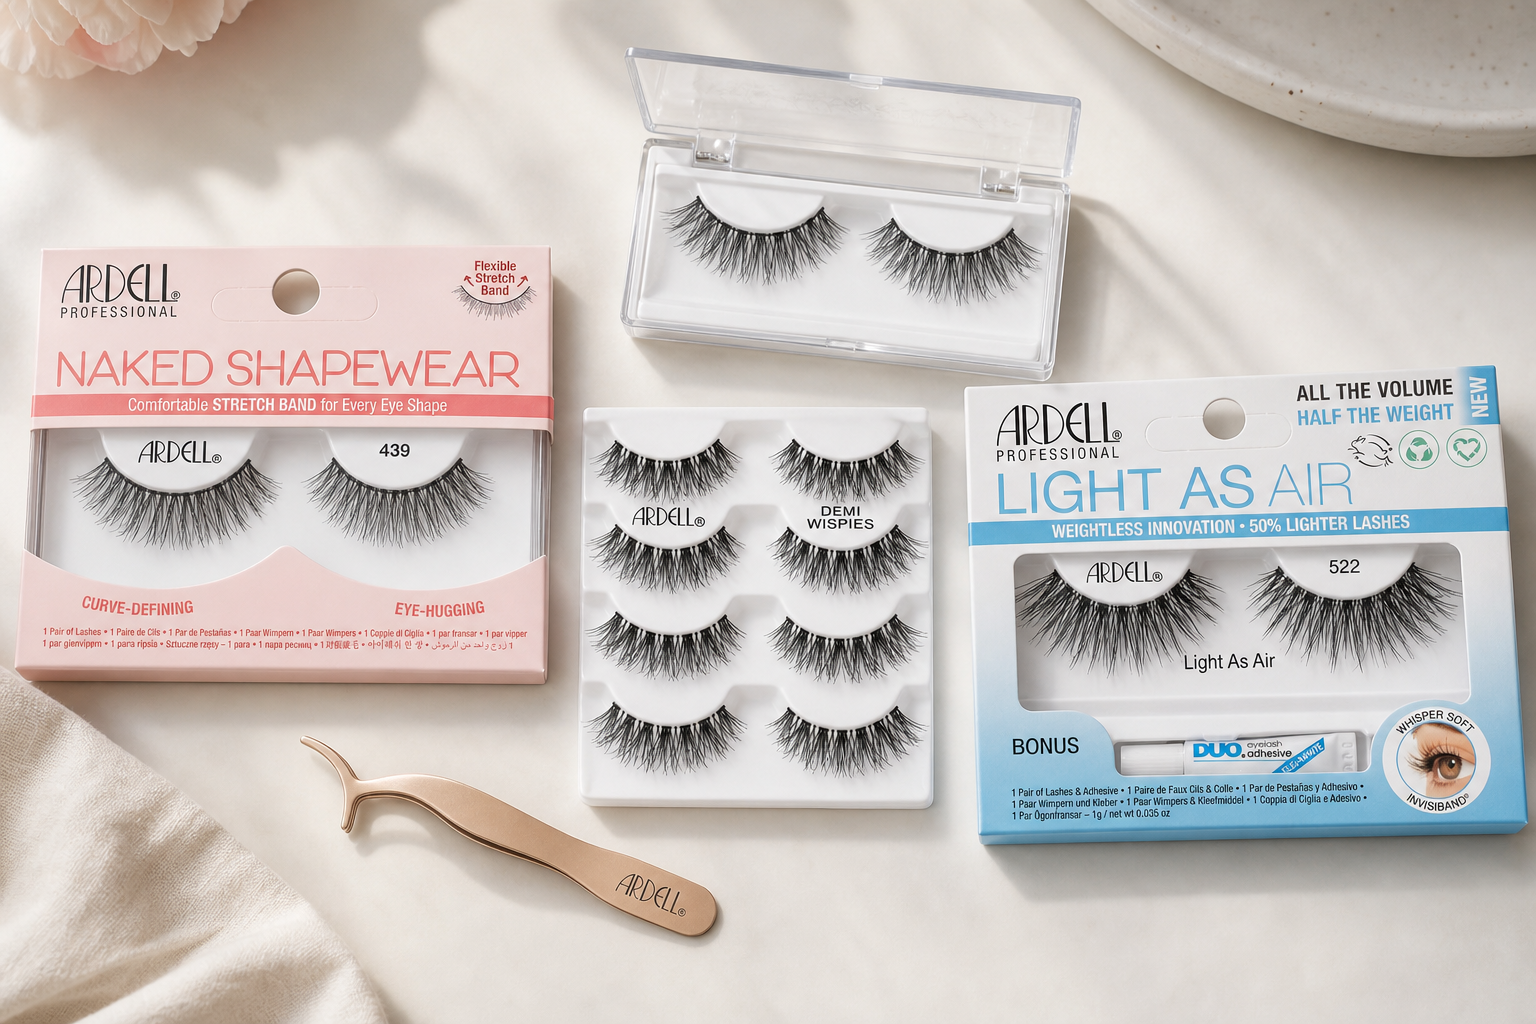
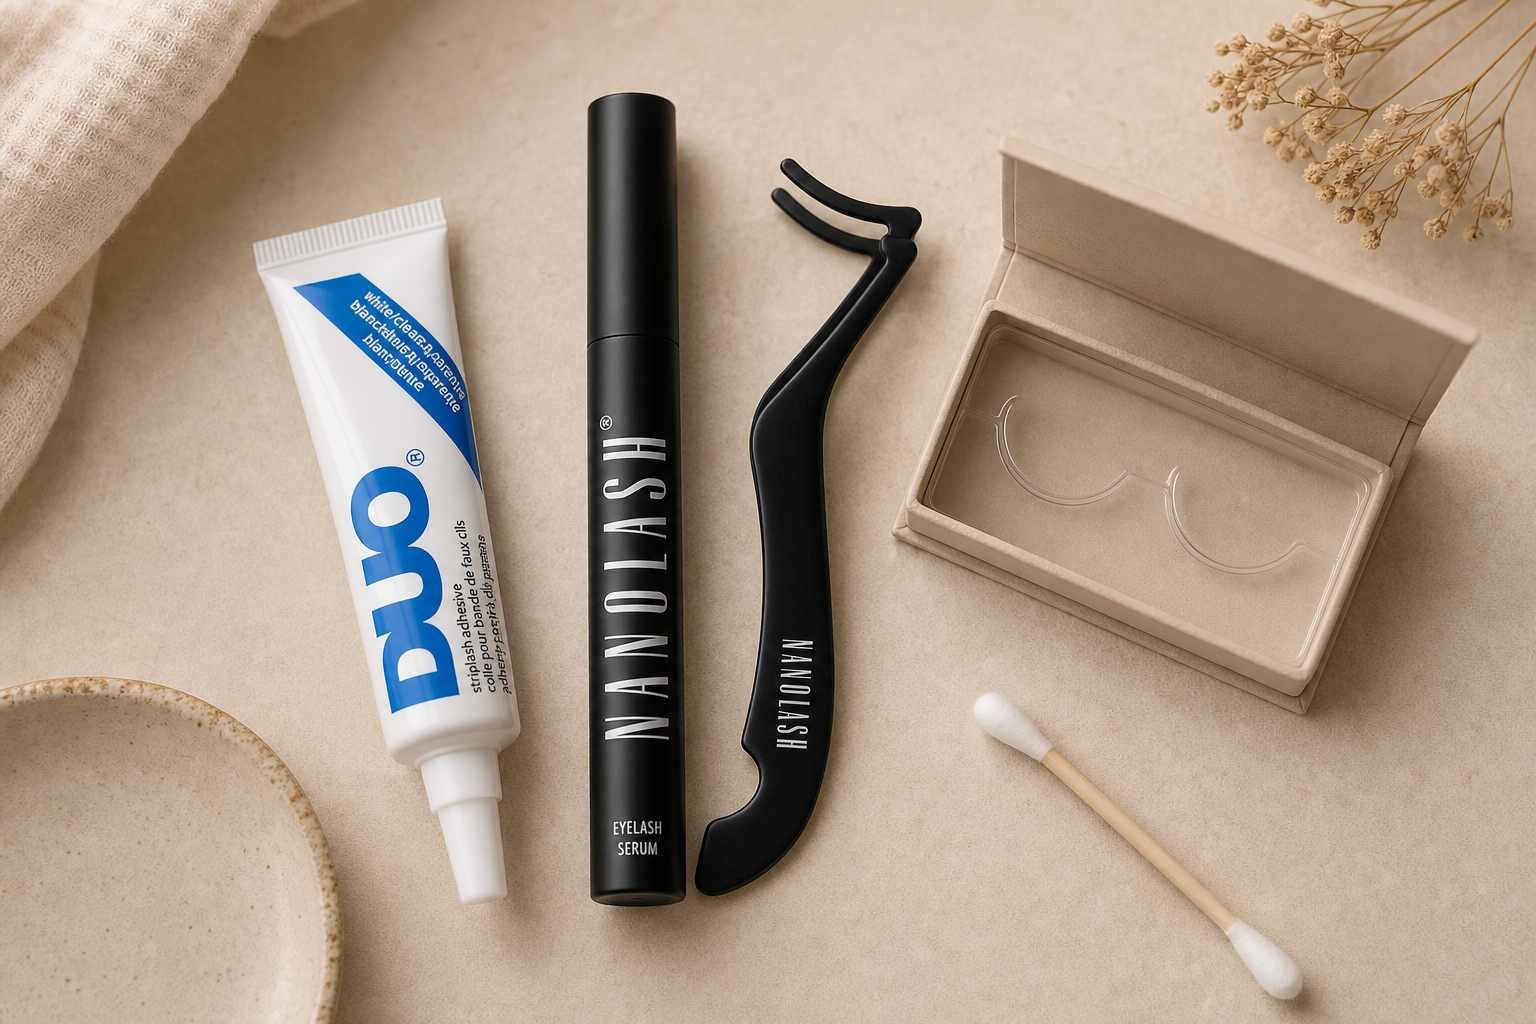
For the first try, you'll manage with a small kit. From the artificial lashes category on Brasty, choose one strip in a natural length, along with adhesive and especially adhesive remover – the brand Ardell offers gentle removers alongside strips and adhesives, so you have the whole trio from one manufacturer. For subsequent care, look into the lash and brow serum category, where long-time favorites include Nanolash Eyelash Serum. And if artificial lashes don't suit you in the end, it's not a loss – a volumizing mascara on rested lashes often does more than a hastily applied strip.
Category
Recommended articles

"Give a girl the right shoes and she can conquer the world!" Marilyn Monroe