
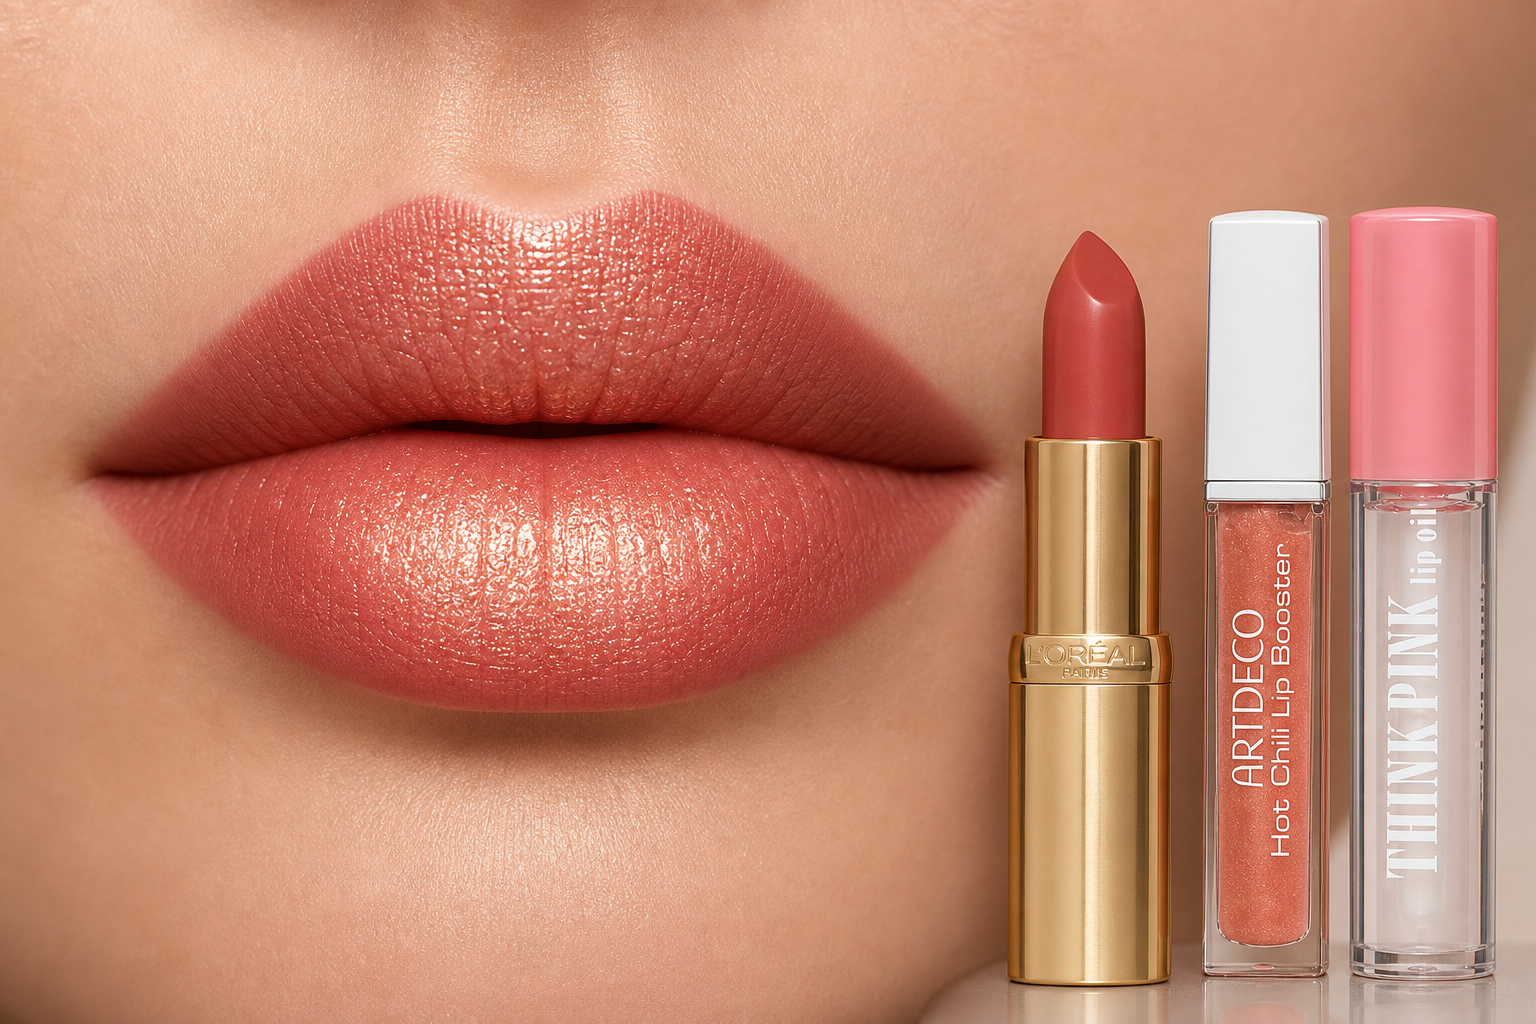
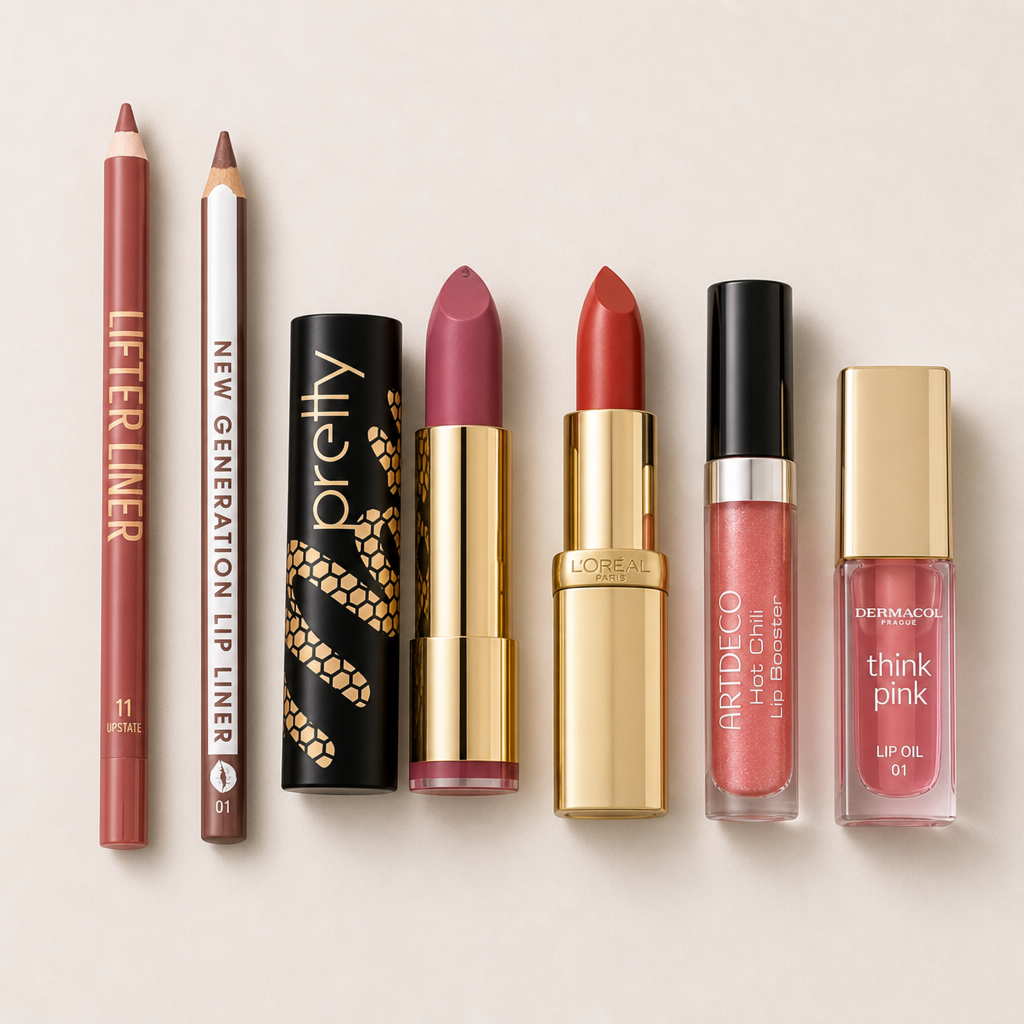

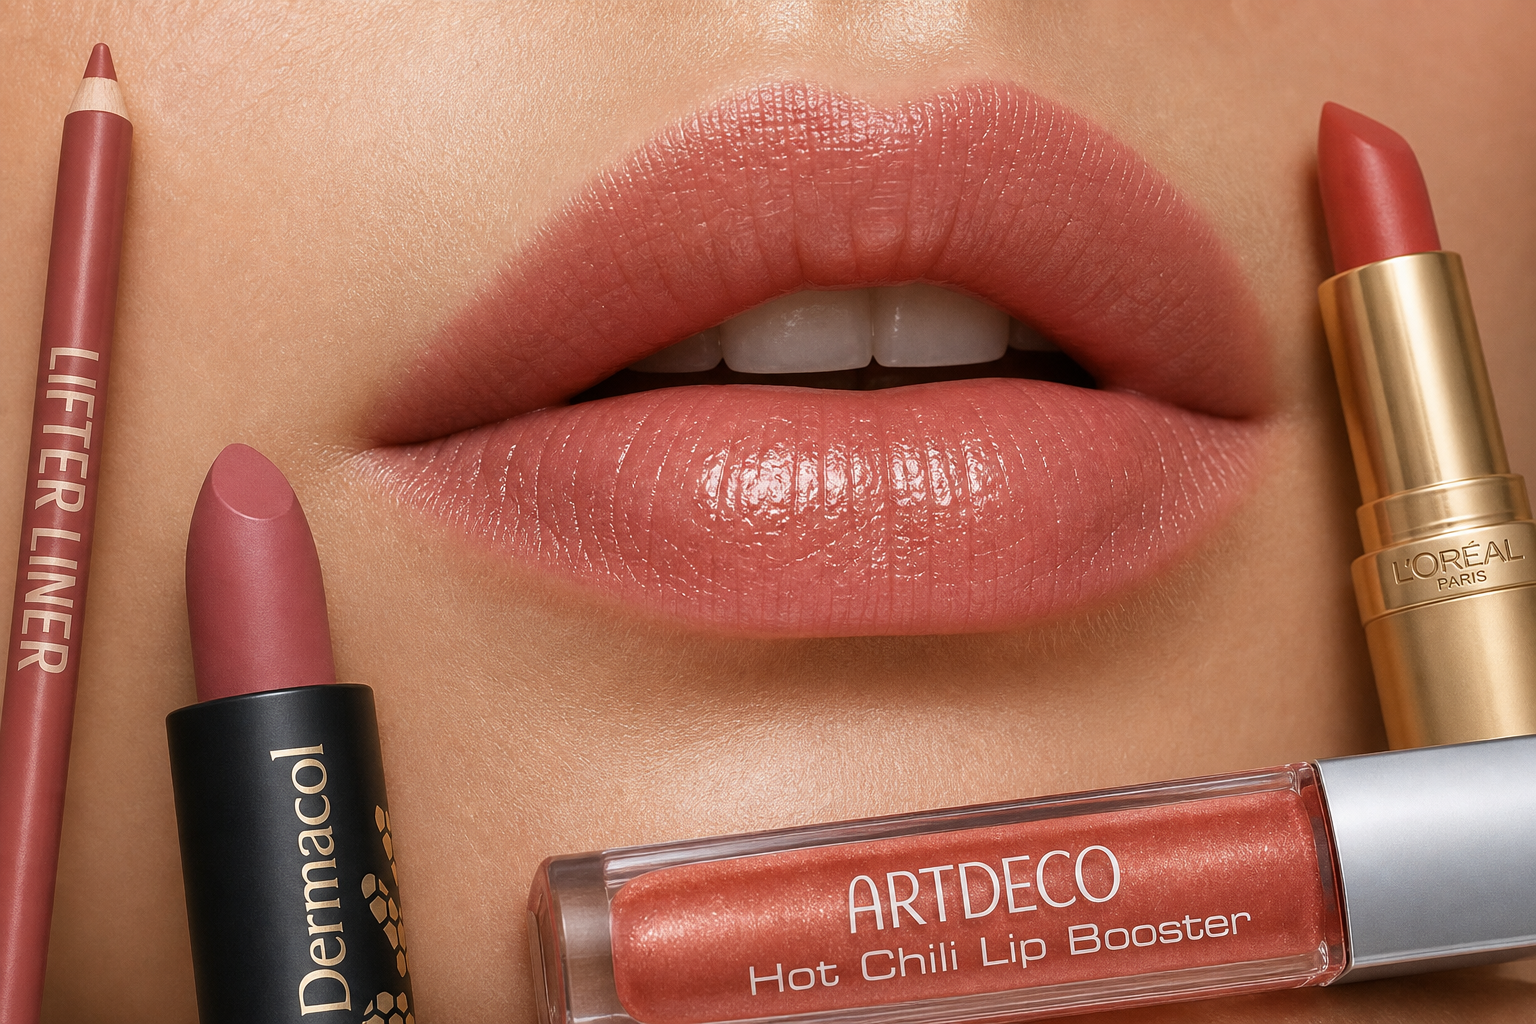
Want to visually enhance your lips with makeup but afraid it might look obvious? We'll guide you step-by-step on how to choose the right pencil shade, outline a natural line, and highlight the center of your lips – and where to draw the line to avoid an exaggerated look.
The Art of Lip Contouring: What It Really Achieves
Whether you've always felt your lips were too thin or you just feel their outline has blurred over the years, the principle remains the same: contouring doesn't add volume to your lips. It works with light and shadow. The eye perceives volume based on where the surface shines and where it darkens – areas that reflect light appear closer and larger, while shaded areas recede. The entire technique is about consciously and moderately applying this mechanism to your lips.
In practice, it involves three elements working together. A precisely drawn line gives the lip a defined edge, preventing its shape from blending into the surrounding skin. A subtle darkening at the corners allows the center of the lip to stand out. And light in the middle of both the upper and lower lip lifts the center optically. None of these elements work on their own: a pencil without highlighting looks like an outlined contour, and highlighting without a line spreads outwards. Only together do they create the impression of a fuller shape.
What Contouring Can Actually Do
- Restore the edge to a lip line blurred by dryness or age – preventing lipstick from bleeding into fine lines around the mouth.
- Correct slight asymmetry when one half of the lip is noticeably fuller than the other.
- Emphasize the cupid's bow, the dip in the middle of the upper lip, giving the mouth a more defined shape.
- Balance the ratio of the upper and lower lip when one is significantly thinner.
- Extend the line slightly beyond the natural edge where the transition to the skin is still soft – typically in the center of the lip, not at the corners.
Where Anatomy Comes Into Play
Contouring is an optical trick, not a substitute for surgery, and it has its limits. The skin above the lips has a different texture and shine than the lip's mucous membrane, so it reflects light differently. Once you move the line too far, the eye notices the difference in texture before the shape, and the result starts to look artificial.
- You can't change the width of the mouth. A pencil stroke beyond the corner reads as a line, not as a continuation of the lip.
- A very thin lip can't be doubled. The real margin is measured in millimeters, not significant redrawings.
- A short distance between the nose and the upper lip further limits upward extension.
- A prominently protruding lip line, known as the vermilion border, casts its own shadow – a new line next to it will appear as a second edge.
This is also the concern most of you have with the technique: that it won't be obvious there's a line there. This concern is valid and should be used as a working standard, not a reason to avoid contouring. The guideline is simple. Look in the mirror at arm's length, in natural light, and try to describe what you see. If "fuller lips" comes to mind, the technique is working. If "outlined lips" comes to mind, the line is too dark, too sharp, or extends too far from the edge.
A natural result isn't determined by how many millimeters you've added, but by whether the line disappears into the whole. A well-done contour isn't a standalone element that can be identified on the face – it's just an edge that holds the shape together. This standard will guide you through every subsequent step, from choosing the shade to the final gloss.
How to Choose a Lip Liner Shade That Blends Seamlessly
Lip contouring hinges on the shade. While technique improves with practice, a poorly chosen liner color will reveal the outline even after perfect blending – the line separates on the lips like a thin frame, resulting in a harsh look. Before focusing on your hand's movement, get the color right.
The One to Two Tone Rule
The basic guideline is simple: your lip liner should be one to two shades darker than your natural lip color. Not an entire palette. A difference that seems almost imperceptible at first glance is exactly what works on the lips – it creates a shadow, not an outline. Once you opt for a shade three or more tones darker, it stops being contouring and starts being dual-tone makeup, which must be intentional.
Examine your lip color without makeup, ideally by a window in daylight. The shade you're looking for appears like your natural color in shadow. If you're torn between two liners, choose the lighter one – you can darken it by layering, but you can't lighten a shade that's too dark.
Cool or Warm Nudes? Undertone Decides
Nude shades are divided into cool and warm, and this is where most contouring mishaps occur. Cool nudes have a pink, ashy, or slightly purple undertone and suit lips that naturally lean towards pink. Warm nudes are based on peach, caramel, or cinnamon and are suitable for lips with a hazel undertone. If you swap the two groups, the liner will either gray out or turn orange – and that's when the line becomes visible.
The same logic applies to the lipstick that follows. A cool liner under a warm lipstick creates a grayish rim, while a warm liner under a cool lipstick results in a sharp rusty edge. Keep both layers in the same temperature family, and the difference between them will only be noticeable up close. If you want to stick with just one liner, choose a neutral nude – it allows for more combinations than a distinctly cool or warm shade.
Texture Matters as Much as Color
Shade isn't the only variable. The hardness of the pencil determines how the line behaves after drawing:
- Creamy pencil glides on, blends easily, and forgives minor mistakes. The trade-off is shorter wear time and a tendency to smudge in heat.
- Harder pencil maintains a sharp line for several hours and is suitable for fine shape corrections. However, it requires hydrated lips – it can snag on dry ones.
- Retractable pencil with a thin tip doesn't need sharpening, and the line width remains consistent. It's appreciated if you contour often.
If you're choosing your first pencil, start with a creamier texture in a neutral nude shade. It can also serve as a base under lipstick across the entire lip surface.
Quick Shade Test Before Purchase
In-store, a two-step test proves effective. First, sketch the pencil on the inner side of your wrist next to two adjacent shades – you'll immediately see which is warmer and which is cooler. However, the wrist won't reveal how the color looks on the lips, so the second step is a thin strip directly on the lower lip, just above its edge. The right shade almost disappears and acts as a natural shadow.
When shopping online, you don't have this option. Stick to three points:
- Look for a photo of the swatch on skin, not just a shot of the closed pencil – the color of the pencil in the packaging is usually more intense than the result on the lips.
- Rely on the verbal description of the shade (cool, neutral, warm) rather than the serial number in the range.
- If you're buying a liner for a specific lipstick, compare the undertones of both. For your first purchase, choose the middle of the palette, as extreme shades are harder to judge from a photo.
Once you find a shade you're happy with, note its name and number. Nude ranges tend to be extensive, and individual shades differ in detail, so after a few months, memory may not suffice.
Drawing the Line Step by Step
Choosing the right shade is half the battle. The other half is actually drawing the line, which is more about patience than a steady hand. If you break the process into a few short steps, you can manage it even in the morning before heading out, without feeling like you're reapplying it over and over.
Start with preparation. Drawing lines on dry lips is difficult – the pencil skips, the color settles into creases, and the edge looks frayed. A gentle exfoliation the night before and a thin layer of lip balm in the morning, left to absorb for five to ten minutes, work well. Then gently blot away any excess with a tissue, as a slippery surface won't hold the line. Some people prefer to even out the area around the lips with a small amount of makeup or powder to ensure a clean transition and prevent an uneven edge from standing out.
Prepare your pencil. The tip should be sharpened, but not needle-sharp – a sharp edge tends to scratch rather than draw. A rounded, slightly slanted tip applies color more softly and forgives minor mistakes. Hold a harder pencil between your fingers for a moment; a few degrees warmer, it glides noticeably better.
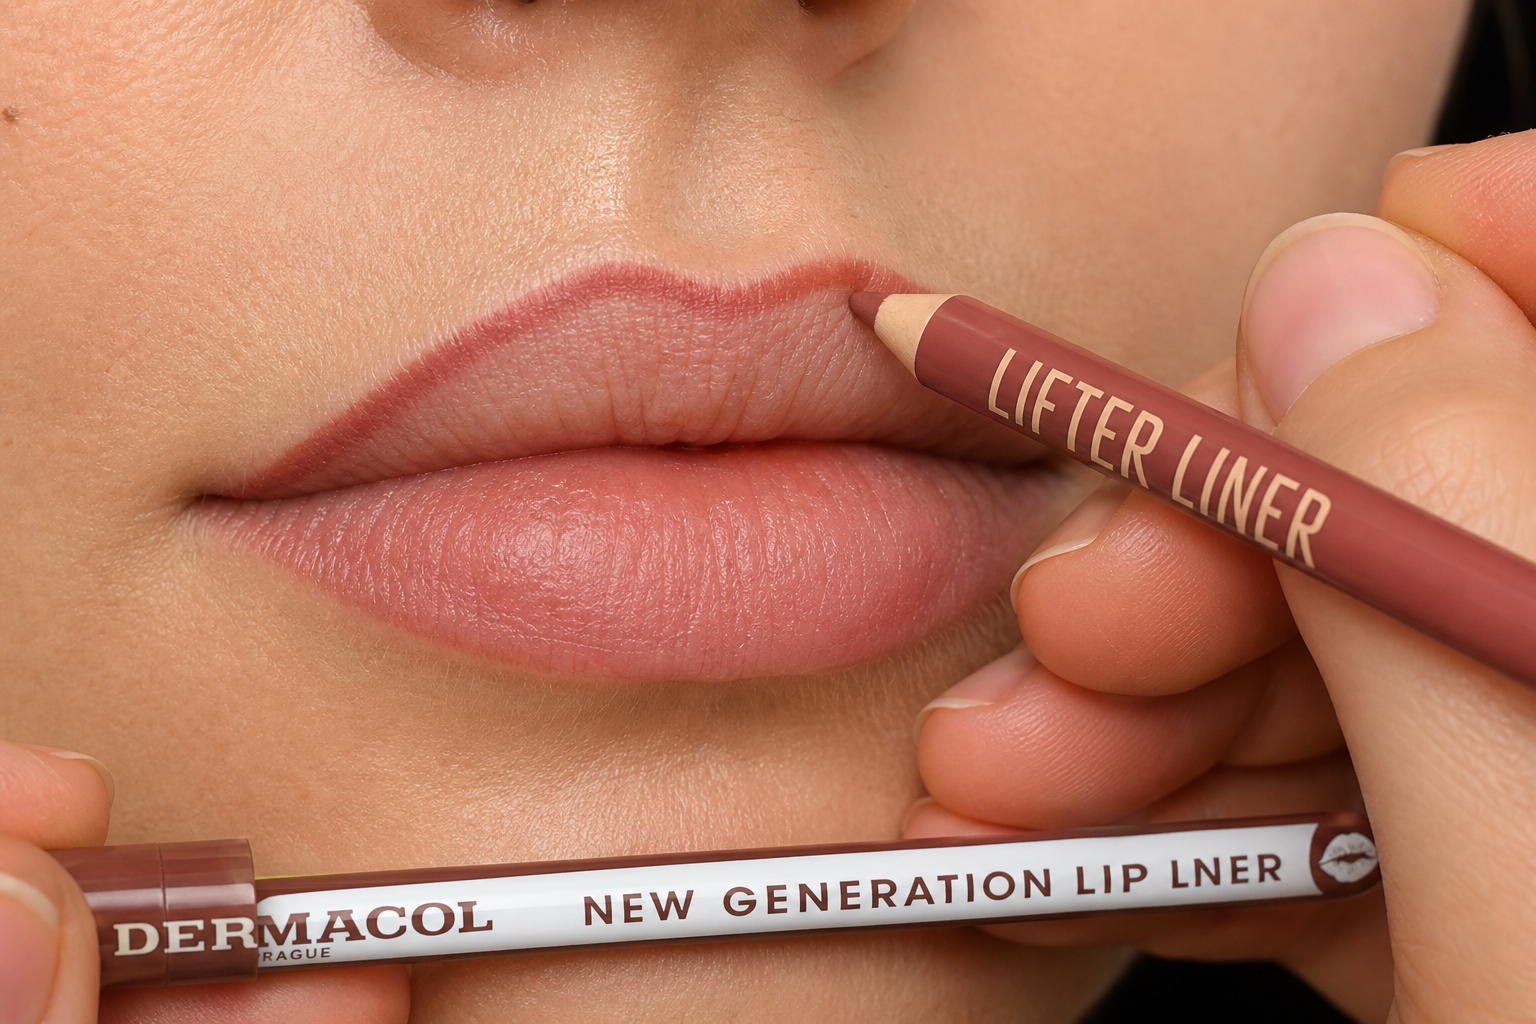
First the points, then the line. Before you start drawing, mark some reference points. These act as a framework for the line to follow and maintain symmetry better than an eye that only tracks one side of the mouth.
- The two peaks of the Cupid's bow above the upper lip – draw them as two short diagonal lines converging into a V.
- The dip between them, which is the center of the upper lip.
- The center of the lower lip, which determines how much fullness you can afford below.
- Both corners, where the line must return precisely to the natural edge.
Draw with short strokes. A continuous line from corner to corner reveals every hesitation of the hand and every unevenness of the lip. More reliable are strokes two to three millimeters long, which you gradually connect and repeat if necessary. The resulting line is created by layering, not by a single decision – and if you deviate somewhere, you correct a millimeter, not the entire side of the mouth. Always work from the center to the corner, never the other way around; towards the corner, the pressure naturally decreases and the line thins on its own.
Guide the line along the edge, not above it. The lip contour has its own subtle ridge, and the pencil should follow right along its edge. As soon as the line lifts and leaves a strip of skin between it and the lip, the eye notices immediately, even if no one consciously sees the outline. The room for optical enlargement is therefore smaller than expected – and mainly not the same around the entire perimeter:
- The peaks of the Cupid's bow and the center of the lower lip can handle a fraction of a millimeter more, approximately up to one millimeter. Here, the ridge blends into the lip most smoothly, and the difference reads as fullness, not as a drawing.
- The side parts of the upper lip can handle even less; exaggeration here mainly shows as a flattening of the shape.
- Leave the corners alone. The skin there is darker and drier, the line doesn't hold, and any extension above the natural edge looks like overflowing lipstick. Conversely, a corner closed tightly on the edge unifies the whole shape visually.
Finally, blend the edge. Soften the inner side of the line with short movements towards the center of the lip – a fingertip, a lip brush, or a cotton swab will do. The outer edge remains sharp and defines the shape, while the inner edge blends into the lip surface, so when lipstick is applied, no visible frame appears. This step makes the biggest difference between a contour that's visible and one that quietly holds the shape.
Highlighting the Center of the Lips: Light, Shine, Volume
A lip liner defines the shape, but true fullness comes from working with light. The eye perceives as more prominent the area that reflects more light – and that's exactly what highlighting the center of the lips is based on. It's the same principle you know from cheekbone makeup, just on a much smaller scale and with much less tolerance for error. A few extra millimeters here determine whether the lips look full or unnatural.
Lighter Shade in the Center
The most subtle version does without any gloss. Cover your lips with your base lipstick shade and then dot a shade half to one tone lighter on the center of both the upper and lower lips, ideally from the same color family to avoid a noticeable color jump. Blend it with the pad of your finger or a small flat brush towards the edges, never the other way around: a stroke from the outside in would spread the lighter color across the entire area and the effect would disappear. The highlighted zone should be a short ellipse in the middle of the lip, not a stripe across the full width.
Lip Gloss: How Much is Enough
Lip gloss and lip oil work the same way, just through a different approach – instead of a lighter color, they add a reflective film. Apply it to the same zone, the center, and in a really small amount: one application on the upper lip, one on the lower. Lip oils usually have a lighter consistency and are less likely to migrate into surrounding lines, whereas thicker sticky gloss can easily run over the drawn line and smudge it. If you opt for a more pronounced texture, be prepared to check it throughout the day.
Pearl vs. Coarse Glitter
Pearlescent and satin textures diffuse light softly, adding volume to the lips without drawing attention to themselves. They work well on both small and larger lips and forgive imprecision. Coarser glitter with visible particles is a different story: it highlights the relief it falls on, which also means dry spots and fine lines. On dry lips, it usually doesn't help; hydration and a softer satin are preferred. Matte lipstick doesn't add volume, but you lose nothing by it: the combination of a matte base and a small glossy spot in the center is a reliable way to visually enlarge lips while keeping the line in place.
Cupid's Bow as an Accent, Not the Main Effect
A slight highlight above the cupid's bow, the curve of the upper lip, accentuates its shape, making the upper lip appear more defined. Use a creamy or liquid highlighter without coarse glitter, apply it in a pinhead-sized amount, and blend it carefully into the skin with your finger. This trick tolerates very little product: once it is visible on the skin as a separate spot, it stops acting as light and starts acting as a stain. If you have more pronounced expression lines above your lips, it's better to skip it.
What to Avoid
- Too much gloss. A layer that shines across the entire lip surface merges into one reflection, and the difference between the center and edges disappears. Volume comes from contrast, not quantity.
- Sharp transition between liner and lipstick. When it's visible where the contour ends and the fill begins, the eye notices it before the shape. Blend the transition with a brush until the boundary disappears.
- Unblended line. A standalone outline looks harsh even when the shade is chosen correctly. Soften it with light tapping, not long strokes.
- Highlighting across the full width. A lighter color from corner to corner actually flattens the lips. Stick to the middle third.
Highlighting is a step that can always be intensified, but it's harder to tone down. Therefore, start with a smaller amount than you think is sufficient, and check the result in daylight – bathroom lighting usually underestimates the gloss.
Where to Draw the Line with Natural Beauty – Essentials for Your Makeup Bag
Lip contouring has a pretty clear boundary: as long as the line follows your natural shape and simply enhances it, the result looks like you've just had a good night's sleep. Once it strays too far from the natural edge, others will notice it – not as fuller lips, but as makeup. The difference between "it looks good" and "it looks overdone" isn't about boldness, but a few millimeters and the choice of textures.
The practical test is simple. Take a photo of your made-up lips in natural daylight from a distance where others typically see you, and look at the picture after a few minutes. If you first notice the line and only then the lips, it's time to tone it down. Overdone looks usually manifest in three ways: the contour is darker than the fill, creating a visible frame, the line extends higher than your facial expressions can handle, or the shape is widened into the corners where lips naturally lose volume.
There's a pleasant realization: the better your base, the less correction you need. Hydrated lip skin holds pigment evenly, so the line doesn't need to be strong to be effective. Many overdone results occur when a pencil is used to compensate for what should be achieved through care.
Minimalist Kit: Two Essentials for Your Everyday Bag
When you're doing your makeup in a rush in the morning, a lip liner and balm are more than enough. Draw the line with the pencil and immediately blend it into the surface, so it also serves as a base; the balm adds softness and a subtle glow. The advantage is simplicity – two items, no touch-ups, and a result that won't break into a sharp edge during meals. Look for a pencil with a creamier finish that can be blended, and a balm without strong pigment to avoid altering the shade.
Complete Kit: Pencil, Lipstick, Gloss or Lip Oil
For a long workday or evening event, a trio where each product has its role makes sense. The pencil holds the shape and prevents bleeding, the lipstick provides color and coverage, and the gloss or lip oil adds light to the center. A small flat lip brush is useful: it allows you to soften the color in the corners and focus it in the center more precisely than directly from the tube. Lip oils are a fresh category, combining light color with a nourishing component – if traditional gloss feels sticky to you, they're worth trying.
How to Choose When You Can't Try the Shade in Person
Shopping online has its rules to reduce the risk of the product ending up unused in your drawer:
- Read the finish description before the shade name. A matte texture will firm the shape but visually reduce it; satin and creamy textures return light, making them better for contouring.
- Base your choice on what you already have and what suits you. Descriptive words like nude, rosewood, or mauve tell you more about the result than the shade number.
- Consider product photos as a guide – lighting and screen calibration can shift the color.
- For pencils, opt for a shade lighter rather than darker. A lighter line forgives imprecision, while a darker one highlights it.
- If you're torn between two shades, start with the one closer to your natural lip color.
In our decorative cosmetics range, you'll find lip liners, lipsticks, glosses, and the newer lip oils from brands like Dermacol, Maybelline, Pupa, or Clarins – from affordable everyday pieces to more luxurious textures. You can choose based on finish, coverage, and shade, whether you're building a minimalist duo or a complete set.

Category
Recommended articles

"Give a girl the right shoes and she can conquer the world!" Marilyn Monroe