

A lip liner can do much more than just outline – when used correctly, it extends the longevity of your lipstick and unifies the shape. We'll show you the step-by-step process and debunk the most common myths surrounding lip contouring.
Lip Liner: Why You Should Include It in Your Makeup Routine
Whether you see makeup as a quick five-minute morning routine or enjoy spending more time on it, lips are often where the difference between "done" and "well-thought-out" is most noticeable. A lip liner is a small tool that can make this difference – yet many people still view it as something reserved for special occasions. Let's first clarify what it actually does and why it's worth having on hand even on an ordinary day.
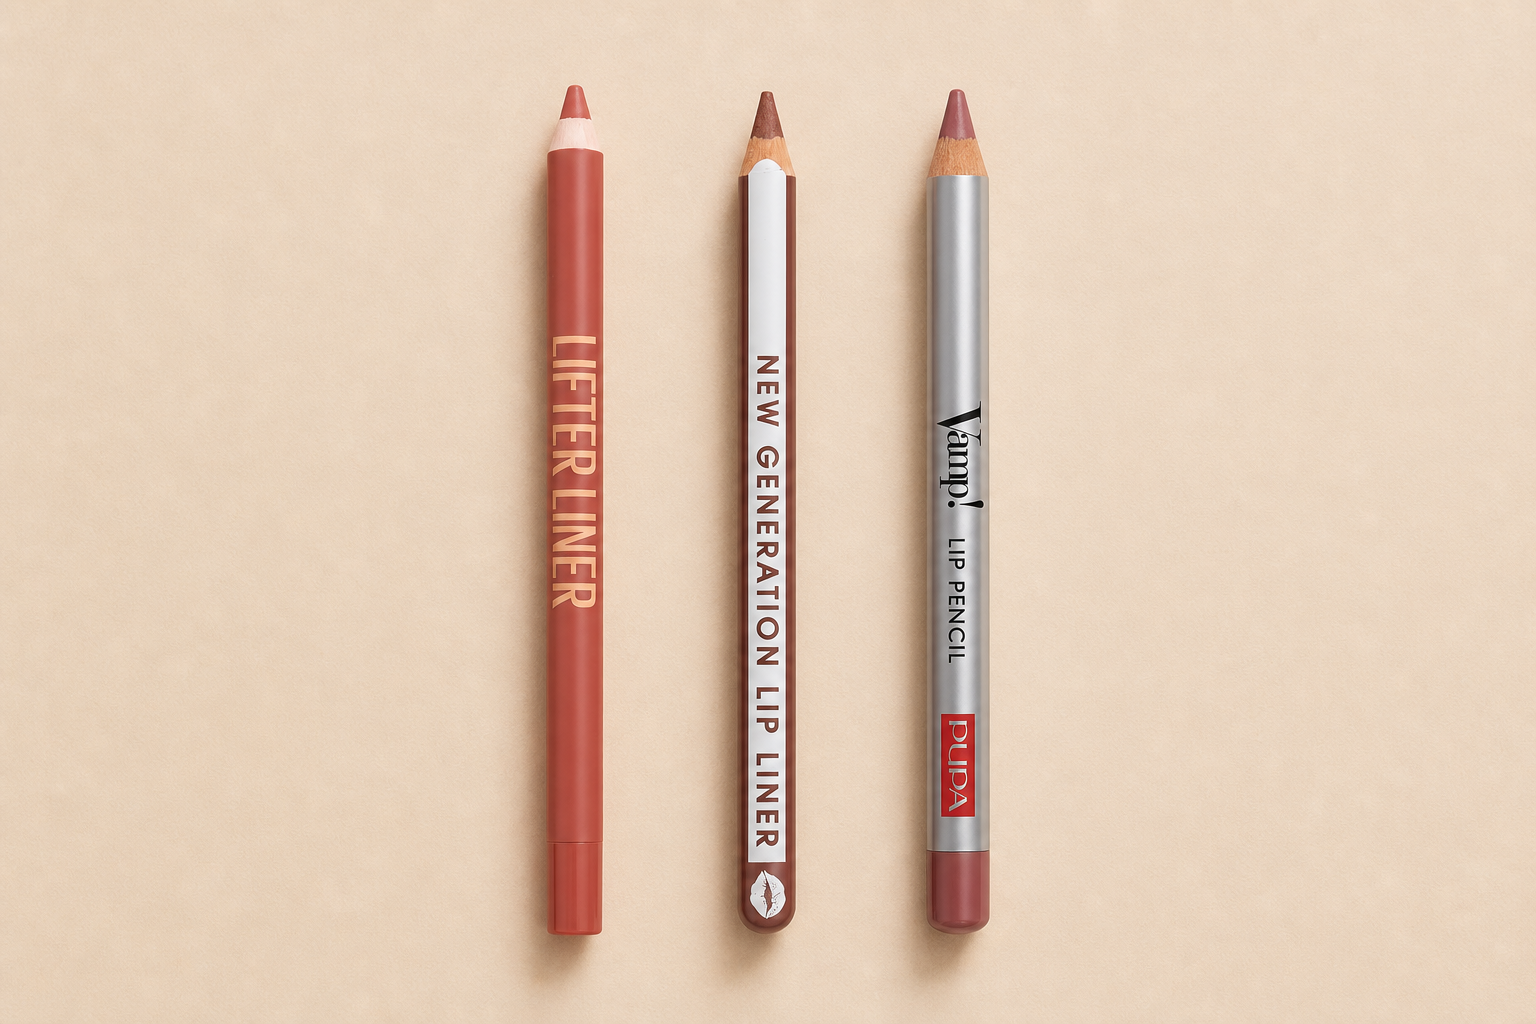
A lip liner is a pencil with pigment, whose texture is drier and waxier compared to lipstick. This allows it to hold the shape of the line and prevents it from bleeding outwards. In lip makeup, it serves three purposes at once: it draws a clear outline, creates a kind of barrier on the lip edges for the color that follows, and can also be used as a base under lipstick across the entire lip area if needed.
The most common practical reason to reach for a liner is lipstick bleeding. Around the mouth, there is a network of fine lines, and creamy or oily textures tend to settle into them over time, making the edges look smudged after a few hours. The dry film of the lip liner prevents this color migration. The second reason is shape: the natural lip line is not always perfectly symmetrical, one corner may be lower, Cupid's bow less defined. A liner can unify the outline without needing to redraw anything drastically.
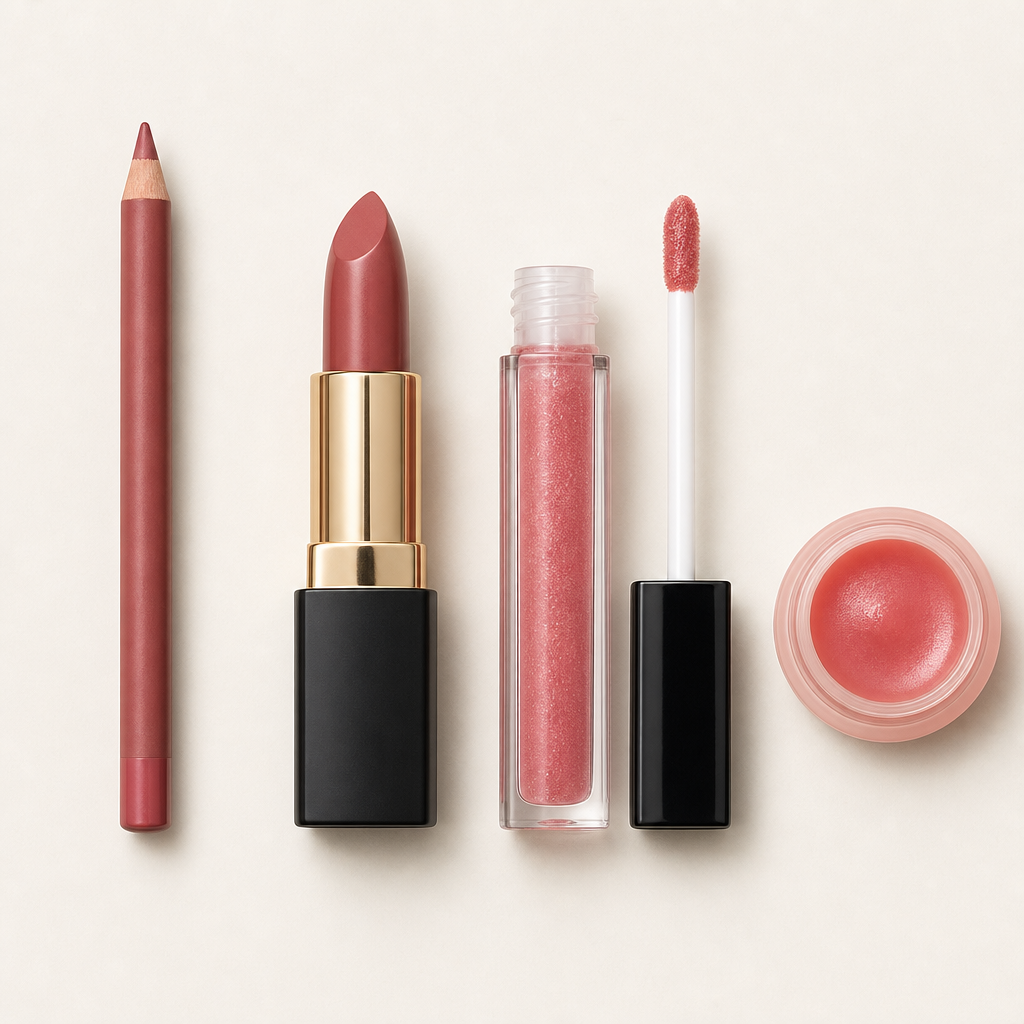
To make it clear which category to use when, a brief definition helps. Individual lip products do not replace each other; rather, they complement one another.
- Lip Liner – firm texture and precise line. Draws the outline, possibly serves as a base. On its own, it gives lips a more matte, understated look.
- Lipstick – the main carrier of color and coverage. Fills the lip area, with textures ranging from creamy to satin to matte liquid.
- Lip Gloss – shiny, translucent, or lightly tinted finish. Can be worn alone or over lipstick, works more subtly with color and usually lasts a shorter time.
- Lip Balm – care, not color. Softens lips and prepares them for makeup, but does not draw a line. Needs a moment to absorb before applying liner.
From this follows a simple logic: balm is preparation, liner is construction, lipstick or gloss are the fill. If you're only after hydration, a balm alone will suffice. If you want color that lasts through lunch and afternoon coffee, it makes sense to combine a liner with lipstick. And if you opt for gloss, the liner will prevent the glossy texture from spreading beyond the lip line.
There are also several common misconceptions about lip lining that we'd like to clarify. That the liner must always be darker than the lipstick. That it can make lips look bigger almost without limits. Or that it's only suitable for bold, evening makeup. Each of these statements has a grain of truth somewhere, but reality doesn't always confirm it – and that's exactly what we'll address in the following sections. You'll find a practical step-by-step guide along with what can truly be said about lip lining.
Preparing Your Lips: How to Choose the Right Lip Liner
A lip liner is only as good as the base you apply it on. On dry lips, the tip catches on flaking skin, the line breaks, and the color settles unevenly. A few minutes of preparation can save you from later touch-ups and also determine how long the result will last. Whether you opt for a subtle nude pencil or a bold shade, the preparation remains the same.
Exfoliation, Balm, and a Little Patience
Start with gentle exfoliation. A soft brush or a scrub specifically for lips will do; work in circular motions without pressure, as the skin on the lips is thin and easily irritated. Once or twice a week is usually enough—daily scrubbing will likely make things worse.
Next is hydration. Let a lip balm sit for a few minutes and then gently blot the excess with a tissue. This step is often skipped, yet it's crucial: on a greasy film, the pencil slips and the line bleeds. The ideal condition is a supple yet matte surface. While the balm absorbs, you can calmly focus on your eyes or complexion—no time lost.
Pencil Texture: Softer or Firmer
Lip liners differ mainly in the hardness of the pencil, which also affects how you work with them:
- Softer, creamy pencil – applies with minimal pressure, blends well, and forgives minor inaccuracies. In exchange, it wears down faster and the line is slightly less precise.
- Firmer pencil – maintains a sharp edge longer and is better for drawing details, like the Cupid's bow. However, it requires prepared, well-hydrated lips, or it will drag.
If you're choosing your first pencil, a medium hardness is a safe choice: it can be blended and still draw a clear line. Test the texture with a short stroke on the back of your hand—the pencil should leave a continuous mark without needing to press.
Shade: From Transparent to Bold
- Transparent pencil – a neutral barrier against lipstick bleeding, useful with any color. A practical choice when you don't want to worry about matching shades.
- Nude and natural shades – suitable for subtle daytime makeup or on their own, just with balm or lip gloss.
- Tone-on-tone with lipstick – a predictable result: the contour blends with the fill, leaving no visible transition.
- Bolder shade – a deliberate style choice, not an obligation. Keep in mind it requires more careful blending.
Assess the shade in natural daylight and preferably directly on the lips rather than the back of your hand—the color of your lips differs from the surrounding skin, so a hand swatch can easily be misleading. If you already have the lipstick, hold them side by side and compare.
There are a few small details that affect everyday comfort. A traditional pencil needs sharpening; a sharpener with a matching diameter keeps the tip sharp and prevents breaking. A retractable mechanism doesn't require sharpening and is appreciated on the go, but it usually offers a narrower range of tip shapes and the extended pencil can't be retracted. The packaging also indicates the shelf life after opening—it's worth keeping an eye on for decorative cosmetics that come into contact with the lips, and occasionally wiping the tip after use.
Contour Step by Step: From the First Stroke to Blending
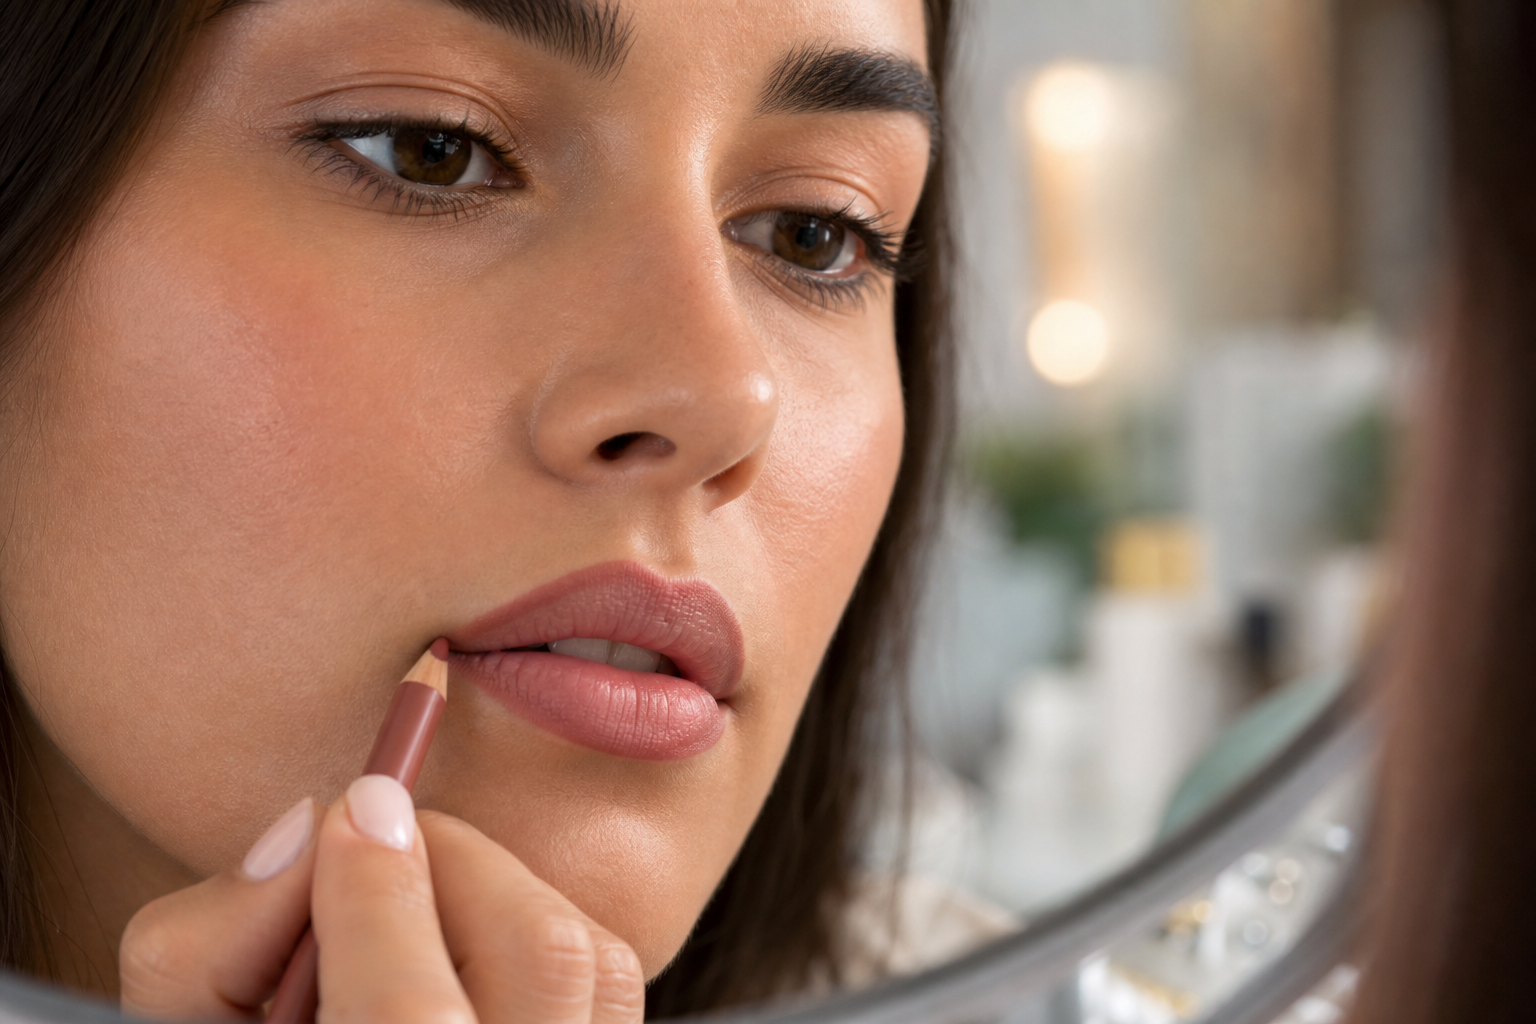
Before making the first stroke, ensure you have a sharp pencil, good lighting, and a mirror you can look into directly. Contouring is a matter of millimeters: if you view your lips from the side or in dim light, the line can easily go astray, and one half may end up thicker than the other. The following procedure is a sequence that has proven effective in makeup, as it leads from the most noticeable part of the lips to those where minor inaccuracies are less visible.
How to Hold the Pencil for Better Control
Hold the pencil closer to the tip rather than the end—similar to how you hold a pen when writing small letters. A shorter grip means better control over the stroke. Rest your pinky or the edge of your palm on your chin so your hand isn't working in the air; this support dampens slight tremors and results in a smoother line. Apply gentle pressure. You can always add more intensity with a second pass, but a stroke that's too strong is not easily removed from the lips.
Order of Strokes: From Cupid's Bow to the Corners
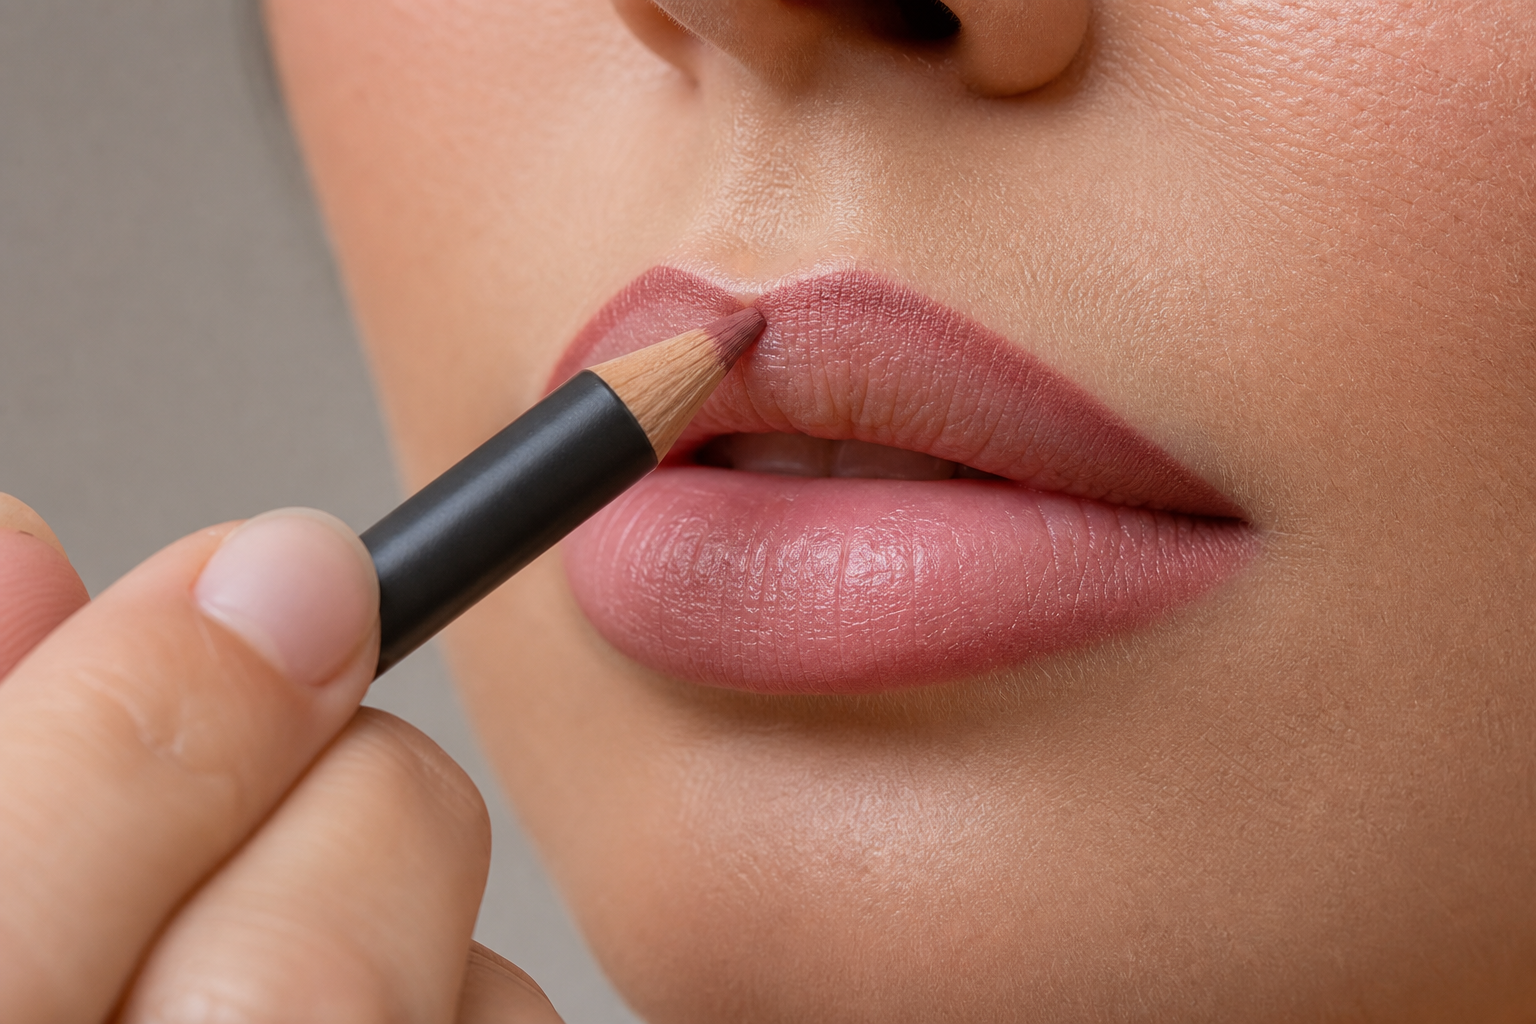
- Start at the Cupid's bow, the dip in the middle of the upper lip. Draw both slanted arches and immediately check if they are symmetrical—this point determines the rest of the line.
- From the peak of each arch, make short, broken strokes towards the corner. Avoid drawing one long line: short segments a few millimeters long can be stopped, corrected, and then connected.
- Move to the lower lip and start in the center. Indicate the widest point of the line and again proceed with short strokes towards both corners.
- Finally, connect both sides at the corners. This is where the line most often extends beyond the edge, so it's worth reducing pressure and finishing the last millimeters with just the tip of the pencil.
Working in small sections has another advantage. The natural edge of the lip isn't perfectly straight, and one long stroke usually doesn't follow it but overlays it with its own, more artificial curve. When you proceed in pieces, you follow the actual shape, and the result appears more believable—even when you intentionally slightly adjust the shape of your lips.
Filling in the Lips as a Base for Lipstick
Once the outline is complete, run the pencil over the entire surface of the lips, not just the edge. Filling serves two purposes. First, it unifies the base, so the lipstick sits on the same shade across the surface, and the natural lip color doesn't show through. Second, it helps with longevity: the pigment in the contour pencil is usually bound in a firmer, waxier base than in lipstick, and when the lipstick wears off during the day, a colored layer remains underneath. This way, the lips don't lose shape quickly, and a noticeable dark ring doesn't form around them. Don't expect all-day wear without a single touch-up, but the difference between filled and unfilled lips is usually quite noticeable.
Blending: To Make the Transition Invisible
A sharp, unblended line is the most common reason why contouring looks like an outline in photos. Therefore, blend the inner edge of the line towards the center of the lip—using a narrow brush with firm bristles or the pad of your finger if you're working with a softer cream texture that melts easily with the warmth of your finger. Always blend only the inner side. The outer edge should remain clean, as it holds the shape. Just a few short movements are enough: the goal is not to smudge the color but to erase the visible boundary between the pencil and the lipstick.
Only then apply lipstick or lip gloss. If you see the boundary reappear after application, go over it once more with a brush. Correcting the blending is always easier than redrawing the entire line from scratch.
The Most Common Myths About Lip Contouring: Facts Instead of Assumptions
There are several beliefs surrounding lip liner that are passed on without verification. Most of them originated from fashion trends of past decades or short videos focused more on visual appeal than on makeup that lasts all day. We'll explore the three most widespread myths and discuss what holds true and where rules end and style choices begin.
Myth One: The Contour Must Be Darker Than the Lipstick
This belief has its roots in the nineties when a sharply visible dark line around lighter lips was a standalone fashion element. As an aesthetic, it still works today, but it was never a requirement. In everyday makeup, it's much more common now to choose a shade that matches the lipstick or a transparent pencil that doesn't affect the color and serves only as a boundary line.
The difference lies in what you want to be visible. A pencil noticeably darker than the lipstick outlines the lips and draws attention to them – it's a conscious expressive tool, not a technical requirement. On the other hand, a shade matching the lipstick or just a tone deeper creates a seamless transition where you can't immediately tell there's a contour at all.
Myth Two: You Can Significantly Enlarge Your Lips with Contouring
Contour can work with the shape of the lips, but it's about optical illusion, not actual change. Slightly guiding the line just above the natural edge can soften the shape, correct minor asymmetry, or restore the outline where the lip color gradually fades into the surrounding skin. The effect appears natural precisely because it remains within a few millimeters.
Once the line is moved significantly further, the result is reversed. The eye perceives the boundary between the lipstick color and the skin and recognizes the mismatch with the natural outline, especially in daylight and close-up photos. An overdrawn contour also tends to bleed into the surrounding area and blur throughout the day. The most important thing to remember is: it's decorative cosmetics that wash off in the evening. No pencil changes the anatomy of the lips, nor can it promise to.
If you want to add fullness to your lips, a combination of techniques usually helps more than just an extra millimeter at the line. A lighter or shinier center of the lip reflects more light and lifts it optically, while the contour ensures a clean edge.
Myth Three: Contouring Is Only Suitable for Bold Makeup
The last widespread belief links lip liner exclusively with bright red or dark lips. In reality, subtle makeup is where it does the most work without drawing attention to itself. With nude shades and lipsticks close to the natural lip color, the outline is least noticeable, so this is where a light boundary is useful to restore definition to the shape.
It works just as well where you don't use any lipstick. A transparent pencil creates a border around the lips that prevents color from bleeding into fine lines around the mouth and can be used under lip gloss or tinted balm. The result doesn't look made-up, just polished, which is usually exactly what everyday makeup aims for.
Summary of Facts
- Darker contouring is a style choice, not a rule; tone-on-tone shades and transparent pencils are more common choices today.
- Slight overlining softens the shape, while significant overlining looks unnatural and doesn't last; don't expect a permanent change in shape.
- Subtle and nude makeup benefits from contouring just as much as bold makeup, it's just not visible.
When you approach the pencil as a tool for shaping and longevity, rather than as a mandatory dark line, many more possibilities open up – from barely noticeable outlines to consciously bold contrasts.
Common Mistakes, Practical Tips – What to Add to Your Makeup Bag
Lip contouring is easier than it seems at first glance – yet there are a few recurring issues that deserve a separate summary. Most failed lines don't result from a lack of skill but from small details that can be fixed in no time. Let's go through them and add quick fixes as well as guidance on what is handy to have in your makeup bag.
Four Mistakes That Most Often Ruin the Result
- Sharp, unblended line. When the contour remains as a distinct outline around the lipstick, the eye perceives it as a frame rather than part of the makeup. The solution takes just a few seconds: gently blend the line inward towards the lips to make the transition to the lipstick disappear.
- Dry lips. On a cracked surface, the pencil catches unevenly and the line breaks. If you notice the pencil dragging while drawing, it's worth pausing, treating the lips, and waiting a moment for the care to absorb.
- Dull pencil. A wide tip can't follow the delicate curves of the Cupid's bow, and the line spreads to the sides. A sharp tip, on the other hand, guides the hand on its own and can handle even the corners where space is limited.
- Too much pressure. A hard stroke not only pulls the skin but is also difficult to correct. Lighter, repeated strokes give the same intensity while allowing you to rethink the shape as you go.
Quick Fixes You Can Do in a Minute
When the line overflows or smudges, there's no need to remove all the makeup. The quickest help is a concealer applied with a narrow brush precisely along the outer edge of the lips – it cleans the outline and unifies the surrounding skin. Work in small sections and gently tap the color to avoid creating a visible stripe.
For longer-lasting wear, a simple method proves effective: lightly cover the finished lipstick with a tissue and transfer a minimal amount of fine powder through it. The layer mattifies the surface and slows the color from bleeding into fine lines. If you prefer a glossy finish, leave the powder only on the edges and highlight the center of the lips with gloss – the combination holds the shape without looking flat.
And one more thing: wipe the lip liner after each use and close it with a protective cap. Residues of lipstick on the tip are the most common reason why the line doesn't sit right the next day.
What to Add to Your Makeup Bag
There are many products available for lips, but surprisingly little is needed for everyday makeup. The following combination covers common situations from subtle daytime makeup to more dramatic evening looks:
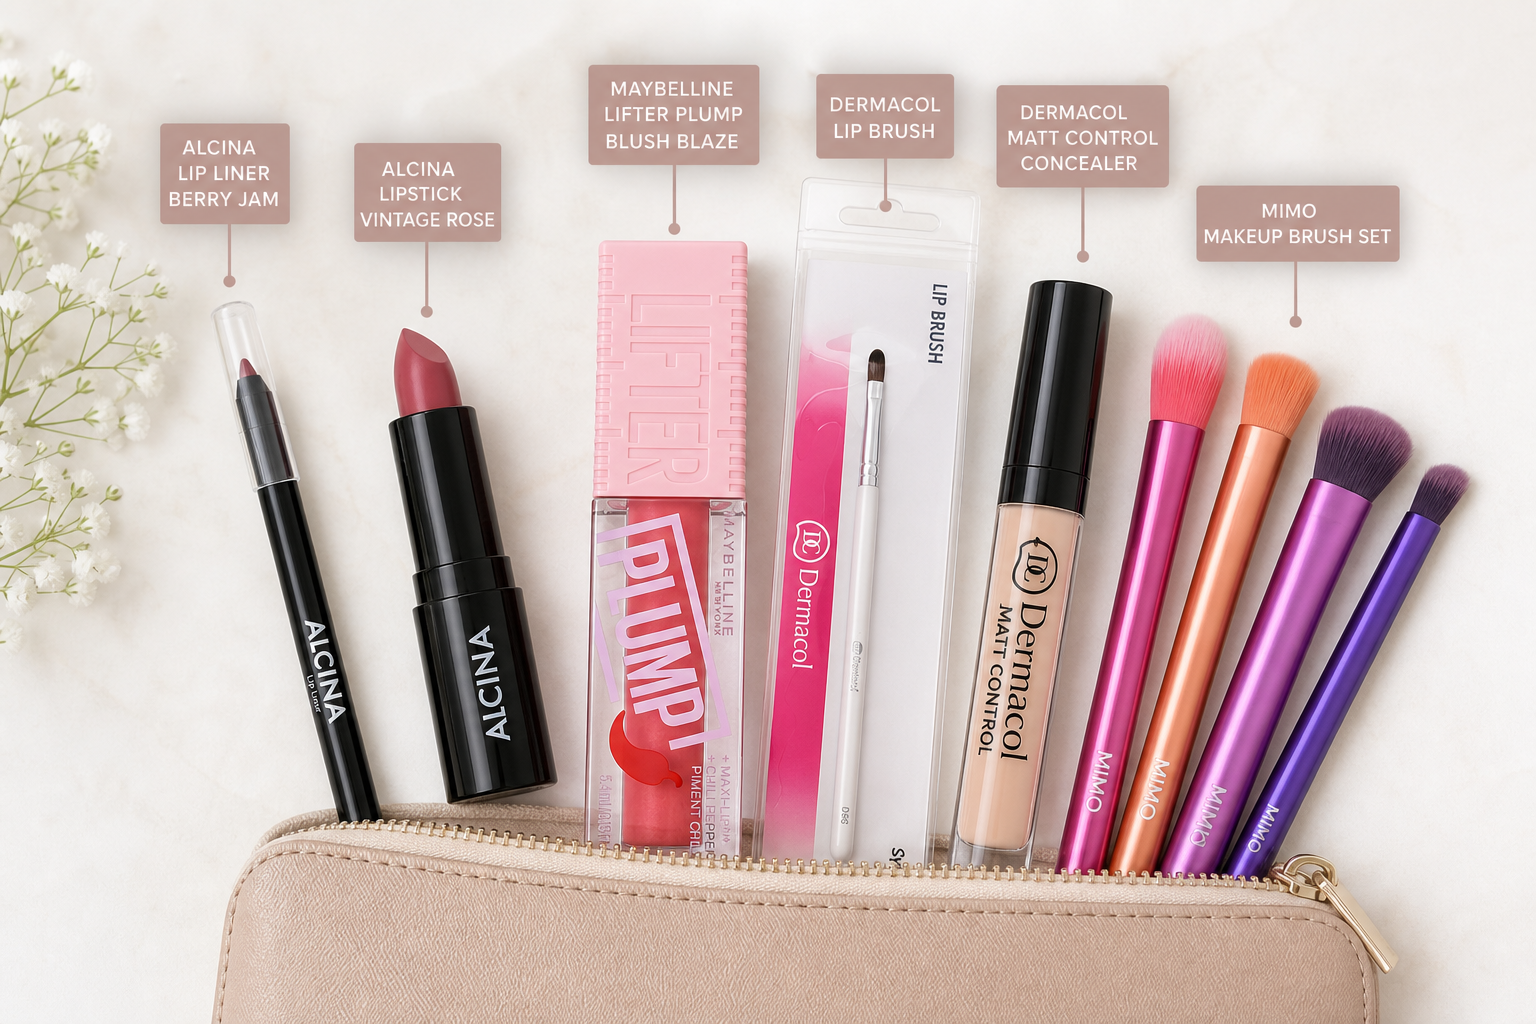
- Lip liner – the foundation of the entire process. It's practical to have two: a transparent or nude shade for everyday use and a darker variant that suits bold lipsticks.
- Lipstick – the broadest category, where it's worth choosing based on texture rather than shade. Matte gives a richer and more lasting result, while creamy is gentler on dry lips.
- Lip gloss – a quick option for days when there's no time for meticulous makeup, and also an accessory to highlight the center of the lips above the contour and lipstick.
- Narrow lip brush – an inconspicuous item with a big impact on the result. It helps blend the contour, apply lipstick precisely, and make corrections with concealer.
- Concealer and fine powder – you probably already have these in your bag for your complexion, so just use them here as well.
Lip liners, lipsticks, glosses, and brushes are among the popular items in our decorative cosmetics, so the selection is wide. It's worth proceeding one item at a time: get what you're missing in the process, try it out, and only then expand your bag. Lip contouring is ultimately a matter of habit – after a few applications, the strokes will become second nature, and the whole step will take barely a minute.


Category
Recommended articles

"Give a girl the right shoes and she can conquer the world!" Marilyn Monroe