
Natural Brows Aren't Overdrawn Brows
Whether you've never paid attention to your eyebrows or years of tweezing have left you with a thin line, the starting point is always the same: decide how you want the result to look. Natural brows mean something different to everyone. In this guide, we refer to brows that respect your natural shape and hair growth direction, simply filling in areas where hairs are sparse. It's not about drawing a new shape on your skin, but enhancing what you already have on your face.
The difference between enhanced and overdrawn brows is noticeable even from a regular distance. With natural brows, you can see individual hairs, the color lightens towards the start, and the edges blend seamlessly into the skin. Overdrawn brows, on the other hand, appear as a solid area with a sharp outline and consistent density from start to finish. Bold brows have their place in dramatic makeup or photography, but for everyday wear, they're harder to maintain and less forgiving of minor mistakes.
This is why a minimalist approach is beneficial for beginners. The less product you apply to your brows, the lower the risk of turning a subtle enhancement into a harsh drawing. Lighter shades and thin strokes can always be added, but excess pigment is much harder to remove. The simple rule is: better two light layers than one heavy one.
The minimalist approach has another advantage that beginners will appreciate the most – it doesn't require a steady hand. The entire process relies on short strokes and gradual layering, so there's no need to draw a long continuous line. If you make a mistake, usually a quick brush through will blend the color among the hairs.
Shaping natural brows can be broken down into four steps, which we will guide you through in this article:
- Brushing – align the hairs with a brush in the direction of growth, so you can immediately see where the brows are truly sparse and where they were just messy.
- Filling Gaps – fill empty spots with short strokes in the direction of hair growth, not with a continuous line around the edges.
- Setting – use gel to keep the hairs in place where you've brushed them, so the result doesn't fall apart by lunchtime.
- Checking Symmetry – finally, step back and look at both sides, adjusting only what's noticeable at first glance.
The order of steps is not random. If you start filling gaps before brushing the hairs, you'll likely color areas that aren't actually empty. And if you leave symmetry checking for the beginning, you'll add color based on an impression that will change several times during the process.
In practice, the entire process takes about five minutes and with a bit of practice, it becomes even quicker. However, before you make the first stroke, it's worth knowing where your brows naturally start, where the highest point is, and where they should end. Without this, you might carefully fill in a shape that doesn't actually suit your face.
Understand Your Eyebrow Shape Before Reaching for the Pencil
Natural eyebrows begin with observation, not drawing. Stand in front of a mirror in daylight, pull your hair back, and take a moment to look at both eyebrows completely without makeup. You'll see where the hairs grow, where they are denser, and where they naturally thin out. This assessment takes a minute but saves you a lot of redoing – once you know where your eyebrows should start and end, you stop guessing the shape.
Any straight stick will help: a long pencil, a brush with a thin handle, or a skewer. Place it against your face in three positions and find the three points that hold the entire shape together.
- Start of the eyebrow. Place the stick vertically along the outer edge of the nostril upwards. The point where it intersects the eyebrow is its natural start. Nothing should be drawn before this line – a shifted start gives the face a stern expression.
- Highest point. Look straight ahead and tilt the stick so that it runs from the same nostril across the outer edge of the iris. The intersection with the eyebrow indicates the peak of the arch. It usually falls about two-thirds of the way along the eyebrow, not in the middle – which is why an arch in the middle looks artificial.
- End of the eyebrow. Tilt the stick even more so that it runs from the nostril across the outer corner of the eye. This is where the eyebrow should naturally end. The end is usually slightly lower than the start, but it should not drop below its level – otherwise, the tail would pull the entire look down.
You can initially mark the points with a small dot, later you'll find them by eye. And most importantly: don't compare them with eyebrows from photos on social media. Your three points are based on your bone structure and eye spacing, so they won't match someone else's template.
This brings us to the distinction on which all eyebrow makeup stands: it's one thing to support the shape and another to impose it. A supported shape follows the direction of hair growth, just filling in sparse areas and precisely closing the end. An imposed shape, on the other hand, redraws the outline according to the current trend – a sharp break on an eyebrow that grows into a soft arch, or a straight line where a natural arch already exists. The result doesn't look off because of color or technique, but because it doesn't align with the rest of the face.
So before you make the first stroke, ask yourself a control question: am I drawing a hair that could grow there, or an outline I wish I had? The first answer leads to a natural result, the second to a drawing you'll check in the mirror throughout the day.
Choose the shade with the same logic. The general rule is to choose a color about a tone lighter than your own hairs. The reason is practical: the product largely settles on the skin between the hairs and always appears more intense on the skin than in the packaging. A darker shade will make the eyebrows look denser than you intended.
- Dark hair: opt for a cooler dark brown or taupe instead of black – black tends to be flat and highlights every imperfection.
- Light hair and blond: here you reverse the rule, very light eyebrows usually need a shade a tone darker, but still cool, to avoid a reddish tint.
- Red and auburn hair: a warmer brown with a golden undertone suits better than a neutral taupe.
- Grey hair: a taupe shade without a warm undertone works well, as it doesn't contrast with the hair color.
Test the shade with a short stroke on the back of your hand or directly at the end of the eyebrow and look at it in daylight by the window, not in the bathroom under a bulb. If you're choosing between two shades, go for the lighter one – you can always add color, but it's harder to reduce intensity. Once you're clear on the shape and color, the actual makeup becomes a quick two-minute routine.
The First Two Steps: Brushing and Filling Gaps
Once you know where your eyebrows start, where the highest point is, and where they end, it's time to work with the product. A natural result depends on two steps in this order: first, brush the hairs, then fill in the sparse areas. The order is not trivial – brushed eyebrows will show you where the actual gaps are and where the hairs are just lying in the wrong direction.
Brushing: Two Minutes That Save Half the Work
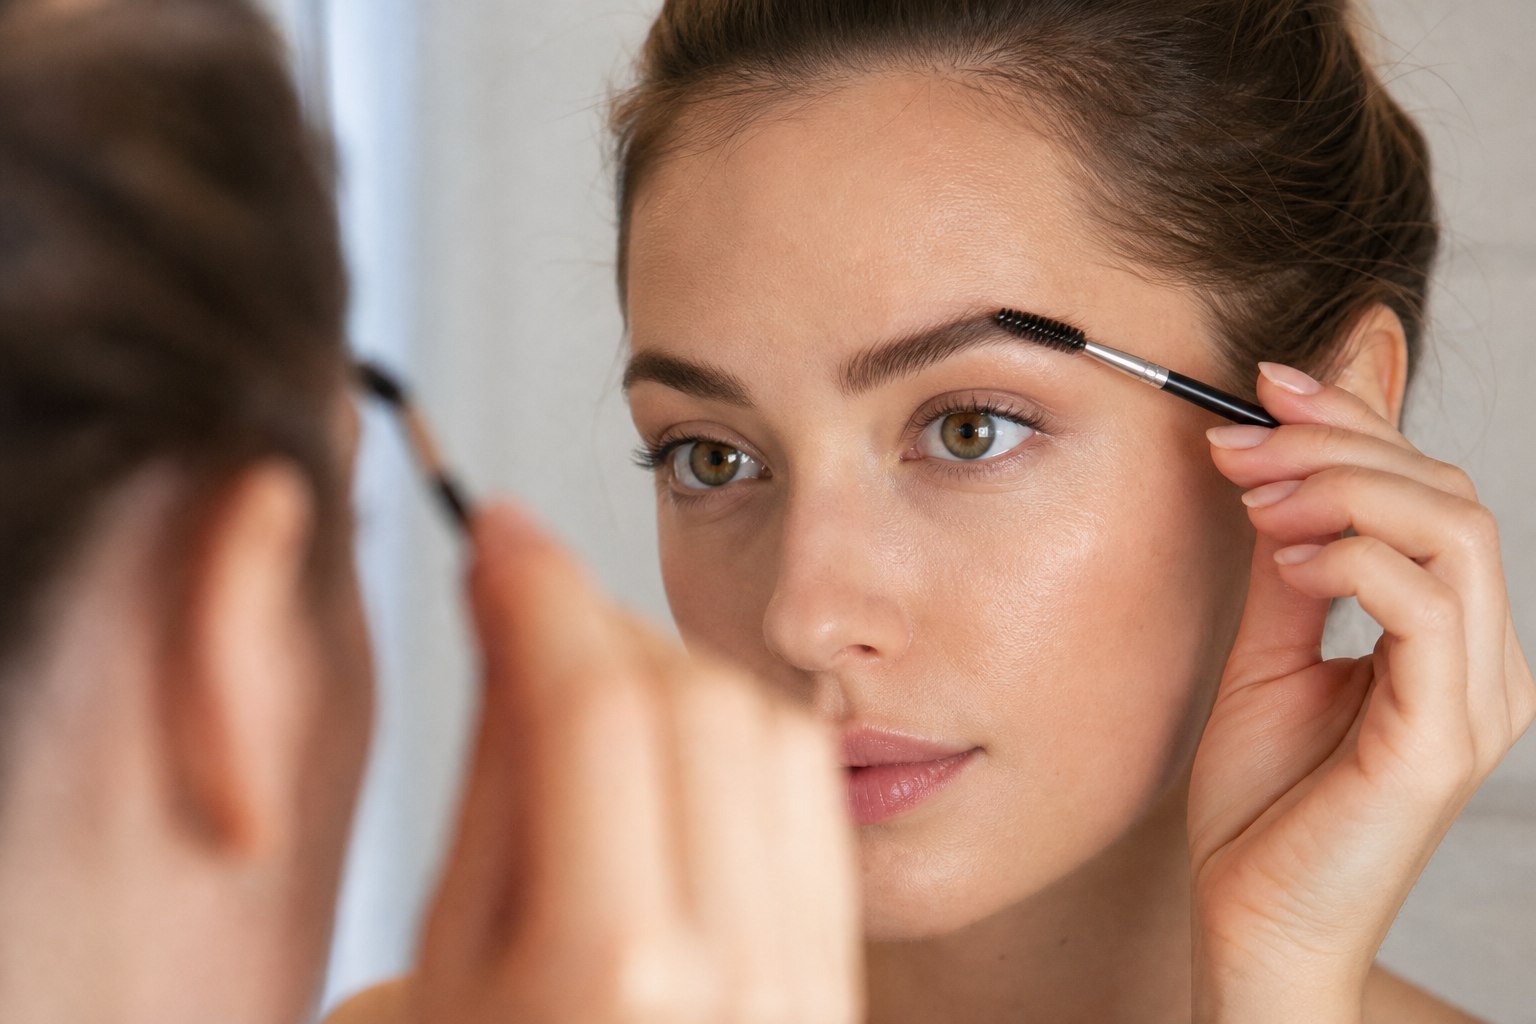
Grab a spoolie, a brush shaped like a mascara wand, or a firmer eyebrow brush. Brush the hairs upwards first, from the start of the brow at the nose bridge to the highest point, then smoothly curve the strokes outwards to the end of the brow.
This movement achieves three things at once. It aligns the hairs in one direction, revealing the true outline. It exposes areas that are truly sparse – some gaps disappear after brushing because they are covered by hairs lying differently. And it shows the length: anything clearly exceeding the upper line usually deserves trimming with small scissors, carefully and by millimeters.
Filling Gaps: Short Strokes Instead of a Continuous Line
This is where it's decided whether the eyebrows will look natural or drawn. A continuous line around the perimeter creates an outline that the eye immediately reads as makeup. A natural effect is achieved by mimicking individual hairs: short, thin, and slightly slanted strokes in the same direction as the surrounding hairs grow.
The direction changes along the length of the brow. In the front part near the nose, the hairs grow almost vertically upwards, in the middle part diagonally outwards, and in the last third almost horizontally towards the temple. Fill only the gaps, not the entire area, and apply minimal pressure. Start in the middle section and reduce towards the nose – the start of the brow is naturally the lightest, so it requires the least product.
Pencil, Powder, or Pomade
The three most common textures do three different things. The difference between them is not in quality, but in which type of brow and result they suit.
- Eyebrow Pencil – draws the thinnest line of the three, making it suitable for individual hairs, sparse edges, and small gaps. It's the most beginner-friendly, as the stroke is immediately visible and easy to correct.
- Eyebrow Powder – applied with an angled brush, it leaves a soft, blurred result without sharp edges. It's suitable when the brow has density but lacks depth, or as a second layer to unify strokes.
- Pomade – a creamy texture with the highest coverage and longest wear. It suits very sparse brows but requires a steadier hand, as it can't be moved once it dries.
Textures can be combined: fill gaps with a pencil and then sweep the brows with a brush with a bit of powder, which softens and blends the strokes together.
Why Work in Layers
Eyebrows often look more pronounced than desired because the product is applied all at once and in full strength. Adding a layer takes five seconds, removing excess means reaching for concealer and starting over. Apply the first light layer, step back from the mirror at arm's length, and look at your face as a whole – up close, every gap looks bigger than it actually is. Only then add product where it's still missing. Between layers, sweep the brows again with a clean spoolie: it spreads accumulated pigment and softens edges.
Setting and Final Symmetry Check
Your filled-in eyebrows will hold their shape only until you first touch them or encounter a breeze. Setting is therefore the final step – it aligns the hairs in one direction, keeps them in the position you set, and prevents the powder or pomade from smudging throughout the day. For a natural look, it also adds structure to the eyebrows, so the result doesn't look like a flat area drawn with a pencil.
Clear or Tinted Gel?
Eyebrow gels mainly differ in whether they add color in addition to setting. The choice between them is not about quality but about how much work you've done in the previous step:
- Clear gel is more versatile and forgives inaccuracies. It's suitable when you've already filled in the gaps and just need to comb and set the eyebrows. It also works on its own – for days when you just want your eyebrows aligned and nothing more.
- Tinted gel contains pigment and colors the hairs themselves when brushed through, not the skin underneath. You'll appreciate it if your eyebrows are lighter than your hair or have faded ends; you'll need significantly less pencil.
Always wipe off excess gel on the neck of the container – with an overloaded brush, the hairs will clump into strands and the eyebrows will harden. Proceed with short strokes from the start towards the temple, lightly lifting the roots in the front part and guiding the rest in the direction of growth. Let the gel dry before touching the eyebrows again; most smudged results come from impatience.
When Eyebrow Lamination is Worth It
Lamination is a treatment that softens the hairs and sets them in a new direction, so they hold on their own without daily combing. It doesn't add any extra hairs – it just aligns the existing ones and utilizes their length. It makes sense for thick and stiff hairs that grow sideways or downwards and return to their original position during the day; for sparse eyebrows, the result is usually less noticeable.
The effect usually lasts several weeks and gradually weakens as the eyebrows grow. It's a chemical treatment, so the exposure times specified by the manufacturer are binding, and longer exposure won't benefit the hairs. If you're unsure, leave the first lamination to a beautician and decide based on the results whether you'll repeat it at home.
Final Look in the Mirror
Never check in a magnified cosmetic mirror. Step back at arm's length, stand by a window, and look at your face as a whole, with both eyes open and a relaxed forehead – as soon as you unconsciously raise your eyebrows, you see a shape that never occurs in normal conversation. The camera on your phone also serves well: you'll notice uneven densities in a photo sooner than in a mirror.
Eyebrows are sisters, not twins. The human face is naturally asymmetrical, one eye is usually slightly higher, and the arches above them differ as well. A slight difference in the height of the highest point or in the density of the end is normal and no one notices it at a glance. The problem arises when you try to even it out: you add a few strokes to one side, then to the other, and after three rounds, your eyebrows are half as thick as you wanted.
During the final correction, therefore, only reduce. Wipe off excess pigment with a cotton swab, soften sharp edges with a clean brush, and lighten an overly pronounced start of the eyebrow with a few upward strokes. Aim to unify the overall intensity rather than the exact shape of the line – natural eyebrows don't stand out, they just support the gaze.
Common Mistakes and How to Simplify Eyebrow Makeup
When the result isn't quite right, it's often due to a habitual mistake rather than a lack of skill. Most beginners encounter the same handful of situations, all of which are easily corrected. Review this guide and compare it to what you do in front of the mirror each morning.
Errors That Are Most Noticeable on Eyebrows
- Choosing a shade that's too dark. A darker product may look subtle in the packaging, but it adds harshness to the eyebrows. If this happens, you don't have to remove all your makeup – simply brush over your eyebrows with a clean brush to reduce the intensity.
- Creating a sharp edge at the start of the eyebrow. This is where the drawn-on look begins. Leave the start of the eyebrow the lightest and blend the edge upwards to soften it.
- Drawing a continuous line. Eyebrows aren't outlines. Instead of a single stroke, work with short strokes that follow the direction of hair growth.
- Pressing too hard with the pencil. Pressure deposits pigment on the skin, not between the hairs, resulting in a sticker-like appearance. Hold the pencil more loosely and layer the color twice if needed.
- Applying makeup under yellow artificial light. Bathroom lighting can distort both shade and intensity. Before leaving the house, check your eyebrows by a window.
- Neglecting to clean your tools. Dried gel creates clumps and smudges in the eyebrows. Occasionally wash your spoolie and angled brush with lukewarm water and a drop of shampoo.
- Expecting instant results from serums. Eyebrow serums are for long-term care, not a decorative product. Any changes are assessed over weeks and vary for each person.
Quick Fixes When Your Drawing Goes Wrong
A simple cotton swab dipped in micellar water can do wonders. Run it along the lower edge of the eyebrow and the space above it to correct any overdrawn areas, giving your drawing a clean edge without starting from scratch. A light touch of translucent powder can also tone down a bold color.
How to Make the Process Easier
You don't need a full makeup bag. To start, all you need is one product to fill gaps, one for setting, and a brush. Here's an overview of what's commonly used in this category:
- Eyebrow pencil with a fine tip – a universal choice for beginners. The fine tip naturally guides you to short strokes, eliminating two common mistakes right away.
- Powder filler – ideal if you have thicker eyebrows and just want to unify the color. It's more forgiving of an unsteady hand than a pencil. In Brasty's range, this type is represented by the Artdeco Brow Filler.
- Powder pomade – a compromise between a pencil and powder, applied with an angled brush. Suitable for sparser eyebrows where you need to fill a larger area. From this group, we offer the Benefit Goof Proof Brow Powder.
- Tinted or lamination gel – adds a subtle tint while keeping hairs in place as you brush them. This category includes the L'Oréal Paris Brow Lamination Gel.
- Eyebrow serum – a standalone care category used in the evening on makeup-free eyebrows. In our range, it's represented by the Nanobrow Eyebrow Serum.
- Brush or spoolie – the cheapest item on the list and one you can't do without. It's used for brushing and blending the product.
If you're just starting out, acquire products gradually. First, get familiar with a pencil or powder and find the shade that suits you, then add a gel or serum. Natural eyebrows are mainly a matter of practice – after a few weeks, your morning routine will take barely a minute.
Category
Recommended articles
"Give a girl the right shoes and she can conquer the world!" Marilyn Monroe