

Why Home Treatments Don't Work Like They Do at the Salon
You probably know the feeling: you leave the salon with hair that's shiny, easy to comb, and holds its shape even the next day. At home, you reach for the same professional treatment, do everything seemingly the same way – and the result is different. The hair is softer, but the effect barely lasts until the first wash. It's easy to get the impression that the salon must have used a different, stronger product.
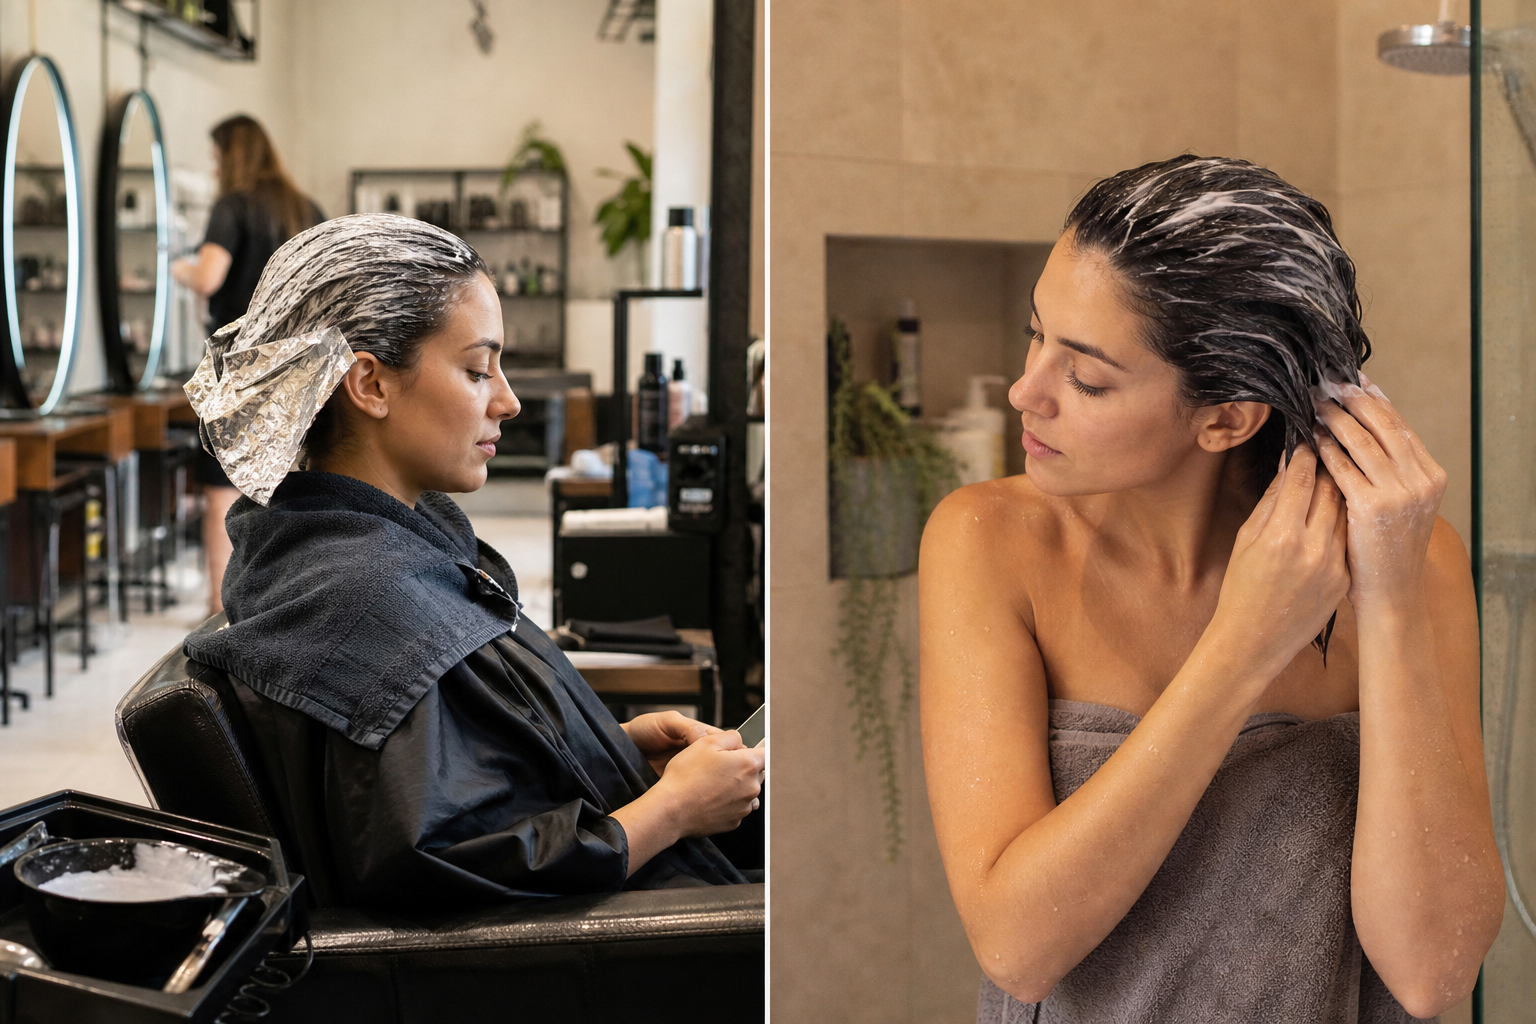
In most cases, the treatment is indeed the same. The difference isn't in the bottle, but in how the product is applied to the hair. A hairdresser works with several variables at once, without having to think about them: they estimate how much product the hair can handle, the state it should be in at the time of application, and how long to let the treatment work before rinsing it out.
These three factors are interdependent. If you skip one, you weaken the others – and that's why home applications often end with disappointment, thinking "nothing happened."
- Amount – Hair can only absorb a limited amount. A smaller amount spread evenly over the entire length works better than a large portion applied in one spot. Excess product won't absorb, it'll just rinse out and unnecessarily weigh the hair down.
- Condition of hair before application – The treatment behaves differently on dripping wet hair than on hair that's been towel-dried to remove excess moisture. Water dilutes the product and prevents it from reaching where it needs to go.
- Duration – Most treatments need a few minutes to take effect. Quickly applying and immediately rinsing off in the shower is one of the most common reasons why the result at home seems weak.
The environment also plays a role. At the salon, you're sitting in a chair, your head is in a sink, and someone else is keeping track of time. At home, you're standing in the shower, where space is limited, hot water is running, and the entire care routine often gets squeezed into two minutes between washing and drying. You can't completely replicate salon conditions at home, but you can transfer the essentials – just plan your routine in advance and set aside a few extra minutes.
It also helps to manage your expectations. A treatment can soften hair, make it easier to comb, and add shine, but it won't replace a haircut or permanently change the hair's structure. Its effect is temporary and maintained through repetition, not a one-time large dose. When you approach hair care with this understanding, you stop expecting a transformation from a single application and start noticing the cumulative difference.
The good news is that the entire process follows a clear logic and doesn't require any professional equipment. In the following steps, we'll go through each phase in the order they follow – from preparing the hair to the application itself, and how to incorporate the care into your regular week. For each step, we'll explain why it matters, so you can tailor the process to your hair and the time you have.
Washing Hair as the Foundation of the Treatment
The salon treatment begins even before you open the jar – it starts at the sink. A hairdresser always washes the hair before treatment, and it's not just a courtesy step. Hair strands can only absorb care when they are free from sebum, styling products, and residues from previous treatments. If you apply the treatment to quickly rinsed hair, it will remain on the surface and be washed away before it can do anything.
Throughout the day, more than just visible dirt accumulates on your hair: sebum, dust, remnants of hairspray, paste, or dry shampoo, and minerals from hard water. This layer acts like a thin insulation – the thicker it is, the harder it is for the treatment to reach the hair fiber. The difference between a treatment that makes a noticeable impact and one that leaves your hair looking the same often starts here.
Which Shampoo is Suitable for the Treatment
An ideal choice is a cleansing shampoo without significant conditioning ingredients – one that truly cleanses the hair without leaving a smoothing film. Two-in-one shampoos or rich nourishing formulas are fine on their own, but they work against the treatment. It's practical to choose a shampoo from the same line as the treatment: professional hair care lines are usually formulated to complement each other, with each step building on the previous one.
If you frequently use styling products – hairspray, wax, paste, or dry shampoo – incorporate a deep-cleansing shampoo into your routine before the treatment from time to time. It removes build-up that regular washing only partially eliminates. However, don't use it every time, as it cleans more thoroughly than is necessary for daily care.
Thorough Rinsing with Lukewarm Water
Wash with lukewarm water, not hot. Lukewarm water thoroughly wets the hair, allows the shampoo to lather easily, and doesn't dry out the scalp as much as hot water.
Rinsing is often the step where time is saved. Shampoo tends to linger at the roots, nape, and above the ears – areas that are often missed during showering. Run your fingers through your hair against the water flow and rinse longer than you think necessary. Shampoo residues weigh down the hair and cause the treatment to spread unevenly.
When It Makes Sense to Wash Hair Twice
Double washing isn't necessary every time, but before a treatment, it makes sense more often than you might expect. You'll know by the lather: if the shampoo barely lathers during the first wash, it was busy dealing with build-up and didn't have room for actual cleaning. The second wash then finishes the job. Opt for it especially in these situations:
- you're washing your hair after several days or after using dry shampoo,
- you use hairspray, wax, pomade, or other long-lasting styling products,
- you have long or thick hair, where the first dose of shampoo only covers part of the length,
- you treated your hair with oil or leave-in care before washing.
Conversely, for fine hair that you wash almost daily, one wash is sufficient. A second wash would unnecessarily dry it out.
Why Conditioner Usually Doesn't Belong Before Treatment
Conditioner is meant to smooth the hair and make detangling easier – it leaves a fine layer on the surface that serves this purpose. However, before a treatment, it gets in the way because it makes it harder for the care to reach where it needs to go. The order of shampoo, treatment, and possibly conditioner at the end is therefore more suitable in most cases than the reverse order.
Make an exception if the manufacturer explicitly states in the instructions to use conditioner before treatment, or if your hair is so tangled that you couldn't separate it into strands without detangling. In that case, apply a small amount only to the ends and rinse it out thoroughly. Otherwise, the simple rule applies: the cleaner and more thoroughly rinsed the hair, the better the conditions for the treatment.
Application and Towel Drying – The Steps That Make a Difference
Between washing your hair and waiting for the treatment to take effect, there are two steps often overlooked at home: how much product to apply and how damp your hair should be. They may seem trivial, but they determine whether the treatment penetrates as it should or merely coats and weighs down your hair.
How Much Treatment You Need
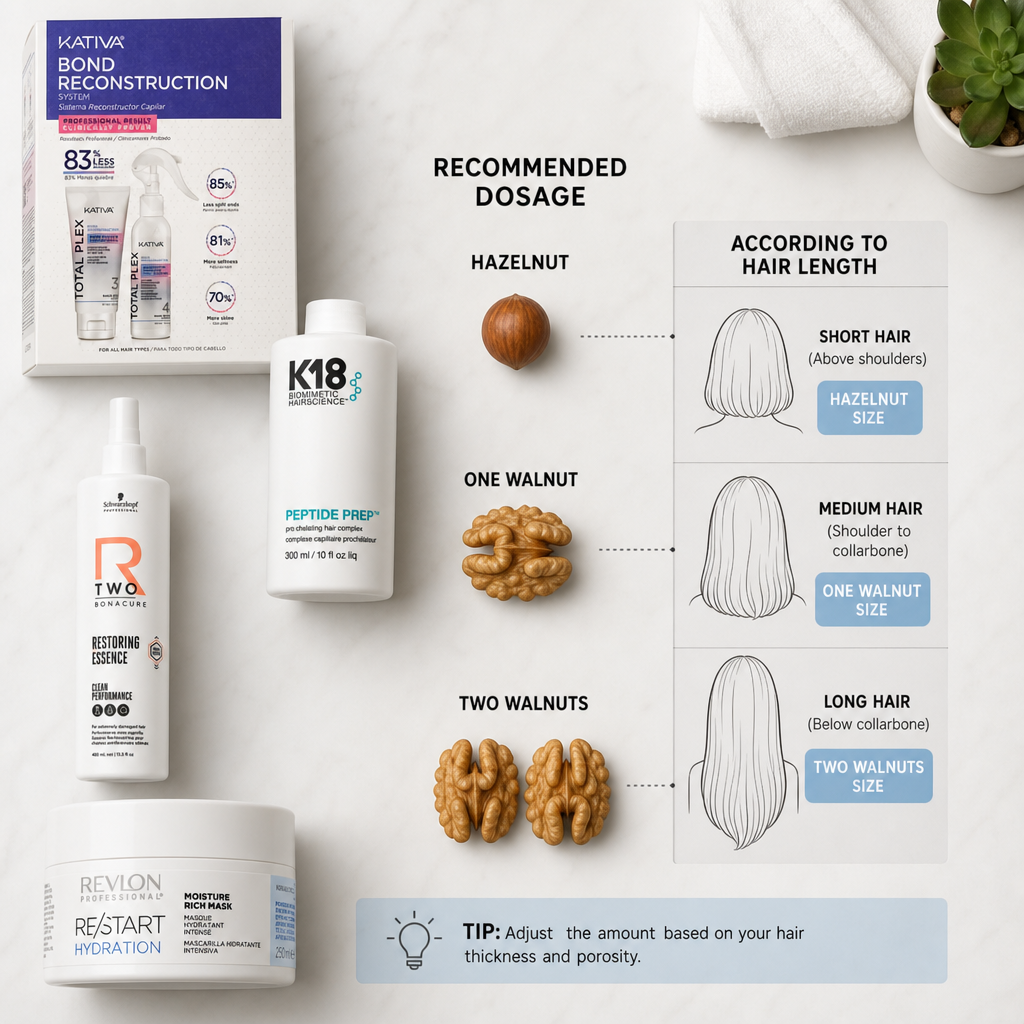
The amount of product you use depends not on how damaged your hair is, but on how much hair you have and its length. As a general guide, consider the length:
- Chin-length hair – about the size of a hazelnut.
- Shoulder-length hair – approximately one walnut.
- Hair down to the shoulder blades or longer – two to three walnuts, applied gradually in sections.
The second factor is density. Thick hair will require more product than fine, sparse hair, where it's easy to overdo it. If you're unsure, start with the lower amount and add more only where strands resist combing.
A larger amount won't improve results. Hair can only absorb a limited amount of treatment in one session, and any excess remains on the surface, making it harder to rinse out and weighing the hair down. You'll notice it typically the next day – while the ends are smooth, the hairstyle lacks volume and appears greasy sooner than expected. For fine hair, it takes very little to cause this. Regular over-application also leads to product buildup, requiring more thorough washing, which is the opposite of what you want.
Why Towel Dry Your Hair First
The treatment should be applied to hair free of excess water, not wet hair. The reason is simple: waterlogged hair has limited capacity, and the water that drips off dilutes and washes away the product. On soaked hair, the treatment runs off, with some ending up in the tub, leaving you feeling like you haven't applied enough. So, you add more, and the cycle described above begins.
Squeeze out excess water with your hands from lengths to ends, then wrap your hair in a towel or gently squeeze it with a microfiber towel or cotton T-shirt. Do not rub or twist your hair – wet hair is most vulnerable, and friction can damage its outer layer. You'll know it's right when your hair feels damp to the touch but doesn't drip when you run your hand over it.
How to Distribute the Treatment Through Strands
Before reaching for the product, comb through your hair with a wide-tooth comb and divide it into two to four sections, more for thick or long hair. Working in sections isn't unnecessary fuss: without it, most of the product is used on the top layer, leaving the interior of the hairstyle practically untouched.
Rub the treatment between your palms and apply from lengths to ends, moving down the hair shaft. The ends are the oldest and most stressed part, so naturally, they should receive the most – feel free to use any leftover product from your hands on them. Finally, gently comb through the strands to distribute the product evenly; the comb will also reveal areas where the layer is too thick.
Avoid the roots and scalp during a standard length treatment. Leave a gap of about two to five centimeters, depending on how quickly your hair gets oily. It's also wise to use less around the crown and finer hair near the face, where weight shows first. The exception is products specifically designed for the scalp – follow the manufacturer's instructions on the packaging, as they require different handling.
By not underestimating these two steps, the treatment will spread evenly, leaving just the right amount of care on your hair that it can actually use. The rest is a matter of the time you allow it to work.
Application Time, Heat, and Final Rinse
Applying the treatment is only half the job. The outcome is determined by the minutes the product spends in your hair and the final rinse in the shower. You can manage both without special equipment – just know what each step is supposed to achieve and when further waiting won't add any benefits.
The minutes stated on the packaging are not just a guideline. They indicate the time needed for the formula to perform its intended function. Shorter waiting times will weaken the result, while longer ones usually won't add anything extra. Leaving a mask on for half an hour instead of the recommended ten minutes won't double the effect – you'll likely find your hair heavier and harder to style after drying.
It's practical to know what type of treatment you're working with:
- Short application, one to three minutes – quick conditioners and masks for regular use. They're designed to be applied and rinsed out immediately.
- Medium application, five to ten minutes – most moisturizing and nourishing masks. This includes the classic scenario where you apply the treatment and finish your shower in the meantime.
- Longer application, ten to twenty minutes – intensive reconstructive and keratin treatments, where longer time is part of the process. However, the upper limit on the packaging still applies, not your own estimate.
Only leave products in your hair overnight if it's explicitly stated. For treatments meant to be rinsed out, prolonged application won't improve anything.
Heat is a simple way to enhance the treatment. It doesn't act as an amplifier of the effect but as a stabilizer of conditions: it keeps the hair moist and at an even temperature, instead of the treatment gradually cooling and drying on your head.
The process is simple. Comb through your hair with a wide-toothed comb after applying the treatment, loosely pin it up on the crown, and put on a shower cap. Wrap a towel over it – this acts as insulation and retains the heat emitted by your scalp. If you want to add warm air, use a hairdryer on the lowest setting, hold it at a distance, and move it around your head for two to three minutes. The goal is lukewarm heat, not hot: high temperatures dry out the hair and counteract the purpose of the treatment.
Heat is not mandatory. Many treatments are formulated for normal room temperature and don't mention heating on the packaging – in that case, just stick to the time. For colored hair, it's advisable to stick to the towel and cap and skip the hot air.
The final rinse does more than it seems. Use lukewarm water, not hot – hot water is uncomfortable for the scalp and tends to make hair more tangled. A cooler final rinse is a pleasant bonus: it leaves the hair surface feeling smoother to the touch.
How much product to rinse out? For treatments meant to be rinsed, practically all of it. Rinse until your hair no longer feels slippery like soap and the water runs clear. The goal isn't to make it squeaky clean. Pay special attention to the roots and scalp, where product residues are most likely to linger and quickly lead to limpness. Leave-in care is a different category: it stays in the hair and is not rinsed out at all.
How to tell if the treatment worked:
- Wet hair can be combed through smoothly, without tugging or snagging the comb.
- After drying, hair looks cohesive, with no dry, frizzy ends sticking out.
- Hair has a natural shine and holds its shape, but doesn't feel heavy or greasy at the roots.
- The effect lasts until the next wash and doesn't disappear within a few hours.
If your hair is limp and gets greasy quickly, it's usually not the treatment's fault, but rather too much product or an imperfect rinse. Try reducing the amount and extending the rinse a bit.
How to Incorporate the Treatment into Your Home Routine
When you combine the individual steps, you create a process that you'll master without thinking after a few repetitions. For the first time, set aside a calm evening and observe how your hair reacts – how much product it needs, how long it needs to work, and whether it feels light or heavy after rinsing.
- Wash your hair with a shampoo that removes styling residues and doesn't leave a film on the surface.
- Squeeze out excess water and towel dry your hair until it's no longer dripping.
- Measure the amount of treatment according to the length and thickness of your hair and apply it to the lengths and ends.
- Comb through your hair with a wide-toothed comb to distribute the product evenly.
- Leave the treatment on for the time specified in the instructions, or use mild heat if needed.
- Rinse thoroughly with lukewarm water and finish with a cooler rinse.
How Often to Repeat the Treatment
The frequency depends on the condition of your hair, not the calendar. For colored, bleached, or regularly heat-styled hair, one application per week usually works well. Hair that is only slightly dry, perhaps after summer, can manage with a treatment every two to three weeks. If your hair is in good condition and you want to maintain it, incorporating a treatment about once a month is sufficient.
Intensive reconstructive treatments are often used in a series of several consecutive applications before transitioning to a maintenance regime – in such cases, always follow the specific product instructions, as the recommended number of applications varies between lines. It's not hard to tell if you're overdoing it: hair feels heavy, loses volume, holds styles poorly, and becomes greasy at the roots more quickly. In such cases, extend the interval between applications and apply the treatment only to the ends.
What to Complement the Care with Between Applications
The treatment isn't the only type of care you can manage at home. Between applications, it's useful to combine several lighter steps to keep your hair in good condition even without intensive treatment:
- Hair Mask – shorter application time, lighter texture, and hydrating or nourishing effect. It complements the treatment well: in weeks when you don't use the treatment, opt for a mask.
- Leave-in Care – applied to damp hair after each wash, it makes detangling easier and helps maintain the treatment's results longer.
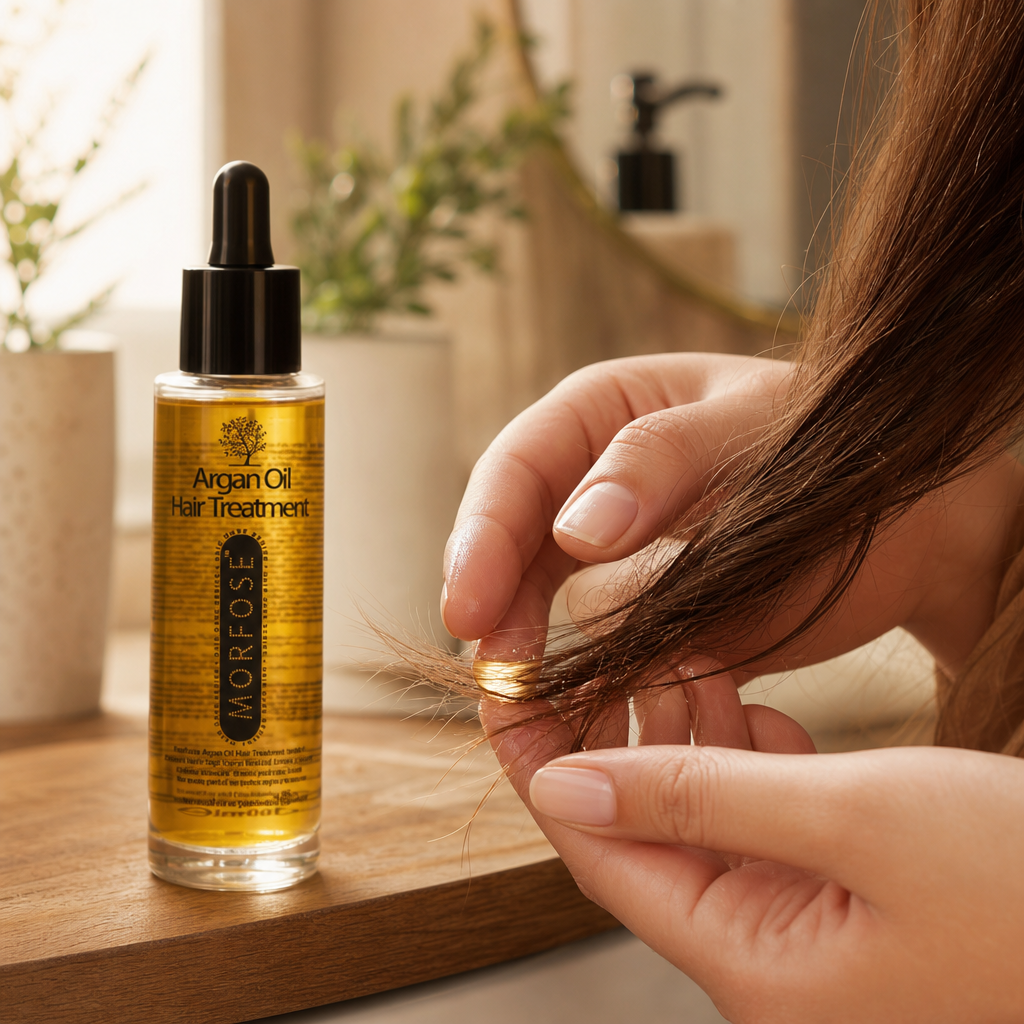
- Hair Oil – used drop by drop on the ends, on both damp and dry hair. It smooths the hair surface and softens split ends.
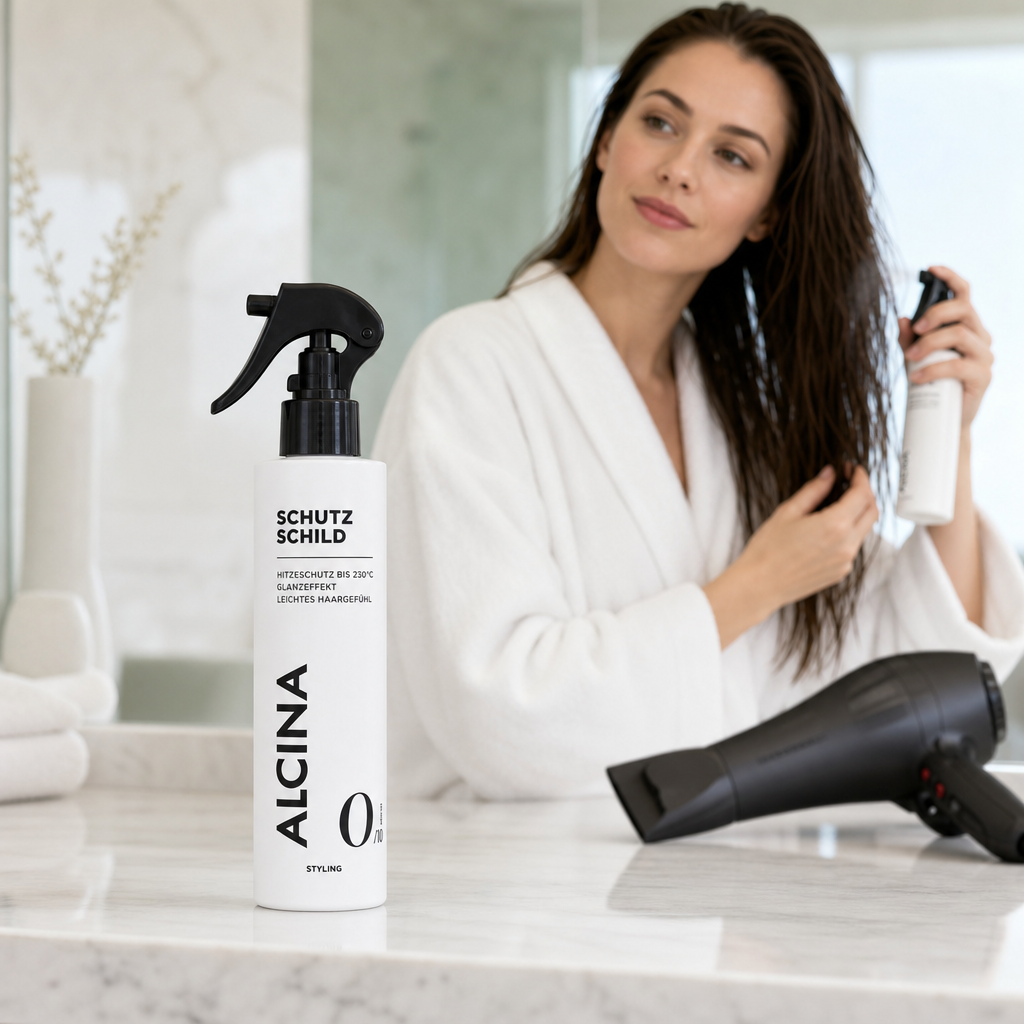
- Heat Protection – include it every time you use a hairdryer, straightener, or curling iron. Without it, the treatment's results fade faster.
Navigating the Offer
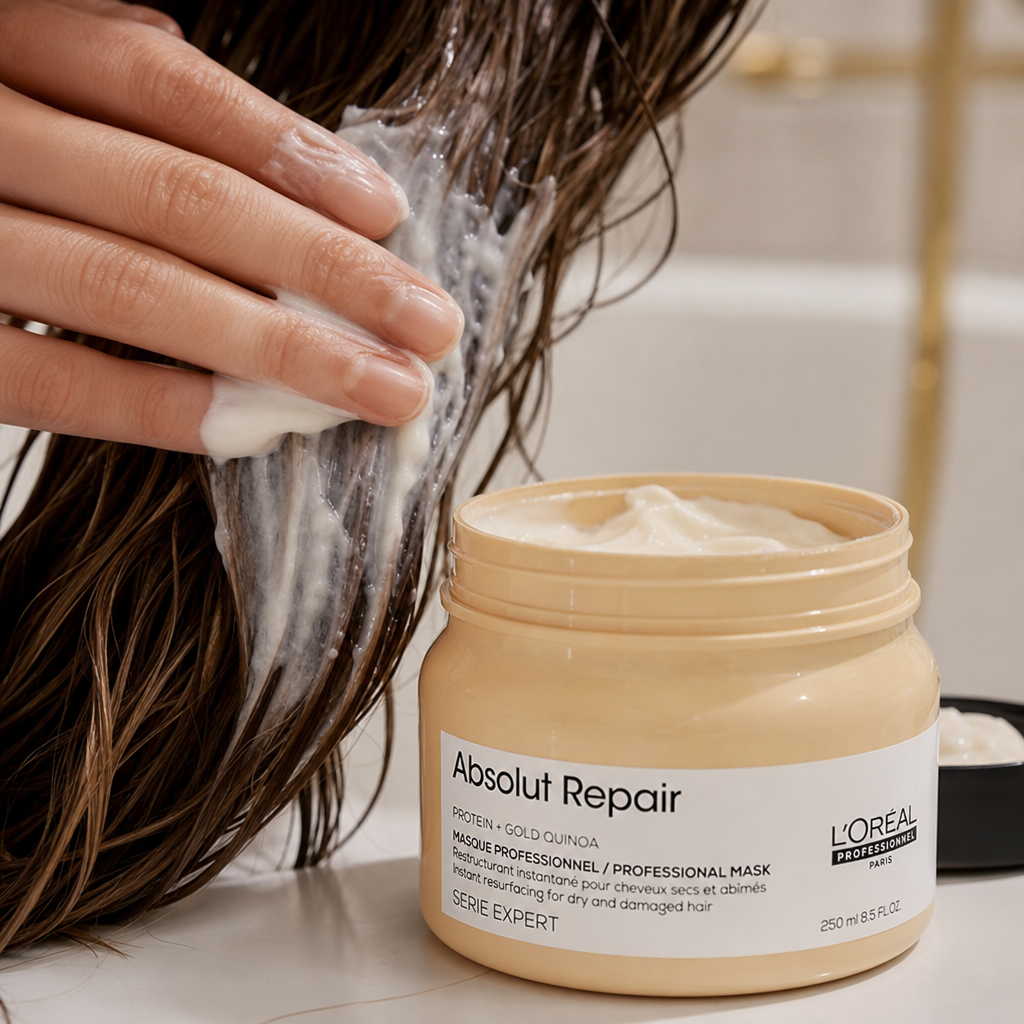
Professional hair care from brands you know from salons is also available at Brasty. Hair treatments and masks are represented across price levels, so you can choose according to your hair type and condition. The brand Wella Professionals covers a wide range of needs from nourishment and regeneration to scalp care, allowing you to create a complete routine including shampoo and oil. L'Oréal Professionnel offers lines targeted at specific problems – for example, the Série Expert Absolut Repair is designed for damaged hair. Alfaparf Milano focuses on smoothing and better manageability in its Lisse Design Keratin Therapy line, which is especially appreciated by those with frizzier lengths.
When choosing, it's worth starting from the need, not the product name. First, identify what your hair lacks – hydration, nourishment, strengthening after bleaching, or smoothing – and then look for a line that addresses that need. And if you're unsure, start with a smaller package: before permanently incorporating the treatment, you'll know after a few applications if it suits your hair.
Category
Recommended articles
"Give a girl the right shoes and she can conquer the world!" Marilyn Monroe