



Not sure how to apply makeup? We'll compare sponges, brushes, and fingers based on texture, coverage, and hygiene, and show you when to choose each tool for a natural result.
Why the Tool Matters More Than You Think
Whether you opt for liquid foundation, cream coverage, or a BB cream, the product itself is only half the result. The other half is determined by what you use to apply it to your skin. The same makeup can blend seamlessly with your skin so you barely notice it, or it can create a visible layer that settles into fine lines and ends with a harsh edge at the jawline. The difference often isn't in the shade or the brand, but in the technique and the tool.
Every tool interacts with makeup a little differently. They vary in how much product they pick up, how much they deposit onto the skin, and how they spread it. Fingers warm the makeup and transfer it directly to the skin, a brush spreads and layers it, while a sponge gently taps it into a thin layer. This also affects the final coverage – how well the makeup evens out skin tone and covers redness, pigmentation spots, or under-eye shadows.
When choosing a tool, it's worth considering three closely related factors:
- Texture of the product. Thin fluids, tinted moisturizers, and BB or CC creams spread easily and forgive minor inaccuracies. Thicker cream foundations and concealers require more work to avoid sitting on the skin like a mask.
- Desired coverage. For light skin unification, a thin layer that can be spread with almost anything is sufficient. Medium to full coverage is built up gradually, and here the tool determines whether the layers blend or remain visible.
- Skin type and condition. Dry patches and flaking skin highlight every inaccurate stroke, while enlarged pores can trap excess makeup. Different approaches are appreciated by combination skin and skin prone to dryness.
So why does the same product sometimes feel light and natural and other times heavy? Most often, it's a combination of too much makeup and a tool that can't spread it evenly. Thick makeup applied to dry skin without sufficient blending easily settles into fine lines and around the nose. A thin fluid spread with an unsuitable brush can leave visible streaks. Conversely, a product you previously found too heavy can feel surprisingly light with the right tool.
The movement itself also has a significant impact. Spreading pulls the makeup across the surface and can highlight skin texture, whereas gentle pressing and tapping "work" it into the skin for a more seamless finish. Therefore, with every tool, it's worth knowing not only what it's suitable for but also how to use it correctly.
None of the three methods – fingers, brush, or sponge – is universally correct. Each has its strengths and limitations and suits different textures, coverage levels, and mornings when you have five minutes for makeup or plenty of time for careful work. Understanding what each tool does with makeup makes it easier to choose the one that will give you exactly the result you expect from your makeup.
Fingers: Quick Application for Light Textures
Your fingers are always at hand, you don't need to buy them or clean them separately, and they save a lot of time when you're in a hurry. Their main advantage is the warmth of the skin. Light textures, such as BB and CC creams or tinted fluids, soften slightly when in contact with warm fingertips, spread better, and blend more easily with the skin. The result looks natural – more like unified skin than a layer of makeup.
Fingers are especially useful when you expect light to medium coverage from your makeup: unifying the tone, softening minor redness, and giving the skin a fresh look. With such products, it's not a problem that fingers don't work with millimeter precision, as minor imperfections disappear in a thin layer.
Step-by-step Guide
- Start with a small amount. Apply a pea-sized drop of the product to the back of your hand. The back of your hand serves as a palette, and the product also warms up slightly on it.
- Dot it on. Use your fingertip to place several dots on your forehead, nose, cheeks, and chin – in the center of the face, where tone unification is usually most needed.
- Work from the center outward. Spread the product towards the hairline, ears, and jawline. This way, only a thin layer remains on the edges of the face, blending smoothly into the skin without creating a visible edge.
- Press, don't rub. Instead of long strokes that move the makeup and may highlight dry areas, gently tap with your fingertips. Pressing helps the product adhere to the skin and maintain an even layer.
- Add only where needed. If you want higher coverage in a certain area, add a small drop and press it in again. Several thin layers look more natural than one thick one.
For delicate areas, such as around the nostrils or under the eyes, use your ring finger. It applies the least pressure and therefore doesn't unnecessarily stretch the skin.
Where Fingers Meet Their Limits
With thicker makeup that offers high coverage, the warmth of your fingers can work against you. Rich textures set more quickly, and fingers tend to distribute them unevenly – leaving a thicker layer in some places and showing skin in others. This can result in visible transitions, typically along the jawline or around the nose. So if you're using a covering makeup, consider fingers more as a tool for final adjustments rather than the main application method.
Hygiene Starts with Your Hands
Your hands touch phones, doorknobs, and money throughout the day, and when you touch your face, you transfer impurities to your skin. Therefore, wash them thoroughly with soap and water before application and let them dry well. Do not dip your fingers directly into the bottle or jar – always dispense or scoop the product onto the back of your hand first. This way, the contents of the package don't come into unnecessary contact with impurities from your skin.
Brush: Precision Work for Medium to Full Coverage
If you love makeup that evens out the skin tone and hides minor imperfections, a brush is a reliable helper. Unlike fingers, it applies the product evenly in a thin layer and allows you to build coverage gradually—only where you really need it. It's especially suitable for liquid and cream foundations with medium to full coverage, which can be difficult to work with using fingers.
Which Type of Brush to Choose
- Flat Brush – Resembles a painter's brush with dense, straight-cut bristles. You spread the makeup like a thin coat, making it suitable for thicker and more covering textures. The result is precise, but you need to blend the strokes at the end to avoid visible lines.
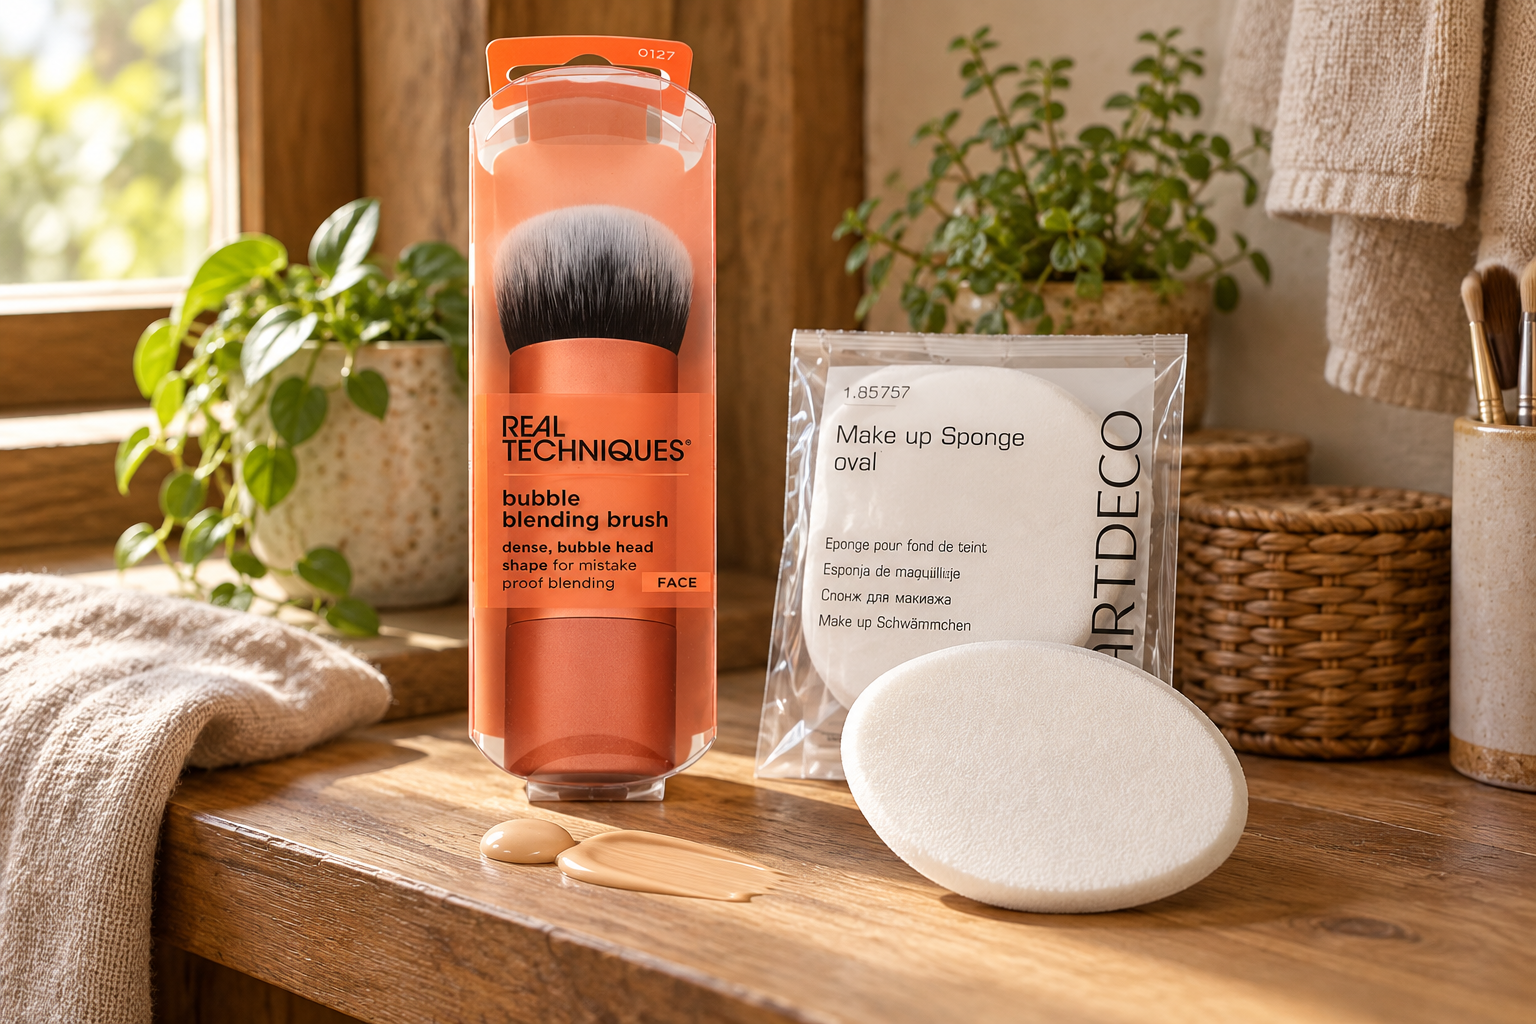
- Kabuki – A short, very dense brush with a rounded or flat head. It works the makeup into the skin with circular motions, creating a seamless, full coverage with a matte to satin finish.
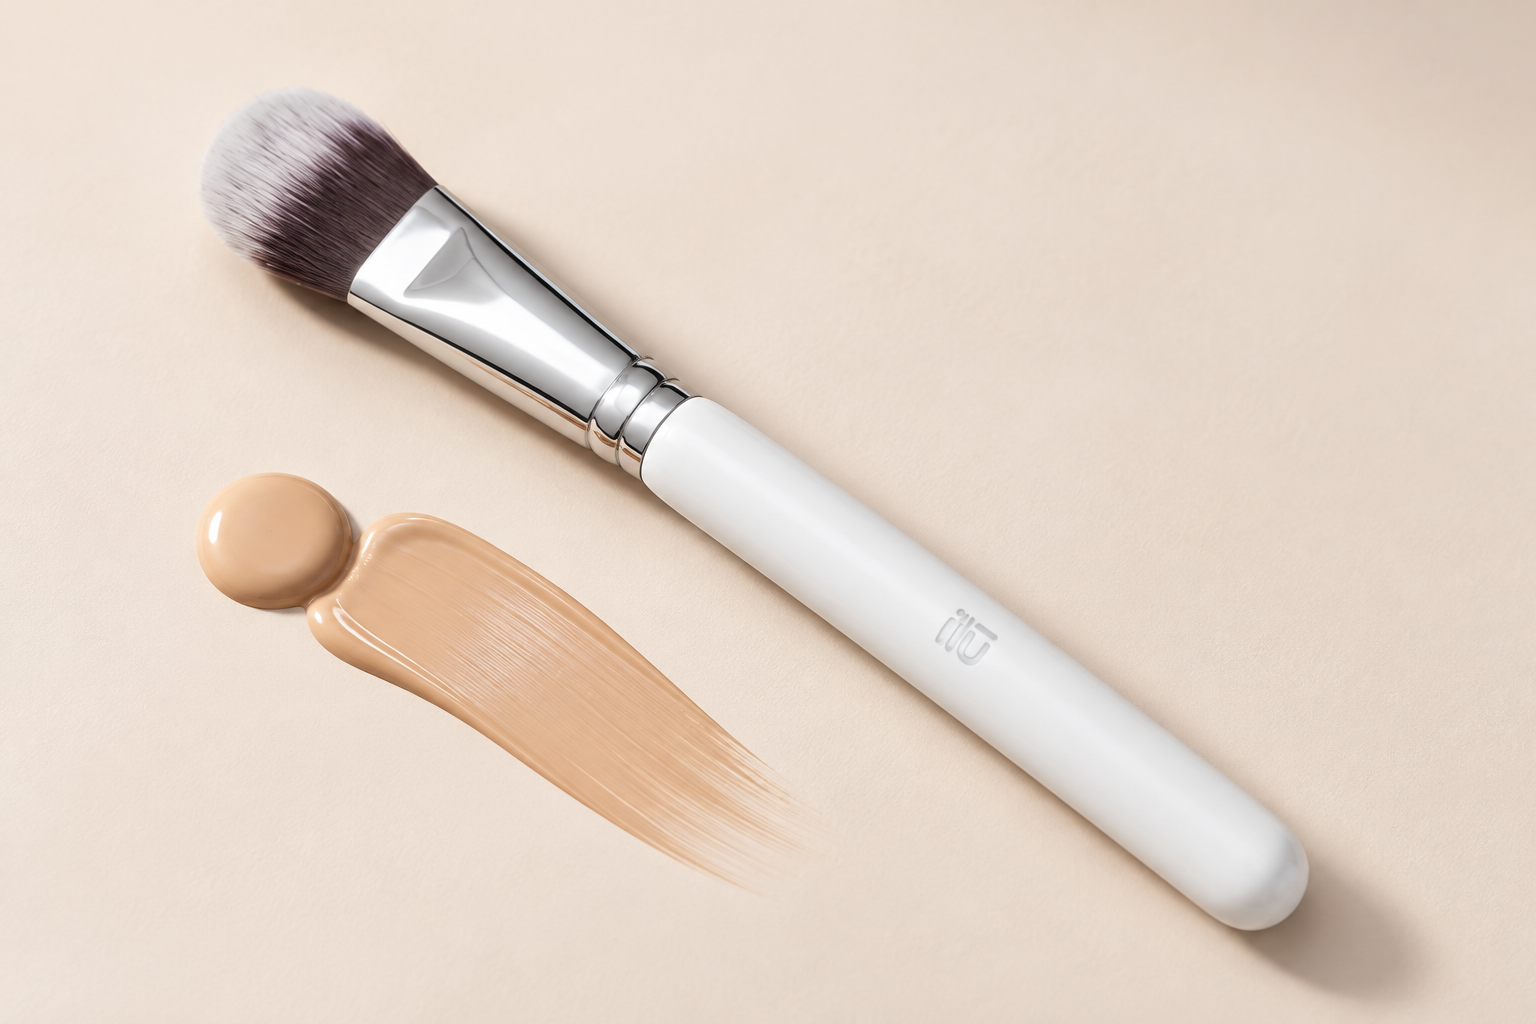
- Duo-Fiber Brush – Longer and sparser light bristles at the tips grow from a denser dark base. It picks up less product, creating a lighter, airier layer that you can gradually build.
Streak-Free Movements
Don't load the brush with a large amount of makeup. It's effective to squeeze a small amount onto the back of your hand, lightly dip the brush into it, and distribute the product in several dots across the face. Then work from the center of the face outwards and towards the hairline.
- With a flat brush, make short strokes in one direction, ideally top to bottom in the direction of fine hairs, and soften the edges at the end.
- Guide the Kabuki and duo-fiber brushes in small circular motions or gentle tapping to press the makeup into the skin.
- Finally, run the clean part of the brush along the jawline and neck to avoid a visible edge.
Watch Out for the Nose and Chin
Around the nostrils and on the chin, makeup can easily accumulate—skin here is more uneven and often oilier, so a thick layer quickly highlights pores or settles into fine lines. Apply only what's left on the brush after treating the cheeks and forehead. If you need to cover redness around the nose, add a thin second layer only to the specific area, rather than increasing coverage all over the face.
Cleaning and Drying Brushes
Brush bristles accumulate makeup residue, sebum, and dead skin cells. An unwashed brush applies the product unevenly and can contribute to skin irritation. Brushes for liquid and cream makeup should be washed about once a week, or more often with daily use.
- Moisten the bristles with lukewarm water, ensuring water doesn't run into the ferrule where the bristles are glued.
- Apply a drop of mild shampoo or soap and massage the bristles in your palm in circular motions until the color stops running out.
- Rinse thoroughly, gently squeeze out the water into a towel, and shape the brush head back to its original form with your fingers.
- Dry lying flat or with bristles facing down, never with bristles facing up—water could seep into the handle and loosen the bristles.
Let the brush dry overnight or all day. Use it again only when it's completely dry, as damp bristles would break up the makeup layer.
Sponge: Seamless Finish Without Visible Lines
If you love makeup that is barely noticeable on the skin yet still evens out your complexion, it's worth trying a cosmetic sponge. Instead of spreading the makeup over the skin, it gently presses it in, allowing the edges to naturally blend without creating harsh lines along the jawline or around the nose. The result looks fresh and is ideal for light to medium coverage. If you need more coverage, add a second thin layer only where it's truly needed.
Moistening is key. A dry sponge absorbs a large amount of the product, which can make the makeup appear uneven or patchy. Before use, hold it under running water, let it soak until it increases in size, and then squeeze it out thoroughly—even into a clean towel. It should remain just damp, not wet. The water in the sponge's pores prevents the makeup from soaking deep inside while helping it blend with the skin.
Tap, don't drag. Apply a little makeup to the back of your hand or dot it directly on your face, and work it in with the sponge using light tapping motions. Use the wider rounded part on the cheeks and forehead, and the tip around the nose, under the eyes, and in the corners of the mouth. Avoid dragging across the skin—it disrupts the layer and negates the seamless effect that makes you reach for the sponge.
Not just for makeup. The sponge is equally effective for blending concealer. Apply it under the eyes or on red spots and gently press the edges with the tip to blend into the makeup without a visible line. You can do the same with liquid highlighter: dab it on the top of the cheekbones and tap it in with the sponge. The glow then appears to come from within the skin, rather than sitting as a stripe on its surface.
Expect higher consumption. Even a well-moistened sponge retains some of the product, so your makeup may not last as long as when applied with a brush or fingers. It helps to dispense smaller amounts and add gradually until you are satisfied with the coverage.
Hygiene deserves more attention. A damp sponge with makeup residue is an environment where microorganisms can easily multiply. Therefore, stricter rules apply compared to other tools:
- Cleaning: ideally after each use, at the latest after a few days. Soak the sponge in lukewarm water, apply mild soap or a cleanser for cosmetic tools, and squeeze it until the water runs clear.
- Drying: after washing, squeeze it out thoroughly and let it air dry in a dry, ventilated place. Store it in a closed container or cosmetic bag only when completely dry.
- Replacement: once the sponge shows cracks, starts to crumble, has an unpleasant odor, or retains stains that won't wash out, it's time for a new one. With regular use, this is typically after two to three months.

Which Tool to Choose and When: Overview, Hygiene, Recommendations
None of the three tools is universally better than the others. It mainly depends on the type of makeup you use, the coverage you expect, and how much time you have in the morning. The following guide will help you quickly get oriented.
Quick Guide by Situation
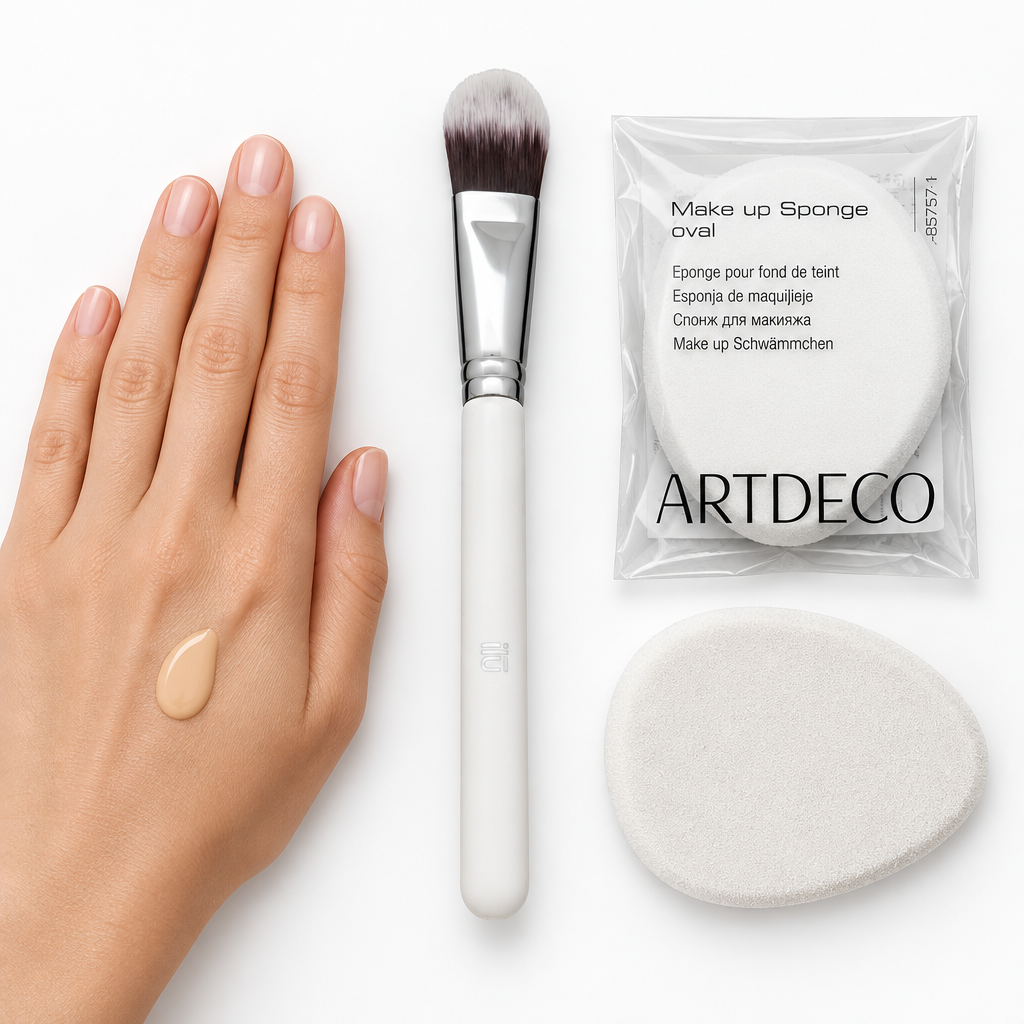
- Fingers – when you're in a hurry and reach for a BB or CC cream or a light tinted fluid. The result looks natural and you're done in a few minutes.
- Brush – when you want medium to full coverage, you're working with a thicker liquid or cream makeup, and you need precision around the nose and chin. It takes a little more time, but you can easily layer the coverage where needed.
- Sponge – when you aim for a seamless result without visible transitions, applying concealer or liquid highlighter, or want to soften a highly covering makeup so it doesn't look heavy.
The tools are not mutually exclusive. A proven combination is to apply makeup with a brush and refine the transitions at the hairline and jawline with a damp sponge. If you really only have a few minutes, fingers can handle even thicker makeup – just apply it in a thinner layer and add coverage only where you truly need it.
Hygiene in One Place
- Always wash and dry your hands before applying makeup with your fingers.
- Wash brushes for liquid and cream products about once a week, powder brushes can be washed less frequently. Dry them lying flat or with the bristles facing down to prevent water from seeping into the ferrule.
- Ideally, wash your sponge after each use, let it dry freely, and don't store it damp in a closed cosmetic bag.
- Replace the sponge as soon as it starts to crumble, tear, or if stains can't be washed out.
- Do not share your tools and store them in a clean and dry environment.
What You Can Choose From
If you want to try out different techniques, you don't have to assemble your kit piece by piece. Popular brush sets Real Techniques Everyday Essentials in five-piece or eight-piece versions cover several stages of makeup at once and are a pleasant foundation for beginners. Among makeup sponges, you'll find various shapes; for first attempts, the classic teardrop shape with a tip is suitable, allowing you to reach the inner corners of the eyes.
It's worth choosing makeup with a texture you're familiar with for your tools:
- Max Factor Lasting Performance – a long-lasting makeup on which you can compare working with a brush and a sponge.
- Max Factor Facefinity All Day Flawless 3-in-1 – combines primer, concealer, and foundation, making it suitable when you want to save a step in the morning.
- Dermacol Make-Up Cover – a highly covering makeup that is worth applying in thin layers with a brush or damp sponge.
- Dermacol Infinity Make-Up & Corrector – makeup and concealer in one, handy for targeted coverage of minor imperfections.
Whichever tool you choose, your own experience will tell you the most. Try the same makeup gradually with fingers, a brush, and a sponge, and see which result suits you best.
Category
Recommended articles

"Give a girl the right shoes and she can conquer the world!" Marilyn Monroe
