



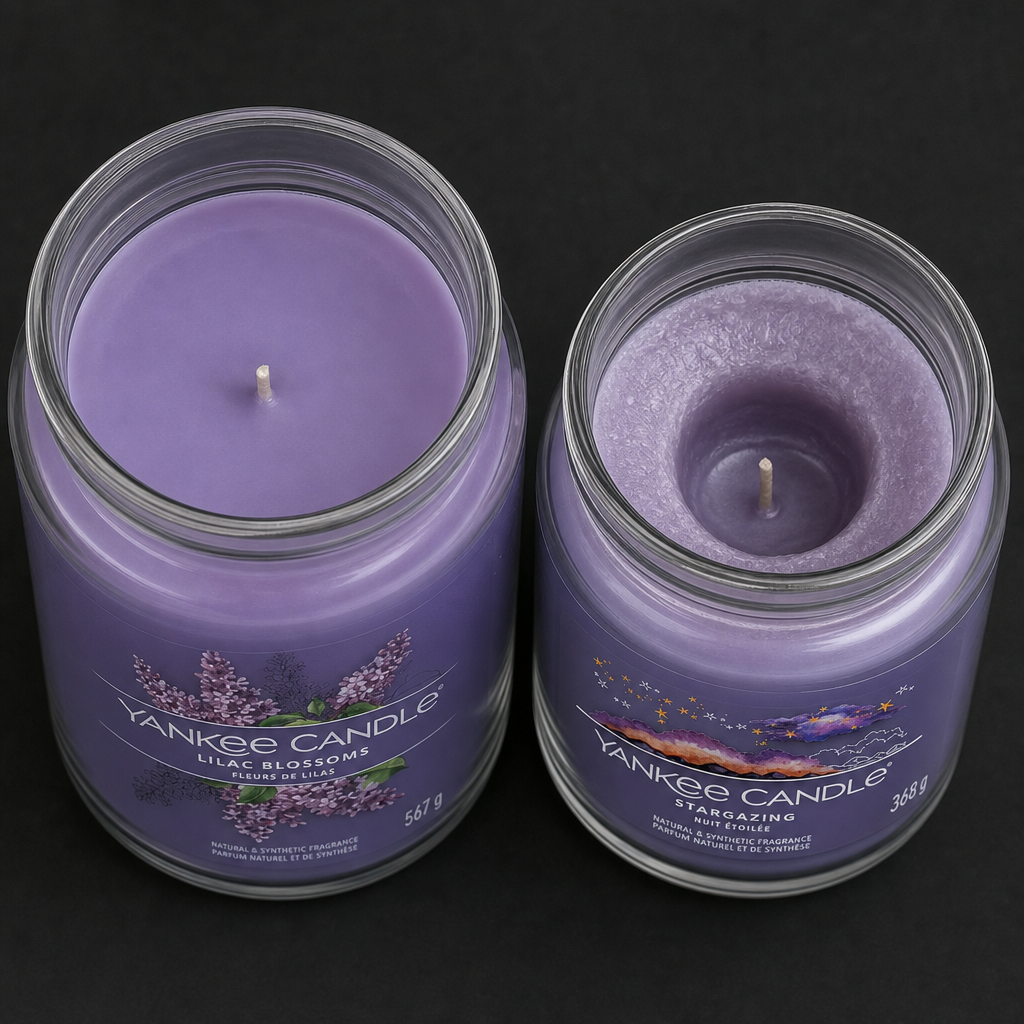

Is your candle burning only in the center, leaving a hard ring of wax around the edge of the glass? Tunneling is not a product defect but a result of the first burn, wick length, and drafts – we'll show you how to prevent it and how to rescue a tunneled candle.
What is Tunneling and Why Does a Ring of Wax Remain After the Candle Burns?
You probably know this scenario: a scented candle is burning, but instead of a smooth pool of melted wax, a narrow shaft forms around the wick. The wax remains untouched, hard, and cold against the glass wall, while the flame sinks deeper and deeper. This phenomenon is known as tunneling and is one of the most common reasons why a candle burns out sooner than it should.
In simple terms, it's uneven wax melting. The flame heats only the part within its immediate reach, creating a narrow chimney. The wax a few centimeters away doesn't get warm enough to soften and stays in place as a solid ring against the glass. The longer the candle burns this way, the deeper the shaft and the higher the wax wall around it.
The good news is that tunneling can be spotted very early – typically after the first or second lighting. Just look at the candle's surface when you blow it out and let it cool. Watch for these signs:
- The melted pool of wax is noticeably narrower than the glass and doesn't reach the edges;
- A continuous strip of untouched wax remains at the edge, cold to the touch;
- The wick gradually sinks below the level of the hardened wall, and the flame is partially hidden;
- The scent is noticeable only in the immediate vicinity of the candle, but it no longer fills the room.
It won't fix itself, quite the opposite. Once a ring of hardened wax forms, it acts as a shield: reflecting heat back to the center and protecting the wax against the glass from warming up. With each subsequent lighting, the flame moves in an ever-deeper shaft, air access worsens, and the heated area continues to shrink. The candle sticks to what it learned during the first hours of burning.
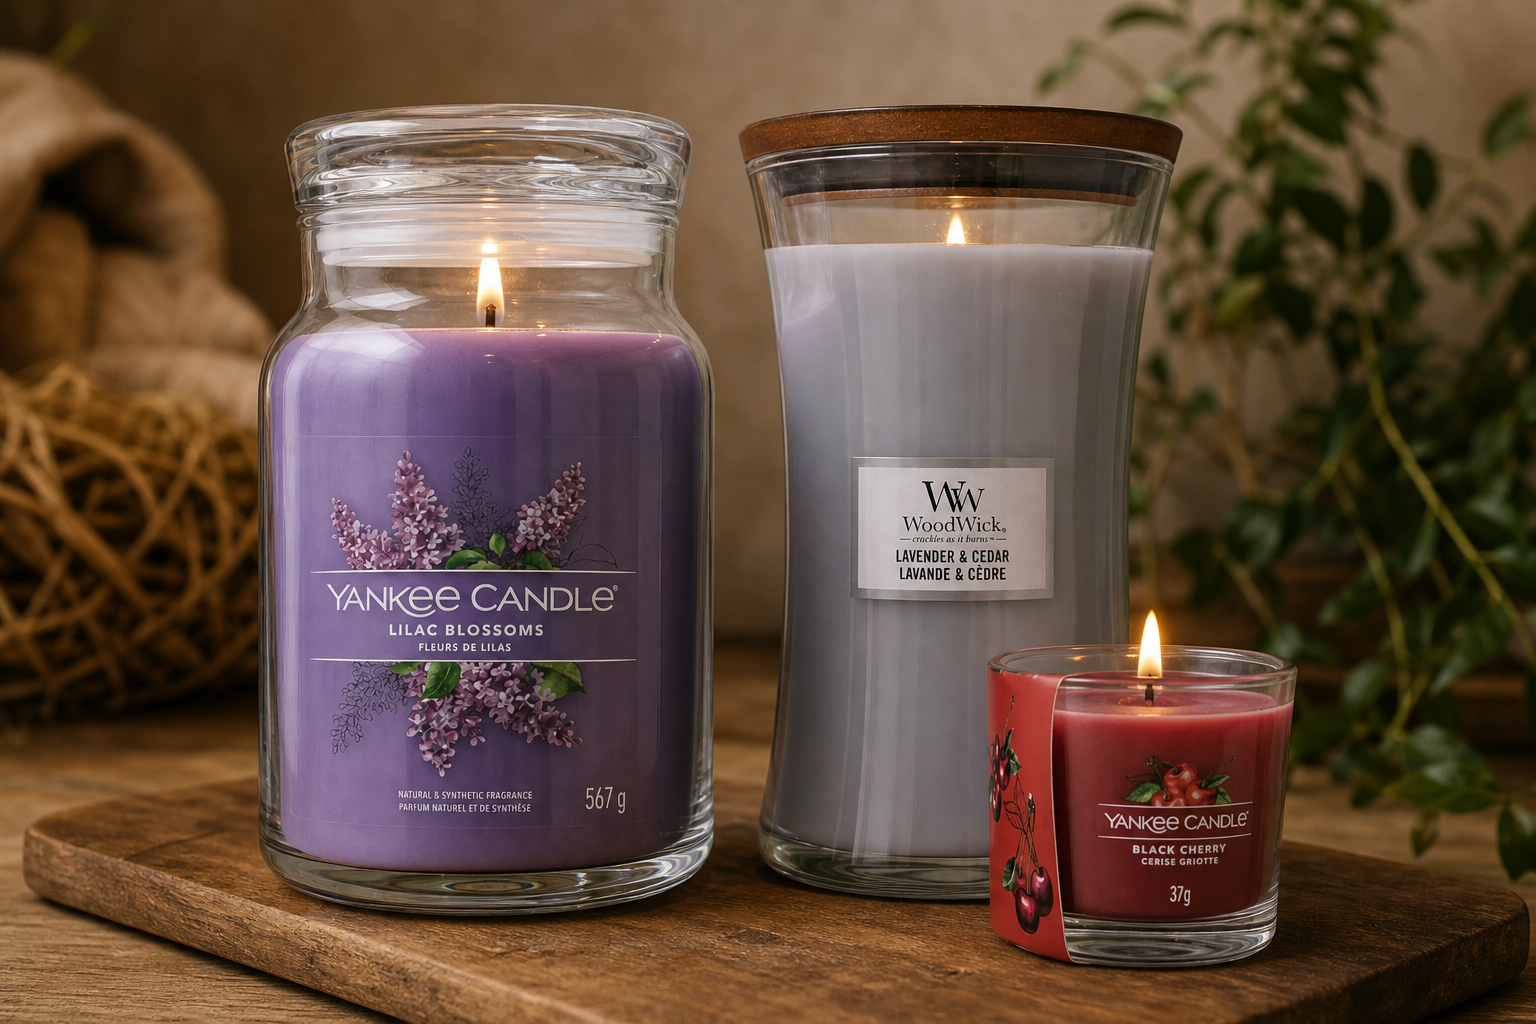
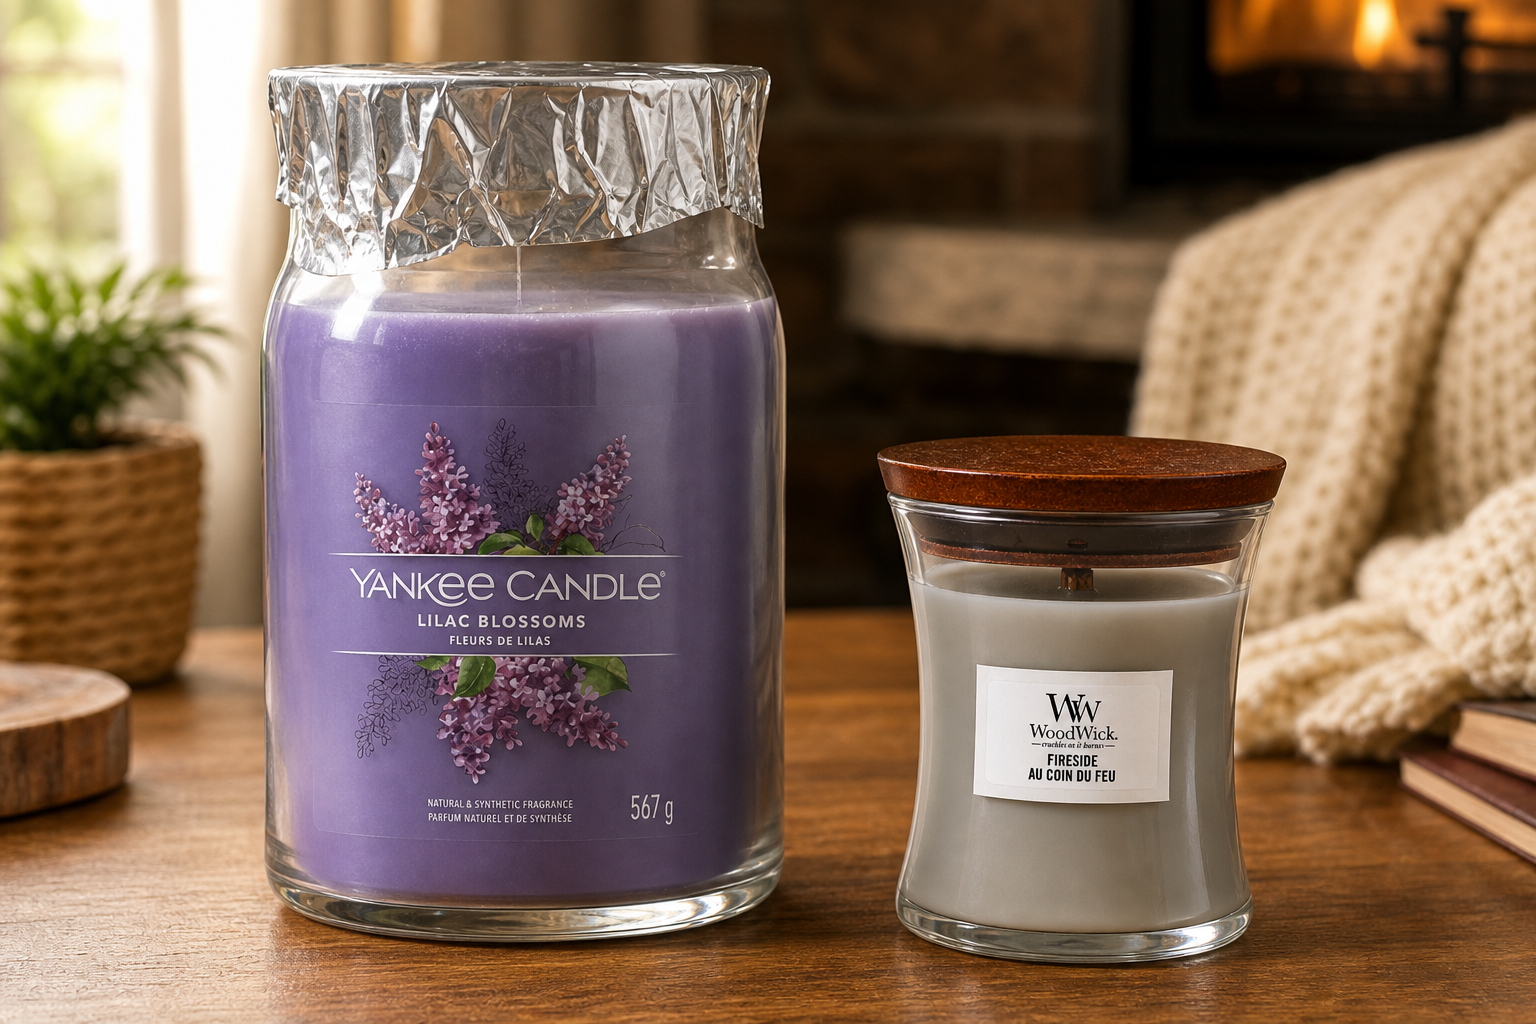
The practical impact is most noticeable with large formats. From a candle in a large jar, like a Yankee Candle weighing 567 g or a Woodwick weighing 610 g, you might not use up to a third of the content this way. In terms of burning time, this translates to several dozen hours that remain permanently trapped in the ring against the wall. Simultaneously, the time the candle actually scents the room is shortened: the smaller the melted area, the fewer fragrance components are released into the air, so even a high-quality scent will eventually stop spreading beyond half a meter from the jar.
It's important to know that in the vast majority of cases, it's not a defect in the candle or bad wax. Tunneling is caused by how the candle is used – the length of each burn, the condition of the wick, and the environment in which the candle burns. This is good news because you have full control over its use. When you know what causes uneven burning, you can guide the candle from the start to burn all the way to the glass.
Wax Memory and Other Causes of Uneven Burning
A scented candle, in a way, remembers its first lighting. This is technically known as wax memory: the wax retains the diameter of the area that first melted, and with each subsequent lighting, the flame follows the same path. If you extinguished the candle when it had only a narrow ring of melted wax around the wick, it will return to this ring the second and third time. Meanwhile, the wax at the edge remains cool and hard, gradually forming a ridge that further obstructs the heat's path to the glass.
The whole phenomenon is due to simple heat conduction. The flame heats the wax around the wick, and the melted layer, known as the hot pool, spreads outwards as long as the heat is sufficient to melt more wax. Once you extinguish the candle, the pool solidifies, creating a boundary between the wax that has melted before and the wax that never reached its melting point. Solidified wax also conducts heat less effectively than liquid wax, making it more difficult for the flame to reach the edge upon the next lighting. Each short burning session only deepens the previous track.
The width of the pool is not determined solely by the burning time. Several parameters, given to the candle during manufacturing, come into play:
- Diameter and shape of the container. The wider the glass, the longer the distance the heat must travel from the flame to the edge. A narrow votive or small glass candle melts across the surface almost on its own, while with a wide container, achieving an even pool is a matter of patience.
- Type of wax. Paraffin, soy, coconut, and blended waxes differ in melting points and how readily the melted layer spreads outwards. Softer plant-based blends react to heat more quickly, while harder waxes maintain a firm edge longer, more easily forming a ridge that the flame cannot cross again.
- Wick and its condition. The wick must match the candle's diameter. A flame that is too weak cannot melt the wax all the way to the glass, which is why manufacturers often use multiple wicks side by side for wider formats. The condition of the wick also matters: a charred or crooked wick burns unevenly, causing the pool to shift off-center.
- Amount of fragrance component. Fragrance oils are not a neutral additive in wax—they affect its consistency and how it behaves when melting. Highly scented candles may take a bit more time to achieve a wall-to-wall pool than an unscented candle of the same diameter.
This is why the same lack of attention manifests differently in each format. For a small Yankee Candle weighing 37g, the pool reaches the glass wall almost immediately, so even a short lighting usually leaves no significant mark. Conversely, classic large jars weighing 567g or 610g have a diameter where the difference between short and sufficiently long burning is immediately noticeable: after the first lighting, a ridge a few millimeters high remains around the perimeter and grows with each subsequent evening. The same scenario applies to wider medium-sized candles, though it manifests more slowly.
However, wax memory also has good news—it works both ways. A candle that initially melted thoroughly to the edge remembers this diameter too and returns to it on subsequent lightings. Preventing tunneling doesn't start when you first notice the ridge around the wick but right from the first lighting—and that's what we'll focus on next.
First Burn: Let the Candle Melt to the Edges
Whether you've purchased a small votive or a large jar with multiple wicks, the even burning of your candle is determined in the first few hours. The melted wax "remembers" how far it reached during the first burn and follows the same path each time it's lit. The good news is that this step is entirely in your hands – just give it enough time and don't rush.
The basic rule is simple: during the first burn, let the candle burn long enough for the wax to melt across the entire surface to the edge of the container. Only when the melted layer forms a continuous pool from edge to edge is the candle set for its entire lifespan. If you blow it out when only a ring around the wick is melted, it will stick to this smaller diameter in the future, and the wax at the edge may not melt.
You can recognize a continuous pool by looking from above: the surface is shiny and liquid all the way to the glass, with no dull band of solid wax remaining. The depth of the pool doesn't need to be large, just a few millimeters. The width of the melted surface is what matters, not the amount of wax.
How Much Time to Allocate Based on Candle Size
The time needed to melt the entire surface increases mainly with the diameter of the container. As a guideline, you can follow these values:
- Small formats around 37 g, like Yankee Candle Soft Blanket 37 g, usually melt in about an hour.
- Medium jars around 368 g need approximately two to three hours.
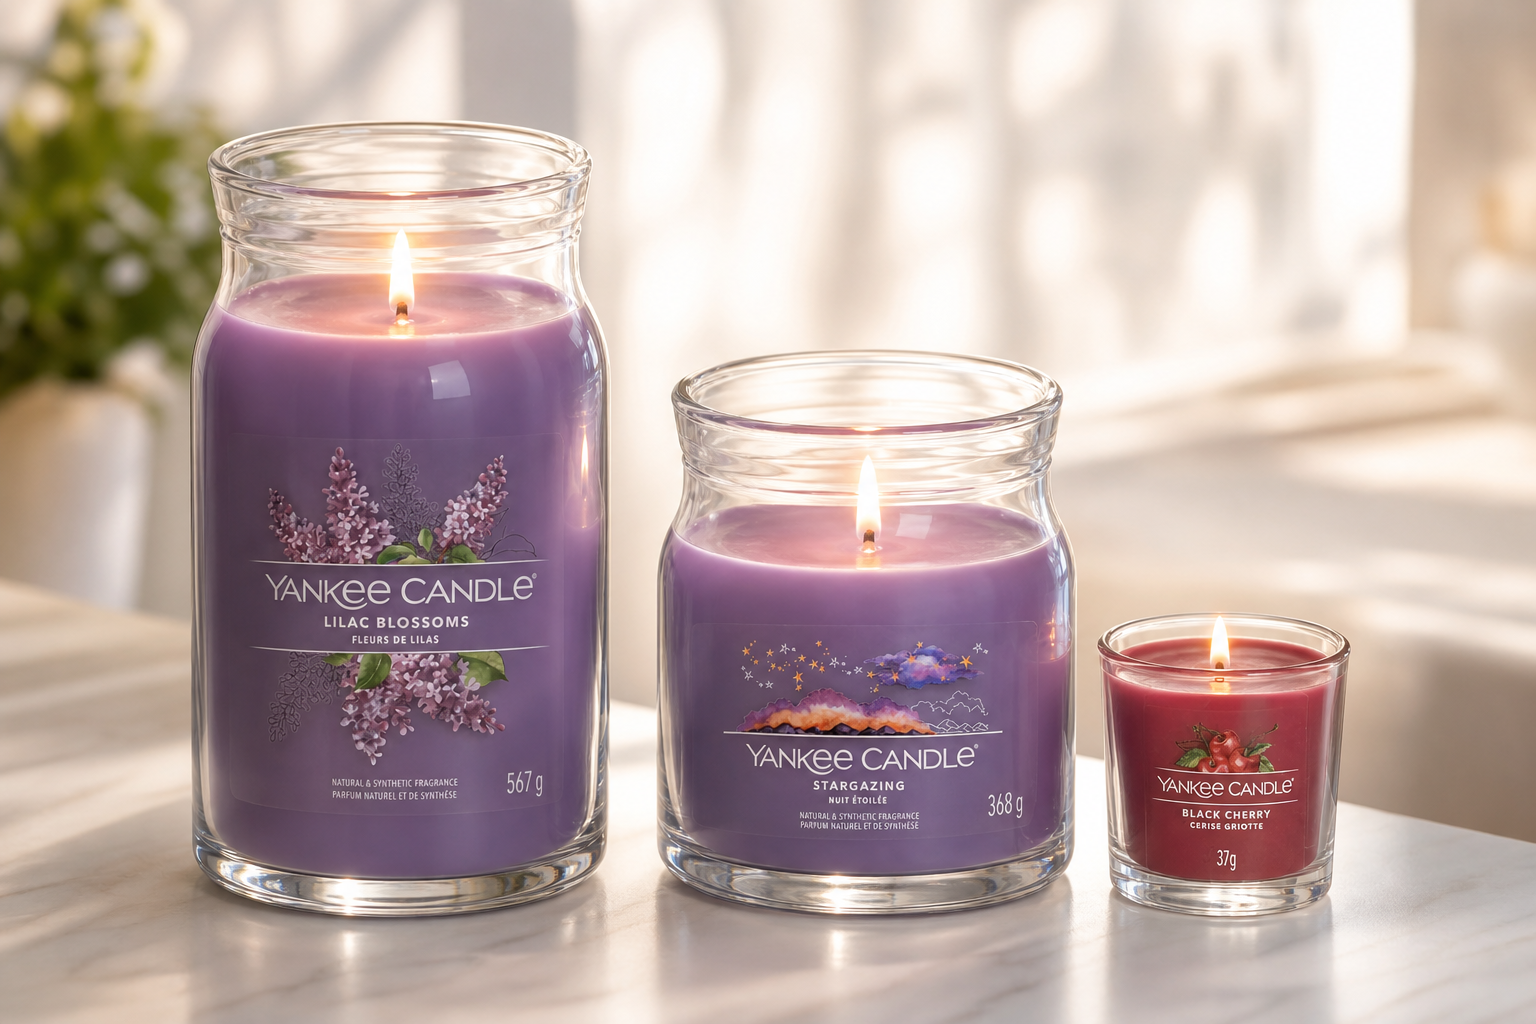
- For large formats, such as Yankee Candle Lilac Blossoms 567 g or Woodwick Sun Ripened Berries 610 g, expect three to four hours.
A practical rule of thumb is one hour for every centimeter of the container's diameter. Consider it a rough estimate that works well for small and medium jars; for the widest formats, it hits the upper limit, which is discussed below.
This also explains why it's not worth lighting a large candle "just for a moment." Twenty minutes before leaving the house or half an hour at dinner isn't enough to melt a wide surface, and each short burn deepens the tunnel track. So, save the large candle for an evening when you know you'll be home for several hours straight. For a short burn, a small format or votive, which can melt completely, is more suitable.
Upper Limit: No More Than Four Hours Continuously
The rule of a long first burn also has its downside. Letting a candle burn for more than four hours continuously isn't advisable: the wax overheats unnecessarily, the pool becomes deep, the wick starts to tilt, and the flame grows. The result is often soot, darkening glass, and faster wax consumption without any stronger scent in the room.
So, when the surface reaches the edge, or when the fourth hour approaches, blow out the candle and let it cool down, ideally for several hours, before lighting it again. The wax will harden into a flat surface and will continue exactly where you left off when relit. This moderate rhythm – a long first burn, then regular shorter sessions within four hours – will reliably get all the wax and fragrance out of your candle.
Wick, Draft, and Room Temperature
A candle that you initially lit following all the rules may start behaving differently after a few weeks. This is usually not due to a wax defect, but rather small factors like an untrimmed wick, an open window behind it, or a cold windowsill where the candle is placed.
Trim the Wick Before Each Lighting
The recommended wick length is three to five millimeters. A longer wick burns with a higher and more unsteady flame, which consumes the wax faster than it can heat the entire surface. This often results in a deeper well in the center, soot on the glass, and a more pronounced smoke when you extinguish the candle. A wick that is too short has the opposite problem: the flame is weak, the pool doesn't spread to the edges, and the candle tunnels even if you let it burn for a long time.
Trim the wick on a cooled candle, before lighting it, not during burning. Remove any charred remnants that fall into the wax, otherwise, they will burn in the pool and the scent will lose its purity. Use a snuffer or lid to extinguish the candle, as blowing bends the wick to the side and splatters hot wax on the container walls.
Cotton and Wooden Wicks Require Different Care
A cotton wick, found in candles like Yankee Candle, forms a bulbous head during burning. This needs to be trimmed off, otherwise, the flame gradually grows, starts to smoke, and heats the wax unevenly. Cotton also easily tilts, so occasionally check if the wick is standing in the center of the container.
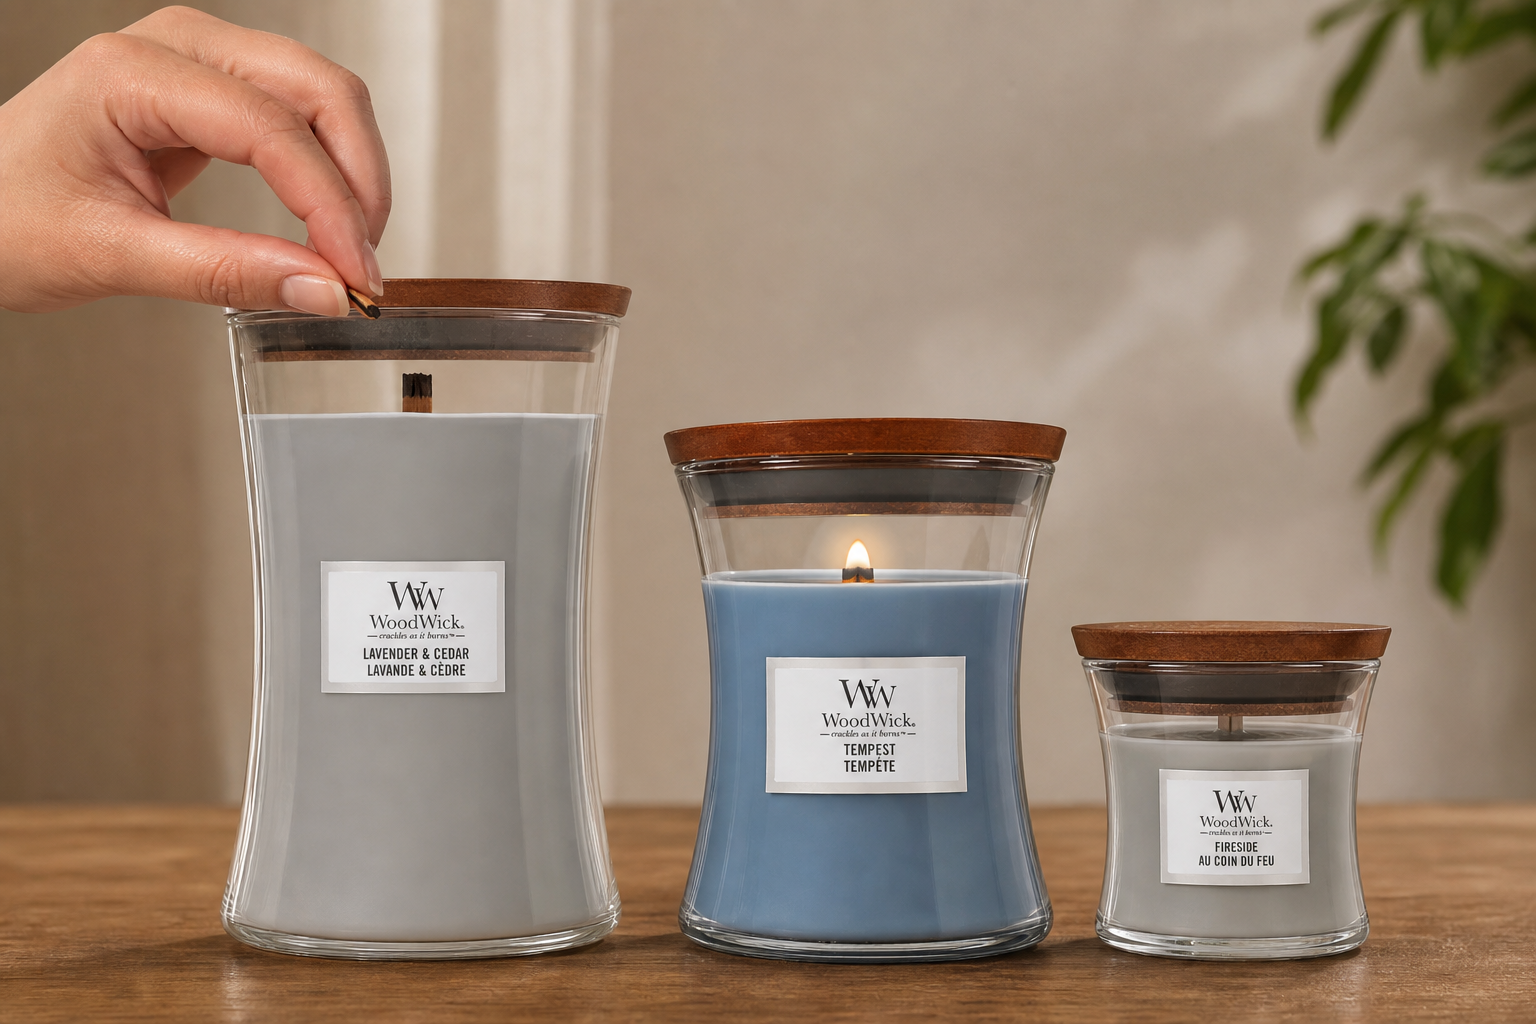
A wooden wick, typical for Woodwick candles, behaves differently. It burns with a lower and wider flame that crackles softly, and instead of trimming, it is more about breaking: gently break off the charred top edge with your fingers so that about three to five millimeters of clean wood remains. A lower flame also means the surface heats more slowly, and such a candle needs a bit more time to melt the entire layer.
Draft Creates a Slanted Tunnel
The flame always leans towards where the air flows. An ajar window, open doors, air conditioning, or a fan is enough. The heat then concentrates on one side of the container, the wax melts faster there, while the opposite wall remains cool and wax builds up on it. The pool tilts within a few hours, and on the warmer side, the glass turns black from soot. You can also tell by the flickering flame and more smoke than usual for that candle.
Therefore, place the candle away from direct airflow: away from an open window, not in the doorway, and not under air conditioning or a fan. If you want to ventilate during burning, it's easier to extinguish the candle for that moment and relight it once the air settles.
Cold Room and Uneven Surface
The room temperature affects how far the pool can spread. In a cold room, the wax on the container wall solidifies before the flame can heat it, so a ring of unused wax forms even with a candle you otherwise handle correctly. A normal room temperature is ideal for even burning; in a cold bedroom or on a winter terrace, expect a longer time.
The surface also plays a role. A slanted surface – a windowsill, a warped shelf, or a soft tablecloth – causes the melted wax to flow to the lower side and solidify into a wedge when cooled. Each subsequent lighting then deepens this unevenness. Place the candle on a flat, sturdy, and heat-resistant base and ensure it stands level.


How to Rescue a Tunneling Candle and What to Consider When Choosing One
A hardened ring of wax on the side of the jar may seem like irreversible damage, but in most cases, it's just a bit of extra work. Depending on how deep the tunnel has formed, there are three solutions – from simple heat reflection to mechanical leveling, or giving the wax a second life outside its original container.
An aluminum foil collar is the quickest fix for shallower tunnels. Shape a strip of foil, wrap it around the top edge of the jar, and fold the loose end over the edge inside to create a canopy with an opening above the flame. The heat that would otherwise escape upwards is reflected back to the wax on the sides, gradually softening it. Let the candle burn for one to two hours and check periodically to see if the surface is leveling out. For deep tunnels, feel free to repeat the process over several evenings. The foil heats up, so never leave the candle unattended, place it on a non-flammable surface, and remove the collar only after it has cooled down.
Careful edge leveling is suitable where the wax wall is already so high that the collar wouldn't melt it. The candle must be completely cooled and the wick without a flame. Use a blunt knife or spoon to gradually cut away the wax from the wall inward until the surface is roughly level. Set aside the cut pieces; they will come in handy later. Avoid applying pressure to thin-walled glass and never heat the jar with hot water from the outside – the thermal shock could cause it to crack.
Burning in an aroma lamp comes into play when the wick is drowned or burnt close to the bottom and can't be lit practically. Cut the remaining wax into smaller cubes and use them as scented wax in an aroma lamp or an electric aroma lamp. The fragrance is released without a flame, and from what would otherwise end up in the trash, you get several more fragrant evenings.
To prevent the situation from recurring, it's worth sticking to a short checklist:
- Plan the first lighting for a time when you'll be home for at least two hours; for large jars, allow for three to four.
- Always wait until the melted wax reaches the side of the container before extinguishing the candle.
- Before each subsequent lighting, trim the wick to three to five millimeters and remove any burnt remnants.
- Place the candle on a flat, non-flammable surface away from drafts, open windows, and heaters.
- Do not let it burn for more than four hours at a time.
- After extinguishing, let the wax solidify in peace and do not manipulate the jar.
A large part of the problems can be solved by simply choosing the right format. If you only light the candle occasionally for half an hour at dinner, opt for smaller sizes – small Yankee Candle jars weighing 37 g or smaller Woodwick formats melt across the entire surface quickly, and wax memory doesn't have time to form. Discovery gift sets are also a good choice, such as the Yankee Candle Discover Your Fragrance with twelve samples or the trio of Woodwick Mini Jar miniatures – you can try more scents without risking an unused third of the content. On the other hand, large Yankee Candle jars weighing 567 g or Woodwick 610 g make sense when you have time for a long evening with a book or a movie.
And if your living room is practically always drafty because you ventilate, have a recuperation system, or frequently pass through doors, it might be wiser to avoid the flame altogether. Aroma diffusers with scented sticks, like those offered by Millefiori Milano, release fragrance evenly regardless of air movement and work continuously even when you're not home. You can adjust the intensity by the number of sticks inserted. You can find the complete range of scented candles and diffusers in the home fragrance category.
Category
Recommended articles

"Give a girl the right shoes and she can conquer the world!" Marilyn Monroe