



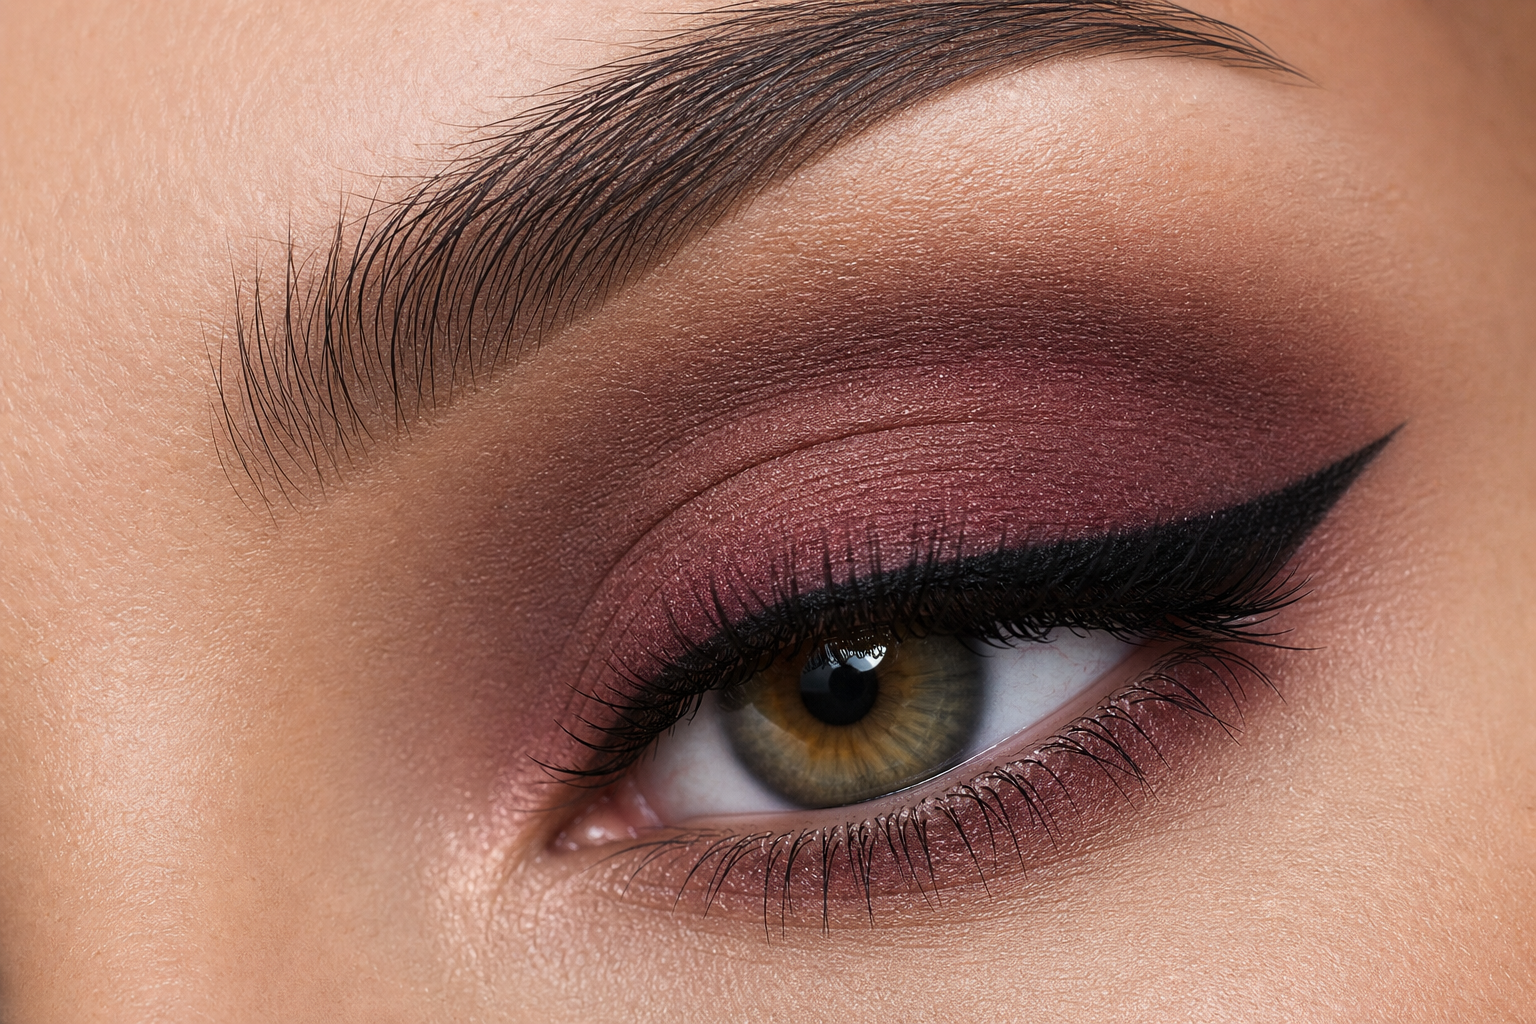
Why Eyeshadow Creases by Noon
In the morning, you have ten minutes for eye makeup and you use them diligently: a matte transition shade, a more intense color on the center of the lid, carefully blended edges. It looks just right. By noon, you look in the mirror and all that's left of the gradient makeup is a thin line of color settled in the crease, while there's almost nothing left on the movable part. It's not necessarily because you applied the shadows incorrectly or because they are of poor quality. It's usually due to what happens on the eyelid throughout the morning.
The eyelid is one of the most challenging places to apply makeup. The skin is thin, very mobile, and unlike the cheeks or forehead, it practically never stops moving during the day. Three things simultaneously affect its longevity:
- Skin oil. The eyelid and its edge have sebaceous glands, and throughout the day, residues of eye cream or makeup add to the oil. Powder pigment loses adhesion on an oily surface and starts to move.
- Blinking. You blink thousands of times a day. The skin of the movable eyelid folds and unfolds like a fan each time, and the pigment moves in the same direction – into the crease, where there's the least movement.
- Rubbing and heat. Rubbing your eyes, glasses, warm air in the office or on the tram – all these speed up how quickly the binder holding the pigment in place dissolves.
The good news is that these issues don't manifest in the same way. The difference between creasing and loss of intensity is crucial because each scenario has a different cause and solution. Before you start changing anything, it's worth identifying which one repeats for you.
Creasing is recognized by the fact that the color has moved. There's suddenly little left on the movable lid, while a darker, sharply defined line has formed in the crease, often following small wrinkles. The pigment hasn't disappeared; oil and repeated blinking have just moved it to where the surface is calmest. This scenario is almost always due to the base: an eyelid that was too oily, damp, or completely unprepared at the time of application.
Loss of intensity looks different. The shade stays roughly where you applied it, but within a few hours, it fades, loses depth, and the carefully graduated transitions blend into one grayish area. Here, the cause is usually different – in the coverage and pigmentation of the shadow itself, in a layer applied too thinly in one stroke, or in the absence of a darker base under a lighter color to hold it.
That's why it's often not worth simply reaching for a more expensive palette for eye makeup. When shadows crease, even a significantly more expensive pigment will behave the same on an equally oily lid. And when the color loses intensity, no amount of careful preparation will help if you stick to a single sheer layer. Longevity is largely a matter of technique: how you prepare the lid, the order in which you layer creamy and powder textures, and what you use to finish the makeup. These are steps you can manage with what you likely already have at home – and the difference between makeup that lasts until lunch and makeup that lasts until evening is usually in these steps.
Know Your Eyelid: Oily, Dry, Mature
Same shadows, same brush, same technique – yet for one of you, the color lasts until evening, while for another, there's just a faint trace by noon. The difference usually isn't the price of the palette, but the surface you're applying the shadows to. The eyelid is a unique piece of skin: it has very thin skin, is constantly moving, and its behavior changes over the years. So before you start changing products, it's worth finding out what type of eyelid you're actually working with.
Oily eyelid announces itself with a slight shine at the inner corner and above the lashes, which returns even after mattifying. The skin's natural oils gradually disrupt powder shadows, the color darkens, slides into the crease, and uneven patches form in transitions. This is most noticeable with pearly and shimmery shades – they are the first to migrate into the crease and often imprint on the skin under the brow.
Dry eyelid, on the other hand, keeps the color in place but mercilessly shows the skin's texture. Matte powder shadows cling to tiny dry patches and fine lines, making the result look blotchy and the edges hard to blend. A typical feeling is tightness, and the shadow looks dried out after a few hours, even if it hasn't slipped anywhere.
Mature eyelid has a finer subcutaneous layer and a less firm upper part, which partially folds over the mobile part of the eyelid at the outer corner. The color naturally gathers in the crease because every blink pushes it there – and the more pronounced the pearl you choose, the more visible the fine lines will be. At the same time, the skin tends to be drier, so both previous situations often occur at one eye simultaneously.
A purely oily or purely dry eyelid is rather an exception. Much more common is a combination where the inner half of the eyelid is oilier and the outer half is drier.
You can easily categorize yourself at home, without any preparation or additional tools:
- In the morning, after washing your face, leave the eyelid completely product-free – no eye cream, no primer, no shadows.
- For two hours, go about your usual activities and don't touch your eyes at all.
- After two hours, place a tissue on the closed eyelid and press it lightly.
- Then look closely in the mirror, first with a downward gaze, then with an open eye.
Interpret the result as follows:
- If there's an oily print on the tissue and the eyelid is shiny – you're working with an oilier eyelid.
- If the tissue is clean, the skin is matte, tight, or there are visible small dry patches – it's a dry eyelid.
- If the print is faint, but with an open eye, the mobile part of the eyelid partially hides under the upper edge – the characteristics of a mature eyelid prevail.
- If the shine is only on the inner half and the rest appears drier – it's a combination type, and you'll focus on the part that causes you more trouble.
This categorization isn't just for show. An oilier eyelid needs emphasis on base preparation and mattifying, a dry eyelid appreciates hydration under makeup and fewer layers, and a mature eyelid benefits from matte textures and more precise placement of color above the crease. As you go through specific steps, refer back to what the test showed you – it will save you a lot of unnecessary trial and error and a few palettes that would otherwise remain unused.
Eyeshadow Primer: The Foundation That Holds Your Shadows
An eyeshadow primer is a thin layer between your skin and the pigment. The skin on your eyelid is delicate, moves all day, and is continuously moisturized by its own oils. Powder shadows need a dry surface to adhere to—on an oily or sticky base, the pigment just slides and gradually migrates to where the lid creases. Therefore, the primer works on three things at once: it absorbs excess oil, evens out the uneven color of the lid, and creates a slightly matte, lightly adhesive surface where the shadow stays exactly where you apply it.
The second, less expected effect is vibrancy. The same shade appears paler on a bare lid than on a primer because some of the pigment literally gets lost in the skin. On a prepared base, the color sits on the surface, and the shadows look exactly as they do in the palette after application.
There are several types of primers, differing mainly in how much they mattify and how quickly they dry:
- Creamy Mattifying Primer – a universal choice for most situations. It applies like a very thin cream, dries to a velvet finish in moments, and is best suited for normal to oily lids where oil needs to be controlled right from the start.
- Transparent Primer – doesn't change the lid's color, just creates an adhesive layer. It's appreciated by those working with sheer, satin, or glittery shadows, where a covering base would dull the color. It's also more pleasant on drier skin as it usually mattifies less aggressively.
- Concealer Set with Powder – an improvised but functional method if you don't want to buy another product yet. Concealer alone remains creamy, so it must be set with a translucent powder; otherwise, it acts more like a slippery layer than a primer. For very oily lids, this combination is usually the least durable of all three.
- Sticky Base for Glitter – a thicker, highly adhesive base designed only for coarser glitter pigments. It's not suitable for regular matte shadows because it prevents blending and the color stays in patches.
The most common mistake isn't choosing the wrong type, but the amount. A rice grain-sized amount is enough for both lids. A thicker layer behaves like a cream: it doesn't dry all the way through, remains soft under the shadows, and creases with the color you apply on top. If you see shine or feel slipperiness on the lid after application, the primer is too much.
It's best spread with the fingertip, as the warmth of the finger distributes it into a really thin layer. The entire lid needs to be covered from the lash line across the movable part to just above the crease, where the transition shade will later fall. Don't skip the inner corner or the thin strip under the lower lash line—these are the two places where pigment most often gathers and smudges, so smudged shadows are first noticeable there.
And the last step, which determines everything else: the primer needs to dry. It takes roughly twenty to thirty seconds, but checking by sight and touch is more reliable than timing. The surface should stop being shiny and feel more powdery than supple. In a wet primer, the pigment literally drowns, creating dark spots, and the brush pulls the base along with the shadow. Conversely, waiting several minutes is pointless because some primers accept color less well over time, and the shadow then spreads stiffly.
One more small detail that's often overlooked: the primer belongs on clean and degreased skin. If you treat your lid with eye cream in the morning, give it time to absorb, or gently wipe away the excess. A primer applied over unabsorbed cream loses most of its function, and the whole process then starts on a slippery base that it's supposed to solve.
Layering Step by Step: From Base to Pigment
Once the base on your eyelid dries, the part of makeup that most affects longevity begins. It's not about applying a lot of color, but applying it in an order where each layer supports the next. Layering has three levels: a matte transition shade in the crease, a more intense color on the center of the lid, and a darker accent in the outer corner. If you reverse this order, you'll end up spreading dark pigment across the entire lid, and the shades will blend into one smudge before you even get to work.
Cream Textures First, Powder on Top
Cream shadows and eye pencils hold together thanks to waxes and oils, while powder shadows have pigment bound in a dry binder. Powder adheres willingly to a creamy base, and once the two textures combine, the layer stays on the lid significantly better than powder applied to bare skin. The reverse order doesn't work: cream placed on a powder layer will sink into it, pulling it away and leaving uneven patches on the lid. Stick to the simple rule – creamier texture goes down first, drier on top. Apply the cream layer right after the base, let it settle briefly, and only then reach for the powder shade.
Three Layers, Three Places on the Lid
- Matte transition shade in the crease. Choose a matte color one to two shades darker than your skin tone and pick it up sparingly. Apply it in the crease of the lid and slightly above, where the boundary between colors will later blend. This shade is not for decoration, but for softening: it ensures the transition between light and dark areas isn't harsh, even after several hours.
- More intense color on the center of the lid. Here, the pigment isn't spread but tapped. A flat brush with denser bristles literally taps the color into the lid. With a stroke, you'd move the layer underneath and expose the base; tapping, on the other hand, compacts it and the pigment settles exactly where it belongs.
- Darker accent in the outer corner. Use a smaller brush and add the color in two to three doses. You only need to blend the boundary between the accent and the center of the lid, not the entire surface – otherwise, you'll drag the dark pigment into the crease, where it will accumulate throughout the day.
No matter which level you're working with, the same rule of dosing applies. Tap off the brush after picking up the color, and make the first touch where the shade should be most intense. Intensity is then added by repetition, not pressure. Two to three thin layers lie flatter on the lid, adhere to the base with their entire surface, and don't tend to gather in the crease. One thick layer, on the other hand, has a grainy surface that releases in chunks with friction, leading to empty spots in the middle of the lid by afternoon.
Eye Pencil and Transparent Powder as Insurance
The eye pencil plays a special role in this process. If you want a line that lasts but doesn't appear too sharp, draw it before the shadows, blend it with a small angled brush into a soft shadow, and only then apply a powder shade in a similar tone over it. The powder seals the pencil, reduces its shine, and prevents the line from transferring to the upper lid. The same method works for the lower line, where pigment usually holds the least.
Transparent powder has two uses at this stage. As an intermediate layer between cream and powder shadows, it helps where the lid quickly becomes shiny – lightly tap it into the crease to prevent colors from blending. As a final fixative, it's more suitable for the area around the eye than the lid itself: apply a thin layer under the lower lashes, where mascara and shadow crumbs accumulate during the day. On dry or mature lids, use powder sparingly, as it highlights fine lines and makes the color appear dusty.
Setting Spray as the Final Touch: Make Your Makeup Last Until Evening
The last step is often the one most forgotten – yet it determines whether your makeup lasts until lunch or all the way to the evening. A setting spray on its own won't fix a slipping foundation or an overly thick layer of pigment, but it can extend the longevity of well-applied makeup by several hours. The key is to tailor your routine to suit your eyelid and learn how to use the spray correctly.
Custom Routine: Oily vs. Dry Eyelids
If you notice shine on your eyelids throughout the day, it's worth adding two extra steps. After applying a primer, set your eyelid with a small amount of translucent powder applied with a soft brush – this creates a second dry layer that prevents the pigment from dissolving. The second step comes at the very end: a light mist of setting spray that binds the powder particles into a more cohesive film. Avoid touching your eyes during the day; rubbing will move the color faster than any skin oil.
For dry eyelids, the situation is the opposite, and you can simplify the entire process. Here, you want fewer layers, not more – each additional powder layer highlights fine lines, making the color appear uneven. Skip the powder setting, apply the primer very thinly, and stick to creamier textures. In this case, the setting spray acts as the final step, unifying the makeup surface and eliminating the powdery look.
How to Use Setting Spray Correctly
Hold the spray about twenty to thirty centimeters from your face. At a closer distance, large droplets form that dissolve and drag down the pigment; from a greater distance, the aerosol disperses before reaching the skin. Two to three sprays in a cross pattern, once horizontally and once vertically across the entire face, are sufficient. The goal is a fine mist, not a wet face.
After spraying, let it dry and blink as little as possible. The moist film is still pliable in the first few seconds, and blinking can easily smudge it – moving the color into the crease exactly where you didn't want it all morning. It helps to look slightly upward and keep your eyelid still. Never dry the spray with blowing or a tissue: both will disrupt the layer before it has a chance to dry.
The Entire Process Summarized in Five Steps
- Apply a thin layer of primer and let it dry.
- For oily eyelids, set the primer with translucent powder.
- Build the color in small increments, from a matte transition shade to a darker accent.
- Enhance the lash line with a pencil and gently tap pigment onto it.
- Set the finished makeup with spray from the correct distance and let it dry undisturbed.
What to Purchase for This Routine
If you want to build your routine from scratch, look for these four items in Brasty's selection:
- Eyelid Primer – creamy for dry skin, more mattifying for oily eyelids.
- Setting Spray from the fixers section; a light version is sufficient for everyday makeup, opt for a longer-lasting one for long days.
- Matte Eyeshadow Palette with transition and darker shades – matte textures adhere more reliably to the eyelid than highly shimmery ones.
- Eye Pencil, which serves as a base under shadows or as a standalone line.
For any of these items, the price isn't as important as ensuring they complement each other and are used in the specified order. Once you try the process, you'll be able to complete it in a few minutes in the morning – and find that your shadows are still in place come evening.
Category
Recommended articles
"Give a girl the right shoes and she can conquer the world!" Marilyn Monroe