

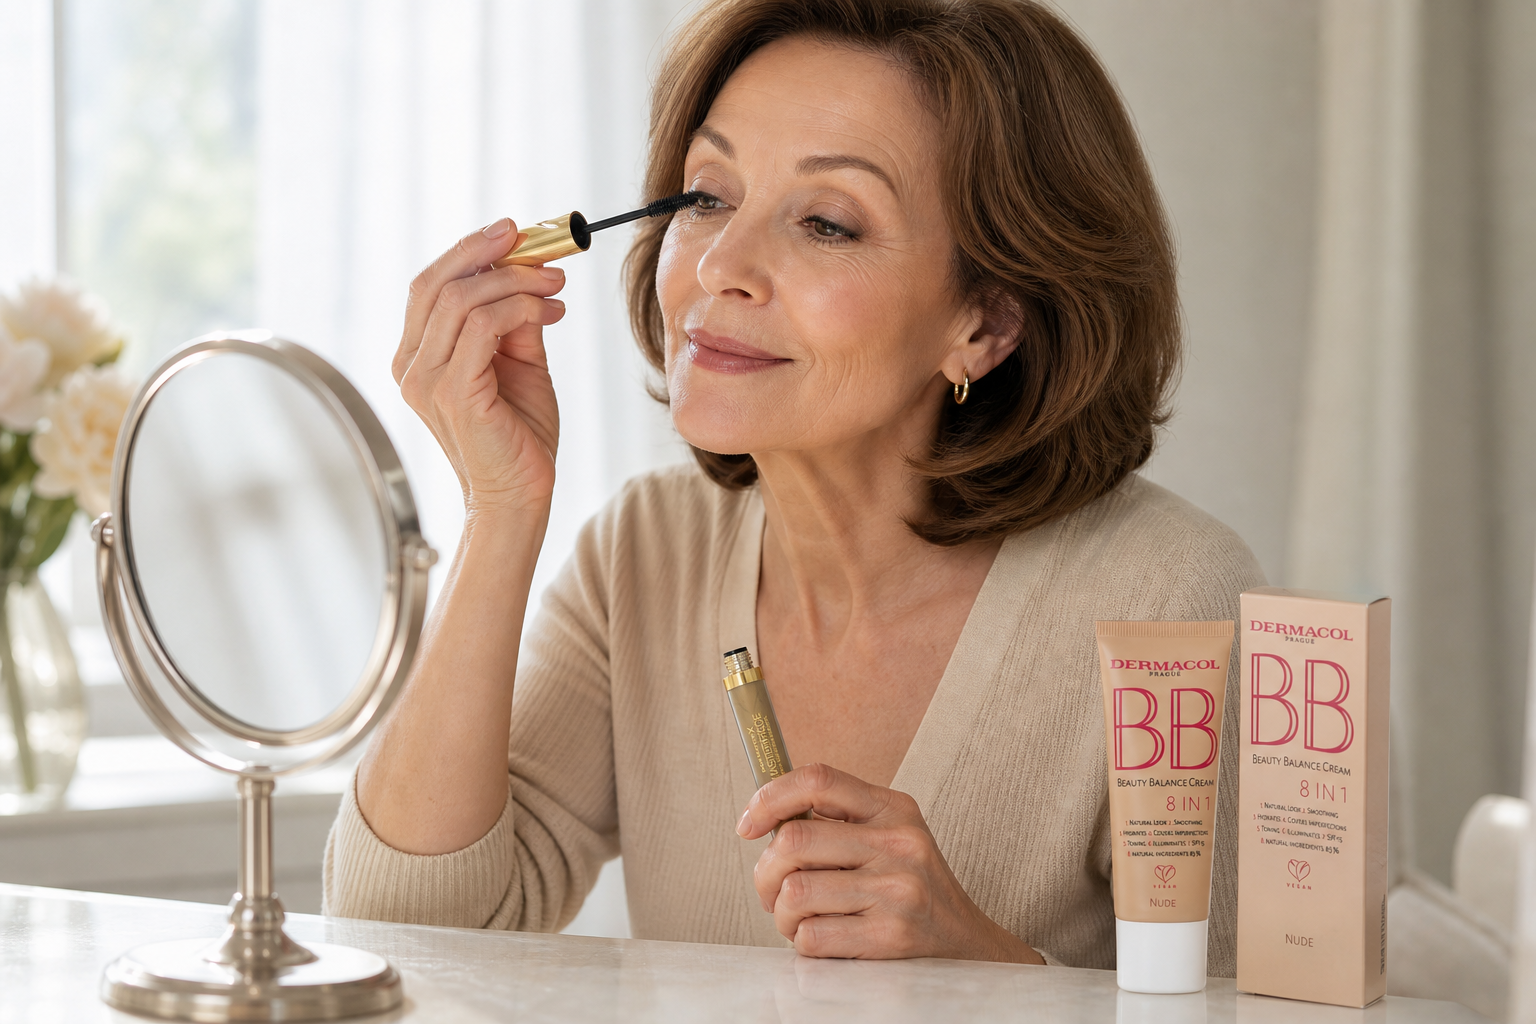
No glitter, no bold lipstick, and minimal makeup – the rules for makeup after fifty are inherited from a time with completely different textures. We explore six common myths and show what really works on mature skin.
Where Do Makeup Rules for Women Over 50 Come From?
The rules about how women over 50 should and shouldn't wear makeup are passed down with such certainty that few question them. Less coverage, no shine, subtle eyes, understated lips – you know the list and might even follow it yourself. But it's worth asking where these recommendations actually come from and if they still hold true.
Most of them originate from a time when makeup looked different than it does today. Foundations had thicker, often waxy textures that settled into fine lines and highlighted them. Powders were applied in layers that covered the skin rather than unifying it. Highlighters used coarsely milled glitter, reflecting light in sharp points instead of a soft veil. Lipsticks had a dry matte finish and without a lip liner, they would easily bleed into the lines around the lips. In such a situation, the advice "less is more" made sense – it wasn't an aesthetic dogma but a practical response to the formulations of the time.
So why do these rules persist today? Makeup advice is something that gets passed down through generations and shared among women at the beauty salon or within families. Once a method is proven, it acts as a safety net: if something didn't work for you once, there's no reason to try it again. And because textures changed gradually and without much fanfare, you might not notice it on the shelf at first glance – the packaging looks similar, the category name remains the same, only the composition inside is different.
In the last twenty years or so, a lot has changed in makeup. Hydrating foundations with liquid consistency, tinted moisturizers that slightly even out the skin, cream blushes, or highlighters with a satin, not overly glittery finish are now widely available. Pigments are milled finer, so they settle less into the skin's texture, and primers can smooth the surface even before makeup application. What made sense for a powder from the nineties might not apply to the product you're holding today.
In the following parts of the article, we'll go through six statements you often hear about makeup for women over 50:
- mature skin needs the highest coverage possible;
- after 50, it's better to skip makeup altogether;
- shine or highlighting doesn't belong on mature skin;
- blush looks artificial on older skin;
- bold lipstick is inappropriate after 50;
- eyes should be made up subtly, or better yet, not at all.
For each, we'll discuss its origins and what works on mature skin today – not as a universal prescription, but as a guide you can adapt to your features and taste. Many of these rules have a rational basis, they just relate to a different product than what you can buy today.
One more clarification, so you know what to expect. We're talking purely about makeup – textures, shades, and application techniques. Skincare, such as hydration, cleansing, or serums, is left aside here; it's a separate topic with its own rules. Well-prepared skin certainly makes makeup easier, but it won't answer the question of whether you can wear bold lipstick after 50.
The First Two Myths: Full Coverage or Minimal Makeup
The two most common pieces of advice for mature skin are contradictory. The first suggests that wrinkles should be thoroughly covered, so the thicker the makeup, the better. The second claims that any noticeable coverage after fifty is obvious at first glance, so it's better to apply just a thin layer or nothing at all. Both statements have one thing in common: they focus on the amount of product and overlook what truly matters for mature skin – the texture of the product and where exactly you apply it.
Myth One: Only Full Coverage Makeup Can Hide Wrinkles
Full coverage formulas were created for a different purpose – to cover pigmentation irregularities, scars, or significant redness. They won't cover wrinkles because a wrinkle is not a color deviation but a relief. A thick layer will settle into the crease, shift throughout the day, and thus accentuate the line. Moreover, mature skin tends to be drier, so matte long-lasting makeups quickly separate into areas with coverage and areas without.
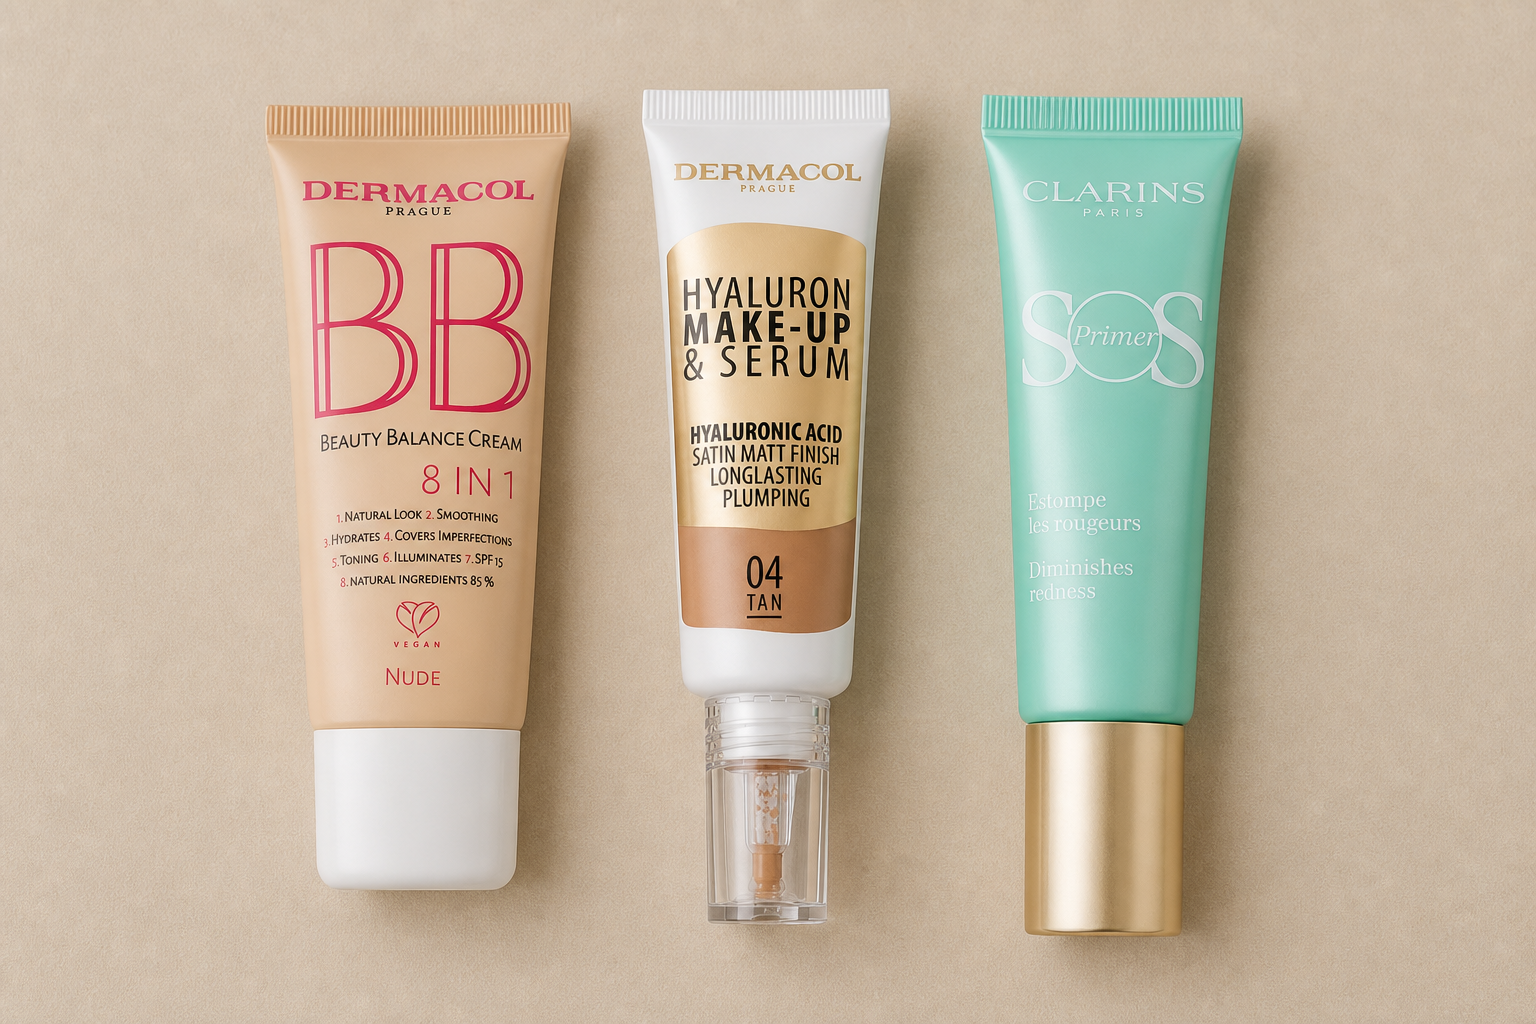
It's more practical to start with texture. Hydrating makeups and tinted moisturizers contain more nourishing ingredients and fewer powder fillers, so they stay on the surface rather than settling into creases and remain flexible. Similarly, lightweight BB and CC creams even out the tone but let your natural skin shine through. Their coverage is usually low to medium – which is often sufficient for mature skin, as simply evening out the tone smooths the face more than expected.
Part of the work we try to assign to coverage can be better handled by a primer. A smoothing primer fills the surface structure of pores and fine lines, so makeup doesn't get stuck on them. A hydrating primer prepares dry areas to prevent uneven absorption of the product. It's sensible to apply primer specifically where makeup fades first, such as around the nose and on the chin, rather than all over the face.
Myth Two: The Less Makeup, the More Natural
The second myth sounds the opposite but stems from the same oversimplification. A thin all-over layer may not weigh down anywhere, but it also doesn't help anywhere. Shadows under the eyes, redness around the nostrils, or pigmentation spots remain just as visible, and the result looks more unfinished than natural. Naturalness doesn't come from reducing product everywhere but from applying it only where there's something to correct.
This corresponds to targeted work with concealer. Choose two to three areas that really need evening out, and leave the rest of the face with just a light tinted moisturizer. Under the eyes, a creamy concealer with a more liquid consistency works well, applied in a thin layer to the inner corner and shadow just below the eye, not the entire area up to the cheekbone. For redness and spots, opt for a thicker concealer, but apply it in dots directly on the spot and blend only the edges.
Powder: When It Helps and When It Harms
Powdering is the point where both myths meet. Powder is not the enemy of mature skin; it just has a narrower scope than usually attributed. It makes sense where the skin shines and where makeup shifts – on the nostrils, chin, and center of the forehead – and in a really thin layer to set concealer under the eye, so it doesn't gather in the crease throughout the day. A fine loose powder fits better than a compact one.
Conversely, on the cheeks, around the mouth, and everywhere the skin is dry or slightly peeling, powder worsens the situation: it brings dry areas to the surface and mattifies the surface so much that lines become prominent. When you need to mattify during the day, it's often gentler to blot the shine with a tissue than to add another layer. So, it's not the amount that matters – it's the texture, placement, and ability to let the skin work.
Glow Without Glitter, Blush Without Worry
The third myth is simple: mature skin and any kind of shine supposedly don't mix. The recommendation for "all matte" comes from a time when highlighters had coarser pearlescent particles and behaved more like tiny mirrors on the skin than like light. Today's textures are different, and the difference between glitter and satin glow is significant.
Glitter or Satin Glow
Coarse glitter consists of individual visible particles. Light bounces off them in spots, so the eye perceives every imperfection where the particles settle – fine lines and enlarged pores come to the forefront. Satin glow works the opposite way: the pearlescent content is ground so finely that you can't distinguish individual particles, resulting in a smooth transition between light and shadow. This gives the skin a dimensionality that naturally diminishes with age – the cheeks appear slightly lifted, and the face doesn't look flat.
When choosing, look for a finish described as satin or illuminating, not overly glittery or metallic. Cream and liquid highlighters blend with makeup and don't settle into the skin's texture as readily as powder versions.
Where Highlighter Works
Placement, not the amount of product, is key. On mature skin, areas that naturally stand out and don't have pronounced texture work best:
- the highest point of the cheekbone, closer to the temple than the center of the face,
- the inner corner of the eye for a more open look,
- the cupid's bow above the upper lip,
- the center of the chin if you want to elongate the face visually.
Conversely, it's wise to avoid areas where shine would highlight what you don't want to emphasize: the area directly under the eyes with fine lines, the nasolabial fold and its surroundings, the forehead with more pronounced expressions, and areas with enlarged pores. The simple rule here is – shine attracts attention, so only apply it where you truly want attention.
Blush Isn't Just for Young Faces
The fourth myth claims that blush looks out of place after fifty. Yet, it's one of the products that can do a lot for mature skin in a short time. With age, the natural color accent on the cheeks fades, and makeup further unifies it, leaving the face without contrast. Color on the cheekbones brings it back – the eye reads it as the highest point of the face, making the features appear more lifted.
Placement is more important than shade here as well. Apply blush to the top of the cheekbone and blend it lightly towards the temple, not down towards the chin.
Cream or Powder
Cream blushes blend with the base, don't emphasize dry spots, and can be layered with fingers or a sponge, so the result looks more like color from within rather than a layer on top. Powder blushes offer more control over intensity and last longer on combination and oilier skin. Stick to the order of textures: powder goes on powder, cream on cream – powder blush applied directly on fresh cream makeup spreads unevenly.
Shade According to Skin Undertone
For blush to look natural, it should match your skin's undertone. A cool undertone (veins on the wrist appear more blue-purple, silver jewelry suits you) pairs well with cooler pinks, raspberry, and plum shades. A warm undertone (veins appear more green, gold is more flattering) is complemented by peach, apricot, coral, and slightly terracotta tones. A neutral undertone can handle both, and a muted pink is usually a reliable choice.
Ultimately, the intensity makes the difference. Tap the brush on the back of your hand before applying, start with a smaller amount, and add more if needed. For cream textures, use your fingers – the warmth of the skin softens the product and creates a smoother transition.
Bold Lips, Eyebrow Shape, Lash Definition
The last pair of myths target the areas that carry the most expression – the lips and the eyes. Both statements follow the same structure: they notice a real problem and instead of offering a solution, they impose a ban.
Fifth Myth: Bold lipstick is not for those over fifty. If you ask where this rule came from, you’ll get a description of a specific issue – the color bleeds into fine lines above the upper lip by midday. But it’s not the shade that causes this. The bleeding is due to a combination of a softer lip contour and a texture that remains movable.
The outline of the lips naturally blurs with age, and tiny vertical lines around them act as pathways for oilier lipstick to spread. This is where a lip liner helps: trace the edge of your lips with it and then lightly blend it across the entire surface. This creates a matte base that keeps the color in place. Choose a liner in a shade close to your natural lip color, not several tones darker – a sharp dark outline around a lighter fill belongs to past trends, not today’s makeup.
The finish also plays a role. Very glossy, oily textures bleed the easiest, while completely matte long-lasting liquid lipsticks can dry out and visually highlight every line. A middle ground – a satin or creamy matte finish – holds its shape while keeping lips looking supple. So feel free to keep the bold color, just give it a boundary.
Sixth Myth: Eyes should only be subtly outlined after fifty. In practice, the expression of the eyes is most influenced by two things often overlooked in the quest for subtlety – eyebrow shape and lash definition.
Eyebrows typically thin and lose intensity with age, causing the face to lose its frame. Depending on how the thinning manifests, different tools are suitable:
- Eyebrow Pencil – use the thin tip to draw individual hairs, filling in specific gaps or a missing end of the arch.
- Eyebrow Powder – applied with an angled brush, it creates a soft shadow. It’s suitable when the eyebrows have thinned evenly and you need to fill the entire area.
- Eyebrow Gel – clear or tinted, it aligns the direction of hairs and maintains shape all day. It doesn’t add color on its own but effectively seals the work of the pencil and powder.
As for the shade, very dark and sharply defined eyebrows can appear harsh. Opt for a tone one shade lighter than your hair, and build the color in layers. For graying hair, cooler ash tones are more suitable than warm brown with a red undertone.
With lashes, definition matters more than the width of the line. Instead of a wide line across the lid, try placing the pencil close to the lash roots and filling in the gaps between them. This makes the lashes appear thicker without creating a visible stripe on the lid – especially useful if the upper lid slightly droops and hides a wide line anyway.
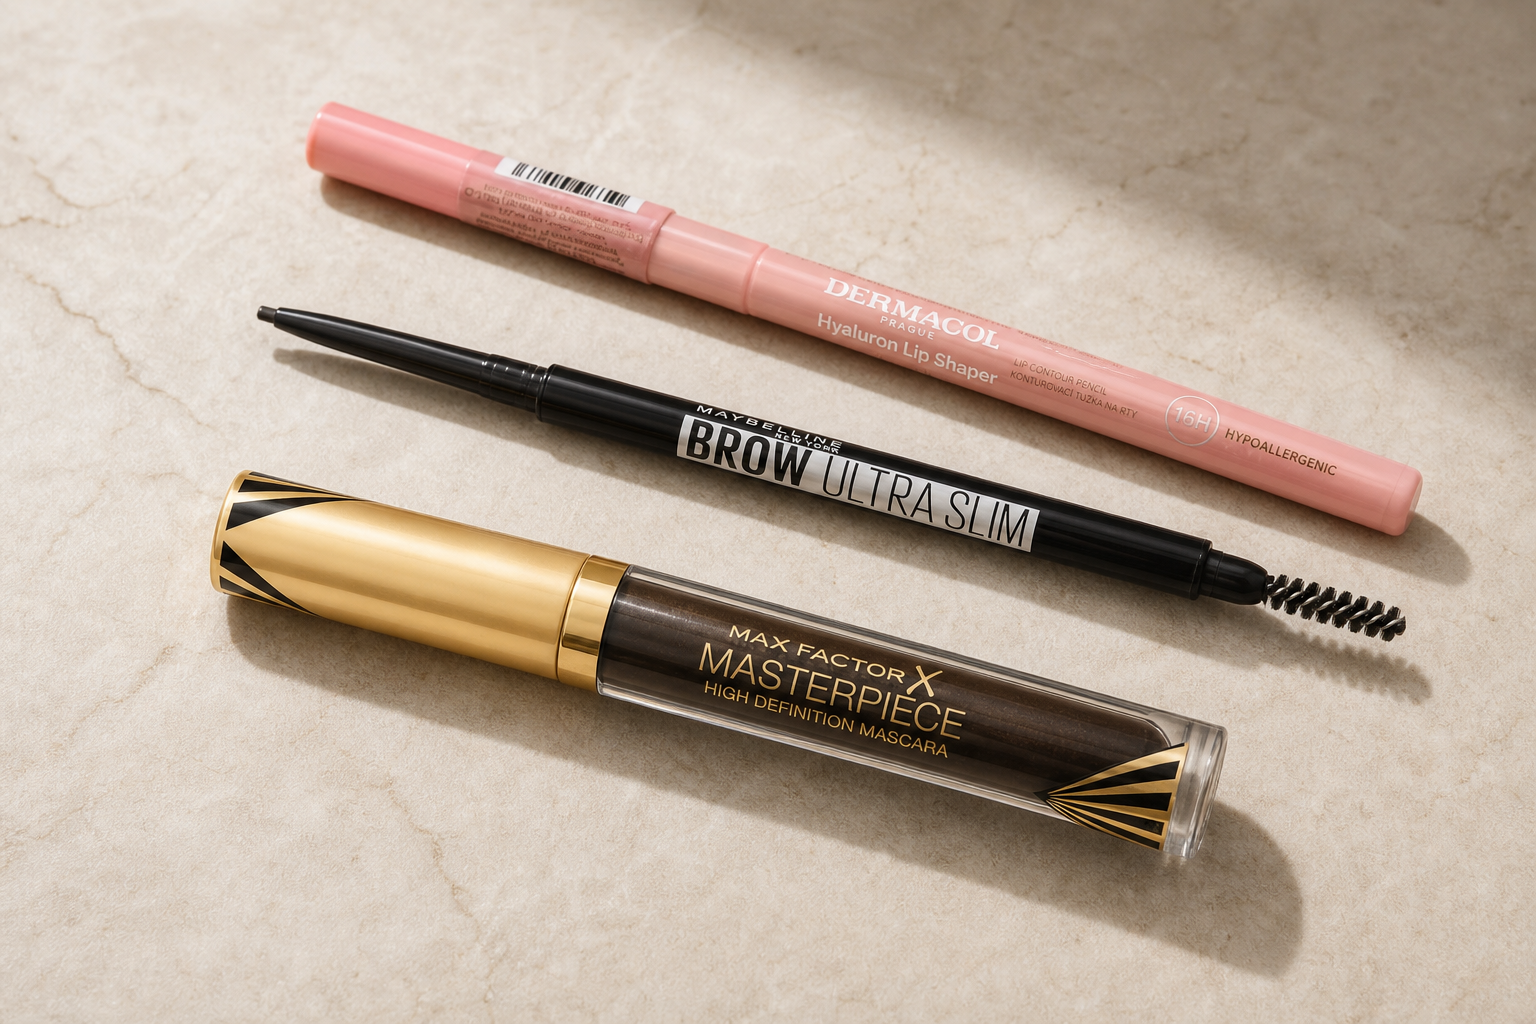
Mascara varies depending on what it’s meant to do. Volumizing ones have a thicker formula and fuller brush that coats the lash along its entire length. Lengthening ones are thinner with a slim brush and short bristles that extend the tips. If your lashes are both fine and short, it makes sense to combine both: first a layer of volumizing mascara at the roots, then lengthening to the tips. Save waterproof versions for occasions when you really need them – they’re harder to remove and frequent rubbing around the eyes doesn’t help anything.


How to Create Makeup Looks in Your Fifties in Just Minutes
All six statements we've reviewed share one thing: they were created when decorative cosmetics had different textures than today. Once you set them aside, you'll find a surprisingly simple routine. Daily makeup for mature skin doesn't require dozens of steps or an hour of your time – you can achieve it in five to ten minutes if you know the right order.
- Start with hydration and let it absorb for a moment. Makeup spreads evenly on supple skin, while it clings to lines on dry skin.
- Apply a thin layer of moisturizing foundation or tinted cream only where you want to even out the tone – typically the center of the face.
- Use concealer only on areas that truly bother you: corners of the nose, around the mouth, or under-eye shadows. Blend it with your fingers or a small sponge.
- Apply blush on the highest points of your cheeks and blend it towards the temples.
- Fill in your eyebrows with a pencil or powder only where hairs are missing, and set the shape with gel.
- Define your lashes with mascara from the roots, outline your lips with a lip liner, and finish with a satin-finish lipstick.
Essential Kit: Six Items Are Enough
For your daily kit, six items are enough. They don't need to be more expensive – it's the texture and shade that matter, not the number of jars in your drawer.
- Moisturizing foundation or tinted cream – evens out the tone and lets the skin's natural texture show. Even lighter options are BB and CC creams.
- Concealer – creamy, more illuminating than heavily covering, so it doesn't settle into fine lines.
- Blush – cream blush adheres better to drier skin, while powder lasts longer on oily zones.
- Eyebrow pencil or powder – the shape of the eyebrows holds the face together and visibly changes expression.
- Mascara – defines the lash line at the roots and visually opens the eye; the choice between volume and lengthening depends on what your lashes lack.
- Lipstick – a satin finish is kinder to lips than matte, which highlights dry areas.
Everything else is an add-on you can include when you want. A primer is useful if your makeup fades by evening. Powder is only necessary for shiny areas, highlighter for days when you want more radiance, and setting spray in hot weather. Lash and brow serums are a separate, long-term affair – they belong in your evening routine, not morning, and should be evaluated over weeks, not days.
Application Method Matters as Much as the Product
On mature skin, the tool plays almost as important a role as the texture itself. Fingers are great for creamy textures – warmth melts them, and the product blends better with the skin. A damp sponge spreads makeup into a thin layer and absorbs excess, preventing buildup. A flat brush with dense bristles, on the other hand, deposits the layer more precisely, making it suitable for targeted concealer coverage.
A fluffy brush with a soft tip is for powder and blush: pick up a small amount, tap off the excess, and build the color in layers. Wash brushes and sponges about once a week – old color buildup results in uneven application and doesn't work cleanly on the skin.
When you're ready to update your kit, explore the makeup, concealer, and blush categories, eyebrow pencils and mascaras, lash and brow serums, and brush sets in decorative cosmetics at Brasty. You can filter by texture and shade, so you can gradually build your kit – one step at a time, as you need.
Category
Recommended articles

"Give a girl the right shoes and she can conquer the world!" Marilyn Monroe